Advertisement
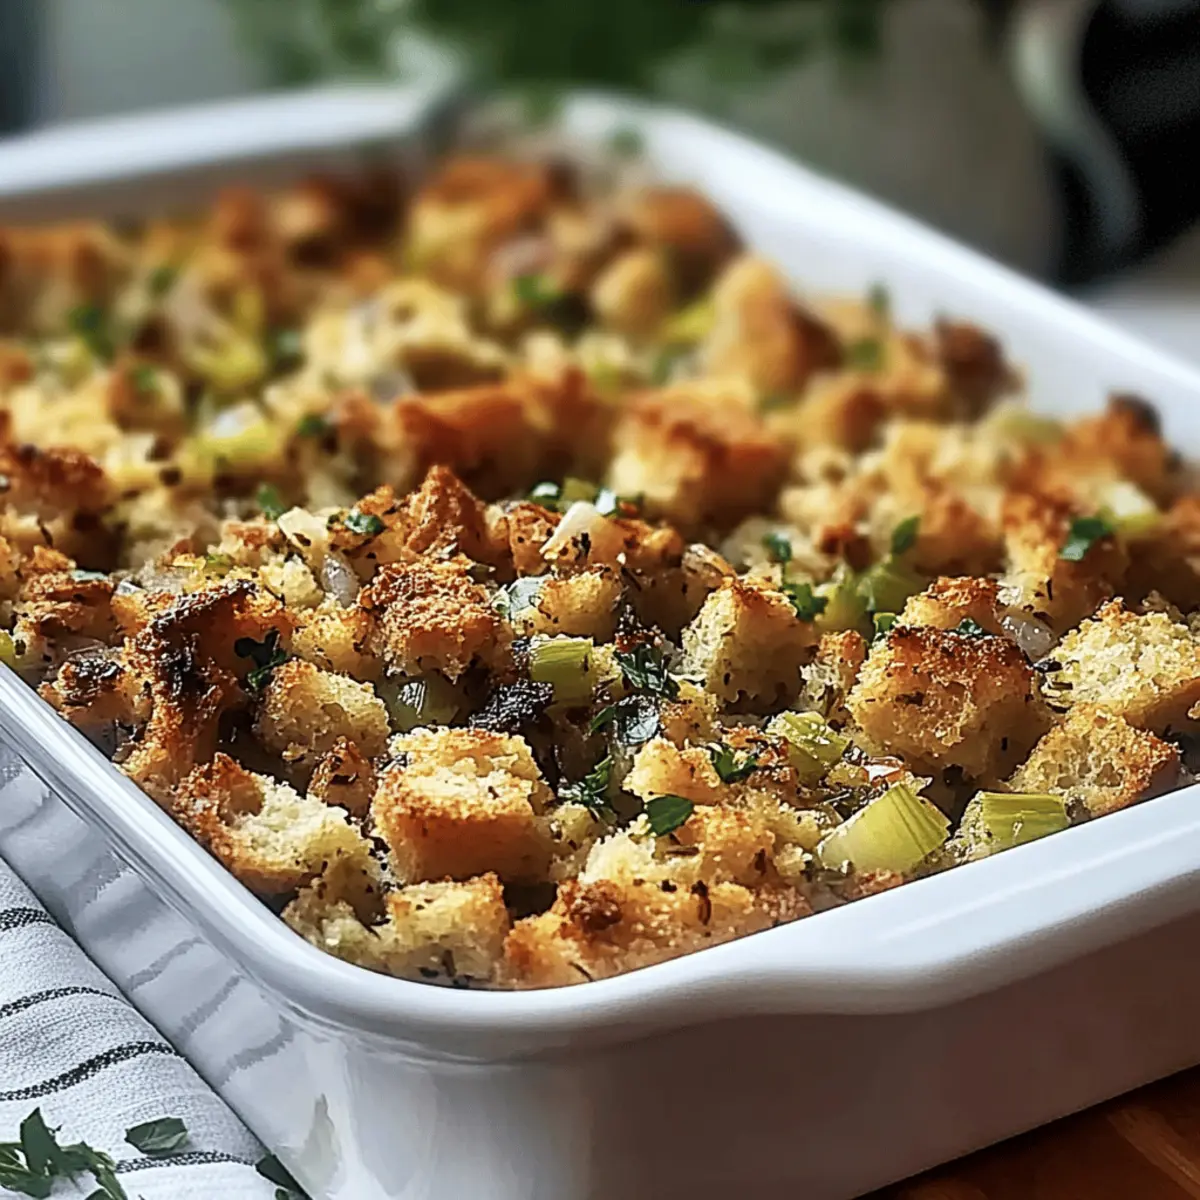
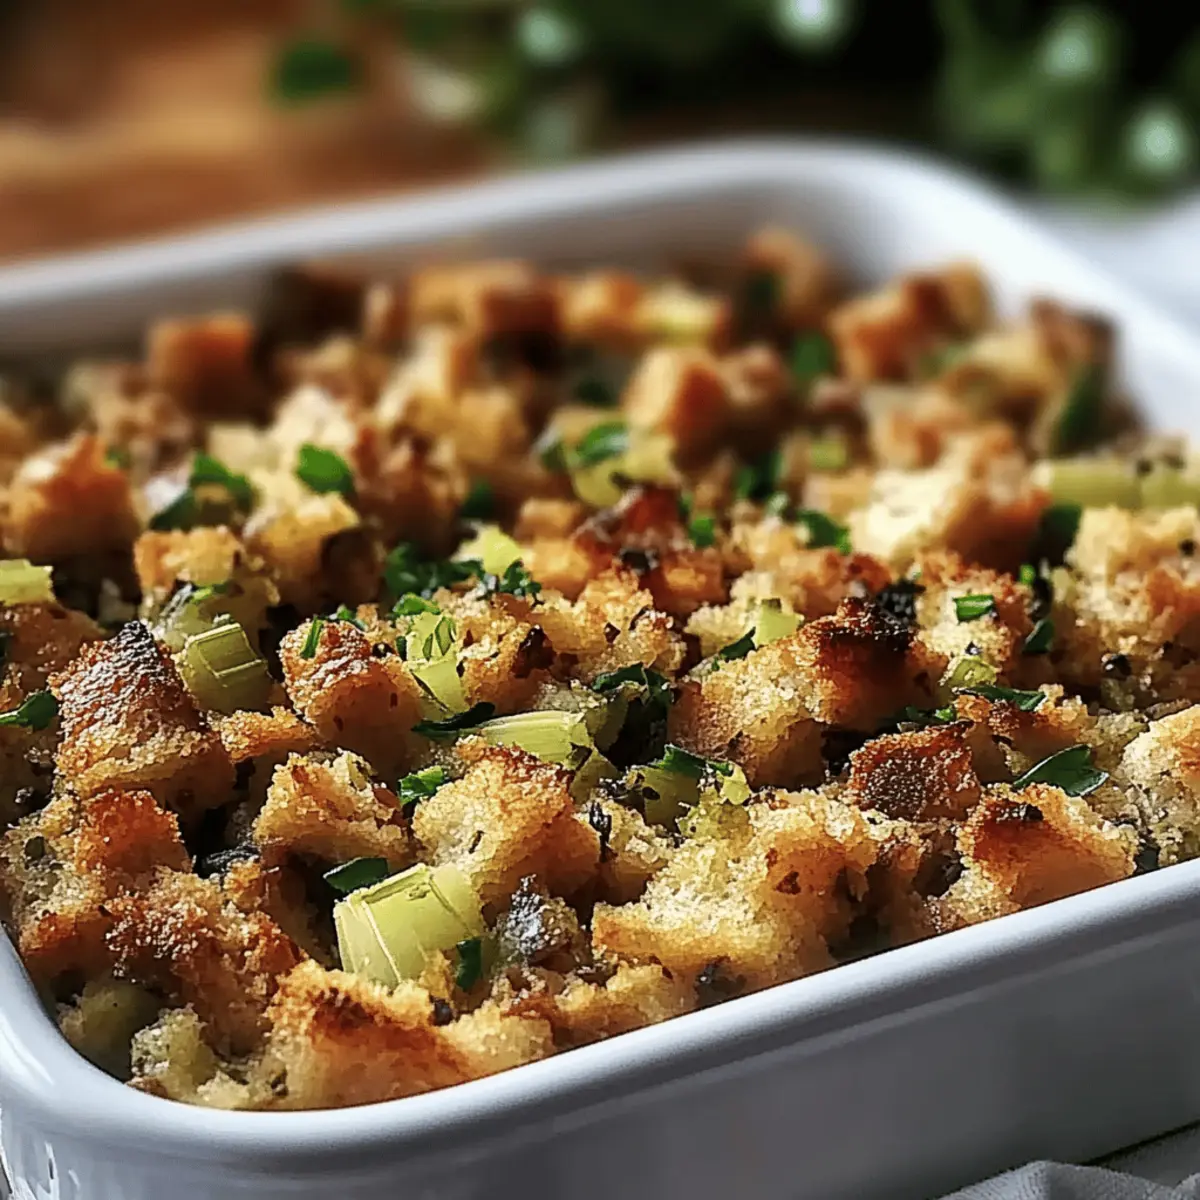
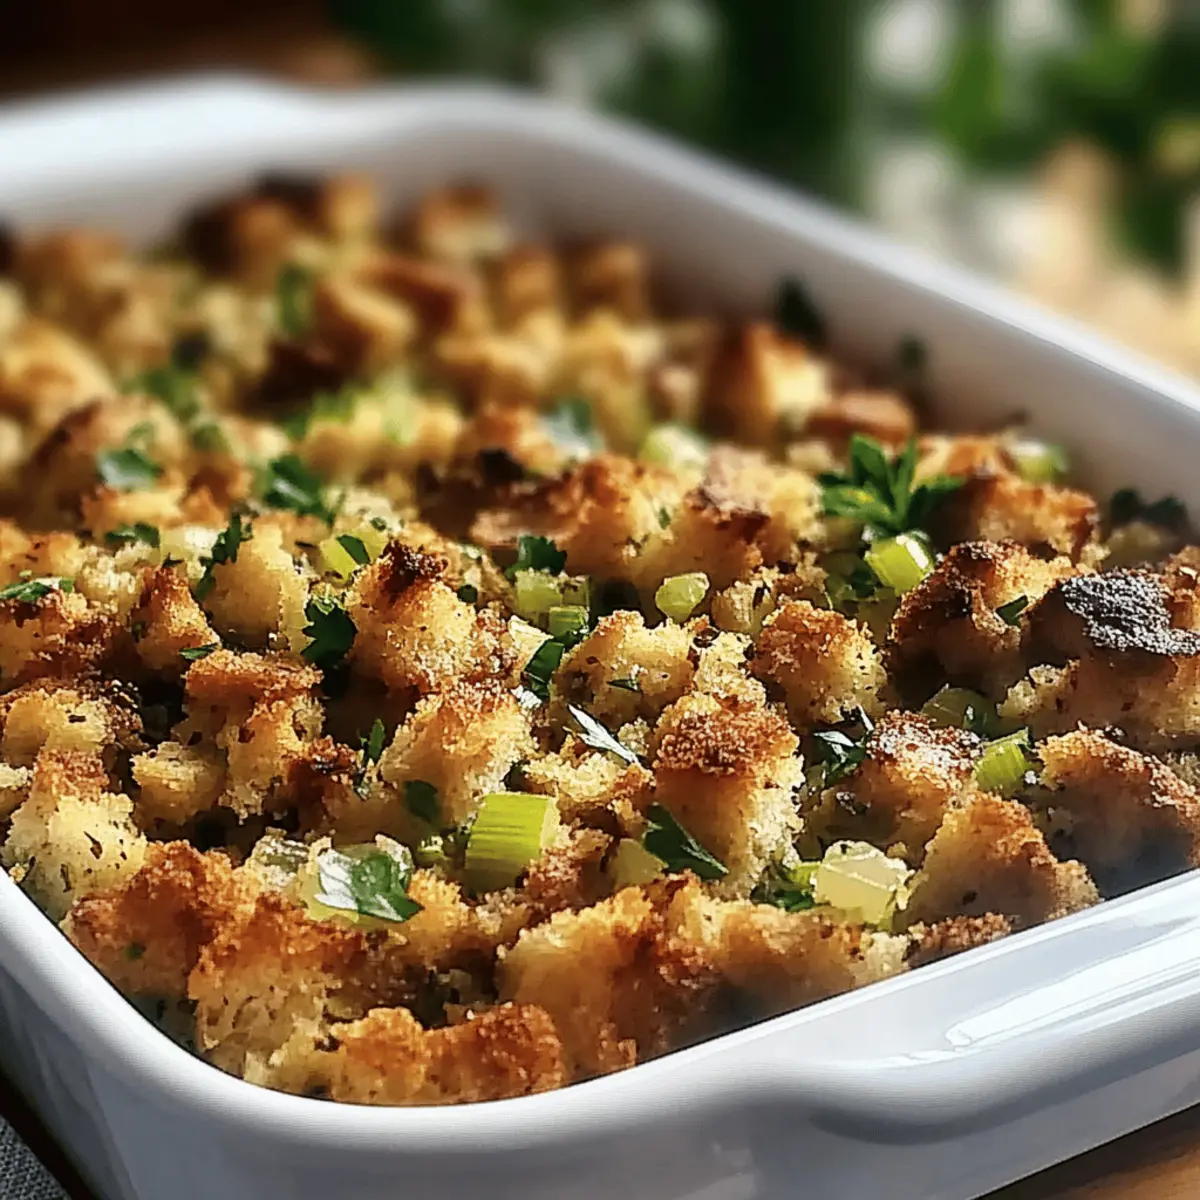
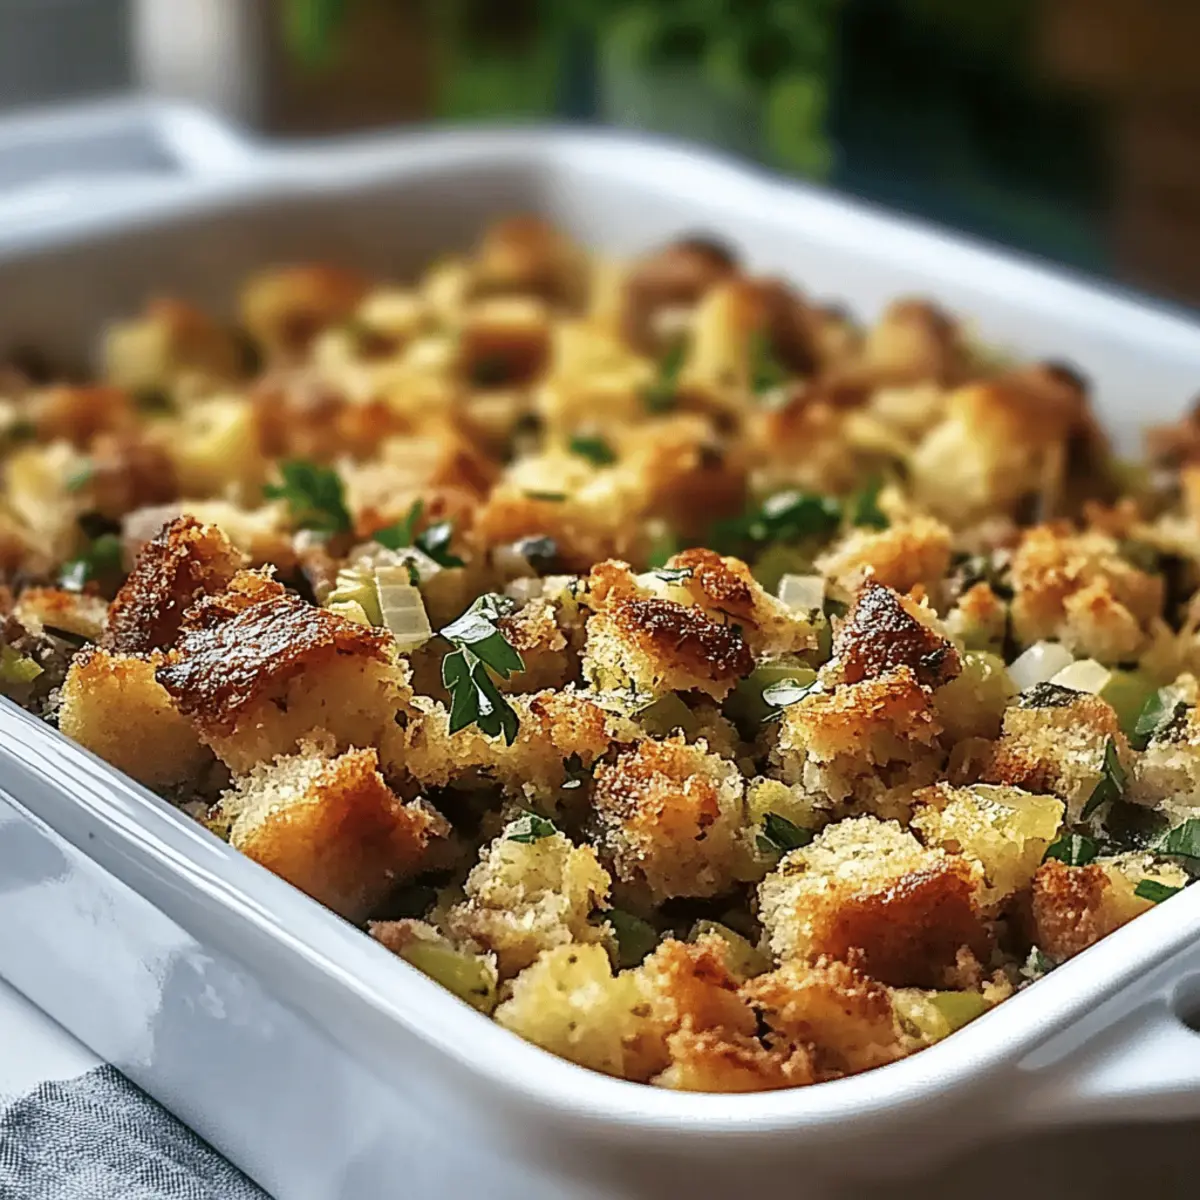
The smells wafting from the kitchen are pure nostalgia, conjuring up memories of family gatherings and laughter around the table. In creating my Grandma’s Thanksgiving Stuffing, I’m embracing a time-honored tradition that celebrates the essence of home-cooked meals. This recipe is not only comforting with its blend of crusty bread, sautéed onions, and fresh herbs, but it’s also wonderfully customizable, allowing you to play with flavors that suit your family’s taste. Whether you’re accommodating dietary restrictions or simply looking to add a personal twist, this stuffing brings everyone together. Plus, it’s a quick prep option that ensures you can focus on what matters most—enjoying precious moments with loved ones. Who’s ready to dive into the deliciousness?
Why is Grandma’s Thanksgiving Stuffing special?
Nostalgic flavors abound in this classic recipe, evoking cherished memories of family gatherings and laughter. Customizable to suit dietary needs and personal preferences, this stuffing invites creativity while honoring tradition. Fresh ingredients elevate each bite, ensuring that every mouthful is packed with robust flavors. Crowd-pleasing and easy to make, this dish will be a standout on your holiday table, making it a favorite for everyone. Plus, it’s an opportunity to bond with family—cooking together can make memories as delightful as the meal itself!
Grandma’s Thanksgiving Stuffing Ingredients
• Here’s what you need for that cozy, traditional recipe!
Advertisement
For the Base
- Stale Bread – The foundation for stuffing, providing structure and absorbency. Choose sturdy loaves like sourdough or French; stale bread absorbs flavors better than fresh.
- Yellow Onion – Adds depth and sweetness. Use one large onion, finely diced, and sauté until translucent to enhance flavor.
- Celery – Contributes crunchiness and freshness. Finely chop about 2 cups worth (3-4 stalks); sauté with onions for added texture.
For the Flavor
- Fresh Herbs (Sage, Thyme, Rosemary) – Essential for elevating flavor. Use 2 tbsp sage, 2 tbsp thyme, and 1 tbsp rosemary; these combinations provide traditional holiday flavors.
- Low-Sodium Broth (Chicken or Vegetable) – Acts as a binding agent and adds moisture. Warm about 4 cups for the best flavor absorption while preventing dryness.
- Butter – Adds richness and moisture. Melt ½ cup (1 stick) unsalted butter to mix into vegetables before combining with bread.
For Seasoning
- Salt & Pepper – For seasoning. Add to taste; tasting the mixture is encouraged before baking for personalized seasoning.
With these ingredients in hand, you’ll be well on your way to creating Grandma’s Thanksgiving Stuffing—made not just with love, but also with the spirit of holiday togetherness!
Step‑by‑Step Instructions for Grandma’s Thanksgiving Stuffing
Step 1: Preheat the Oven
Begin by preheating your oven to 350°F (175°C), ensuring a warm environment for your Grandma’s Thanksgiving Stuffing to bake perfectly. While the oven is coming to temperature, gather your ingredients and equipment, including a greased baking dish, mixing bowls, and a stovetop pan. This preparation sets the stage for a smooth cooking process.
Step 2: Sauté the Vegetables
In a medium-sized skillet, melt ½ cup of unsalted butter over medium heat. Add one finely diced yellow onion and sauté for 5-7 minutes until the onion turns translucent. Next, stir in 2 cups of finely chopped celery and continue to cook for an additional 3-4 minutes until it becomes tender. This fragrant mixture will be the flavorful base for your stuffing.
Step 3: Combine Bread and Vegetables
In a large mixing bowl, combine about 8-10 cups of cubed stale bread—preferably a sturdy loaf like sourdough or French—with the sautéed onion and celery mixture. Gently fold the ingredients together using a spatula, allowing the warm vegetables to infuse the bread with their savory flavors. This step is essential for achieving the perfect texture in Grandma’s Thanksgiving Stuffing.
Step 4: Add Herbs and Seasoning
Next, stir in the fresh herbs: 2 tablespoons each of sage and thyme, and 1 tablespoon of rosemary. Season with salt and pepper to taste, mixing thoroughly to ensure even distribution. The vibrant herbs will elevate the stuffing, creating a comforting and aromatic blend that captures the essence of Thanksgiving.
Step 5: Incorporate the Broth
Gradually pour in about 4 cups of warm low-sodium broth, either chicken or vegetable, into the mixture. Gently toss the bread and vegetable combination, ensuring that each cube of bread is moist but not soggy. The warm broth helps activate flavors and bind the ingredients together, creating a moist, cohesive stuffing ready for baking.
Step 6: Prepare for Baking
Transfer the mixture into your greased baking dish, spreading it evenly for consistent baking. Cover the dish loosely with aluminum foil to retain moisture. This step is crucial, as it helps steam the stuffing while it bakes, making the inside tender and flavorful before developing that desirable crust on top.
Step 7: Bake to Perfection
Place your covered baking dish in the preheated oven and bake for 30 minutes. After the initial baking time, carefully remove the foil and continue baking for an additional 15 minutes. Keep an eye on the stuffing; it should become golden brown and develop a crispy top layer while the inside remains moist, bringing the nostalgic flavors of Grandma’s Thanksgiving Stuffing to life.
Make Ahead Options
Preparing Grandma’s Thanksgiving Stuffing ahead of time is a time-saving game changer for busy cooks! You can assemble the entire stuffing mixture up to 24 hours in advance. Simply follow the recipe’s blending steps, then cover and refrigerate it in an airtight container. This helps the flavors meld beautifully. To maintain its delightful texture, ensure the bread is well-moistened but not soggy; you can add a splash of broth if needed before baking. When you’re ready to serve, transfer the stuffing to a greased baking dish, cover it with foil, and bake according to the original instructions. With this make-ahead option, you’ll have Grandma’s Thanksgiving Stuffing ready with minimal last-minute effort!
Expert Tips for Grandma’s Thanksgiving Stuffing
- Quality Ingredients: Use fresh, high-quality ingredients, especially the bread and herbs, as they dramatically enhance the flavors of Grandma’s Thanksgiving Stuffing.
- Avoid Sogginess: Monitor the broth quantity; too much liquid can make the stuffing soggy. Aim for moist bread without it falling apart.
- Seasoning Matters: Always taste your mixture before baking. Adjust salt and pepper as needed to ensure flavors are balanced in Grandma’s Thanksgiving Stuffing.
- Prep Ahead: On busy Thanksgiving Day, chop your vegetables and cube the bread in advance to save time and streamline the cooking process.
- Cooling Tips: If you have leftovers, cool them completely before refrigerating in an airtight container to maintain freshness up to 3-4 days.
What to Serve with Grandma’s Thanksgiving Stuffing
Elevate your Thanksgiving meal with complementary flavors and textures that perfectly balance the rich, savory stuffing.
-
Roasted Turkey: The classic pairing, its juicy, tender meat and crispy skin harmonize beautifully with the stuffing’s herbs and spices.
-
Cranberry Sauce: The tartness of fresh cranberry sauce cuts through the savory stuffing, offering a refreshing contrast that enlivens every bite.
-
Garlic Green Beans: Crisp-tender green beans sautéed in garlic add a crunchy, verdant element, enhancing your plate with both color and taste.
-
Sweet Potatoes: Creamy and slightly sweet, mashed sweet potatoes bring a delightful contrast to the stuffing’s texture, rounding out the flavors gracefully.
-
Herb-Infused Gravy: A drizzle of rich, homemade gravy over turkey and stuffing ties everything together, adding moisture and depth.
-
Buttered Corn: Sweet, buttery corn offers a pop of sweetness, its tender kernels complementing the stuffing’s savory profile.
-
Apple Pie: Finish the meal on a sweet note with a slice of warm apple pie; its nostalgic flavors echo those of Grandma’s stuffing.
-
Mulled Wine: Serve a warm, spiced mulled wine to enhance the festive atmosphere and complement the savory and sweet flavors on your table.
How to Store and Freeze Grandma’s Thanksgiving Stuffing
Fridge: Store any leftover Grandma’s Thanksgiving stuffing in an airtight container for up to 3-4 days. Allow it to cool completely before refrigerating to maintain moisture and flavor.
Freezer: For longer storage, freeze the stuffing for up to 3 months. Portion it into freezer-safe containers or bags, ensuring to remove excess air to prevent freezer burn.
Reheating: To enjoy your stuffing again, thaw overnight in the fridge and reheat in the oven at 350°F (175°C) for about 20-25 minutes covered with foil. Add a splash of broth to keep it moist.
Make-Ahead Tip: Prepare the stuffing mixture a day in advance, store it in the fridge, and bake it fresh on Thanksgiving Day for a delightful, warm treat.
Grandma’s Thanksgiving Stuffing Variations
Feel free to get creative with this recipe—each variation invites a delightful twist that enhances flavor and suits every palate!
- Sausage or Bacon: Add cooked sausage or crispy bacon for a savory richness that elevates the dish. The combination of spices in the meat will enhance the depth of flavor.
- Dried Fruits: Toss in cranberries or diced apricots for a sweet surprise that complements the savory elements. These little bursts of sweetness pair beautifully with the herbs and spices.
- Different Bread Types: Try using cornbread or gluten-free bread for a unique texture and flavor twist—this can make it perfect for those with dietary needs, allowing everyone to indulge.
- Seasonal Veggies: Add diced apples or root vegetables (like carrots or parsnips) to boost flavor and texture. This adds a touch of autumn sweetness while increasing nutritional value.
- Herb Variations: Swap out fresh herbs for a different flavor profile, such as adding tarragon or oregano for a unique twist. Each herb brings its own personality to the dish, altering the aroma and taste.
- Spice it Up: Introduce a pinch of red pepper flakes or a dash of cayenne pepper for those who like a bit of heat! It’s a fun way to surprise your guests with some unexpected warmth.
- Nutty Crunch: Include chopped nuts like pecans or walnuts for an added layer of crunch, making every bite even more satisfying. The contrast in textures is delightful and pairs well with the soft stuffing.
- Creamy Addition: Mix in a little cream cheese or sour cream for a rich, velvety texture that adds depth and creaminess to the stuffing. It will turn this classic into an indulgently creamy version that still honors tradition.
With these tasty options, you can easily personalize Grandma’s Thanksgiving stuffing, ensuring it delights everyone gathered around your table this holiday season! For more recipe inspirations, check out my Cranberry Sauce with a Twist or learn about how to make Roasted Seasonal Vegetables that perfectly complement this stuffing.
Grandma’s Thanksgiving Stuffing Recipe FAQs
What type of bread is best for Grandma’s Thanksgiving Stuffing?
The best type of bread for this stuffing is sturdy loaves like sourdough or French bread. They should be slightly stale, as stale bread absorbs flavors better, providing the ideal base for delicious stuffing. If you’re using fresh bread, cut it into cubes and leave it out for a few hours to dry out before using it.
How should I store leftover Grandma’s Thanksgiving Stuffing?
Absolutely! Store any leftover stuffing in an airtight container in the refrigerator for 3-4 days. Allow it to cool completely before refrigerating to maintain its moisture and flavor. If you want to enjoy the stuffing later, consider freezing it for longer storage!
Can Grandma’s Thanksgiving Stuffing be frozen?
Very much so! You can freeze the stuffing for up to 3 months. To do this, portion it into freezer-safe containers or bags, removing as much excess air as possible to prevent freezer burn. When you’re ready to enjoy it, just thaw it overnight in the fridge and reheat it in the oven at 350°F (175°C) for about 20-25 minutes, covered with foil. A splash of broth will help keep it nice and moist!
What should I do if my stuffing is too dry after baking?
If your stuffing turns out dry, don’t worry—it’s a common issue that can be easily fixed. Start by preparing a warm broth (chicken or vegetable), then drizzle it over the dry stuffing while gently tossing to combine. You can also add a bit of melted butter to enhance the richness. Be sure to cover the dish while reheating in the oven to allow it to steam and regain moisture.
Can I customize Grandma’s Thanksgiving Stuffing to be gluten-free or vegan?
Absolutely! For a gluten-free version, simply replace regular bread with gluten-free bread or cornbread. For a vegan option, use vegetable broth instead of chicken broth, and swap the butter for a plant-based alternative like olive oil or margarine. These substitutions allow you to create a delightful stuffing that aligns with any dietary preferences!
How can I enhance the flavor of Grandma’s Thanksgiving Stuffing?
To elevate the flavors, consider adding additional ingredients such as cooked sausage, bacon bits, or sautéed mushrooms for richness. You can also mix in dried fruits like cranberries or apples for a sweet contrast. Moreover, sprinkling in some chopped nuts can provide delightful texture variations. The more the merrier—get creative and tailor the stuffing to your personal taste!
Grandma's Thanksgiving Stuffing – A Cozy Family Favorite
Ingredients
Equipment
Method
- Preheat your oven to 350°F (175°C). Gather your ingredients and equipment.
- In a medium-sized skillet, melt ½ cup of unsalted butter over medium heat. Add the finely diced yellow onion and sauté for 5-7 minutes until translucent. Stir in 2 cups of finely chopped celery and cook for an additional 3-4 minutes.
- In a mixing bowl, combine about 8-10 cups of cubed stale bread with the sautéed onion and celery mixture.
- Add in the fresh herbs: 2 tablespoons of sage and thyme, and 1 tablespoon of rosemary. Season with salt and pepper to taste.
- Gradually pour in about 4 cups of warm broth, gently tossing to ensure all bread is moist.
- Transfer the mixture into a greased baking dish, cover loosely with aluminum foil.
- Bake in the preheated oven for 30 minutes. Remove the foil and continue baking for an additional 15 minutes.