Advertisement
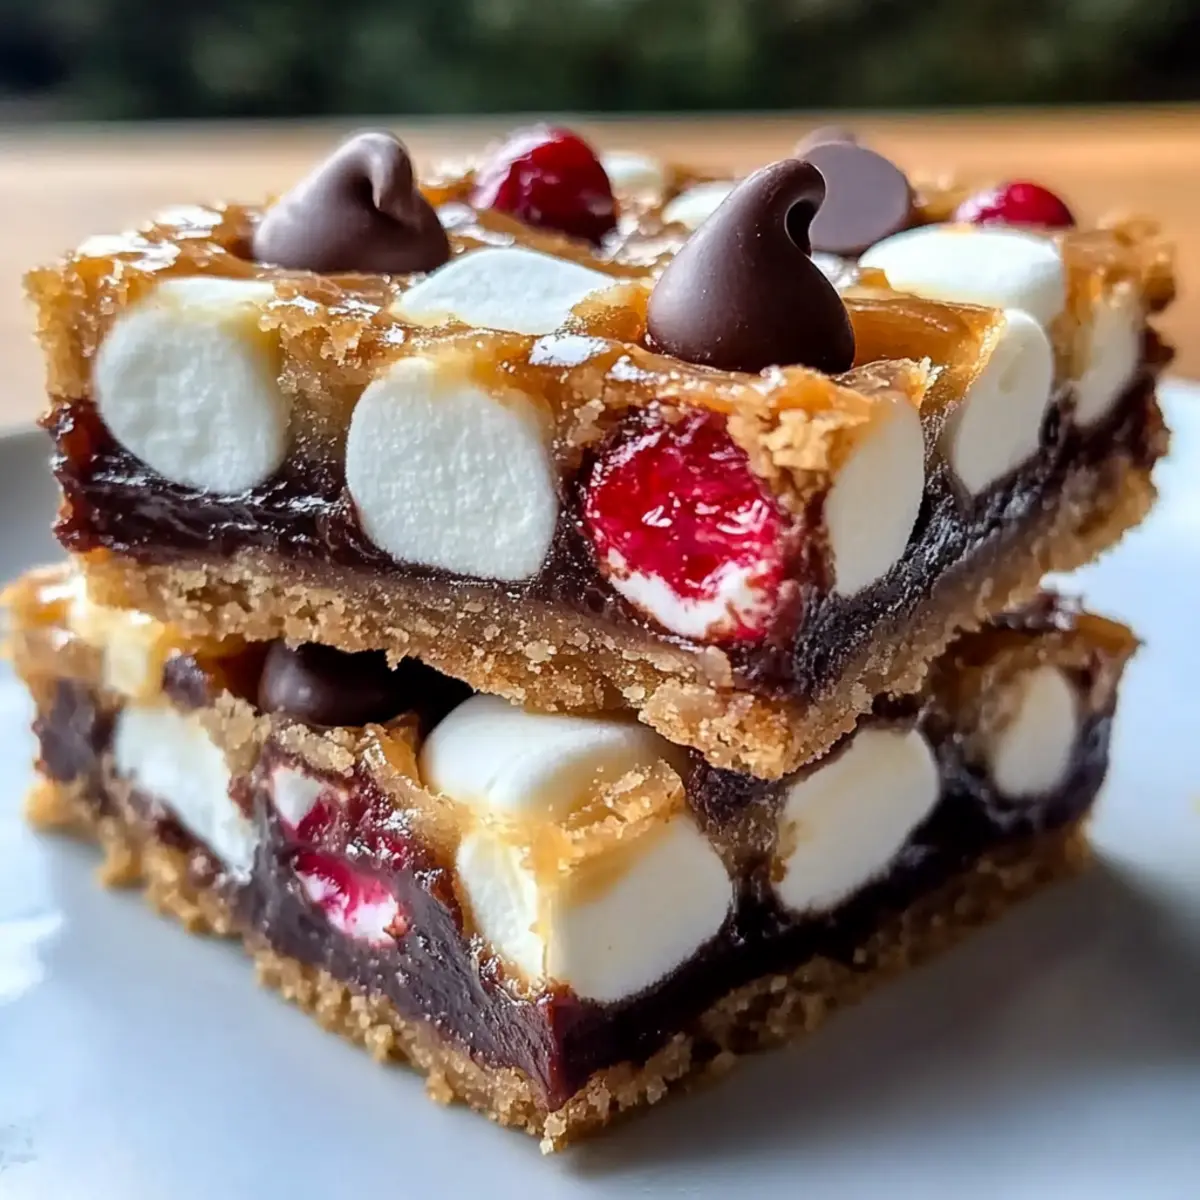
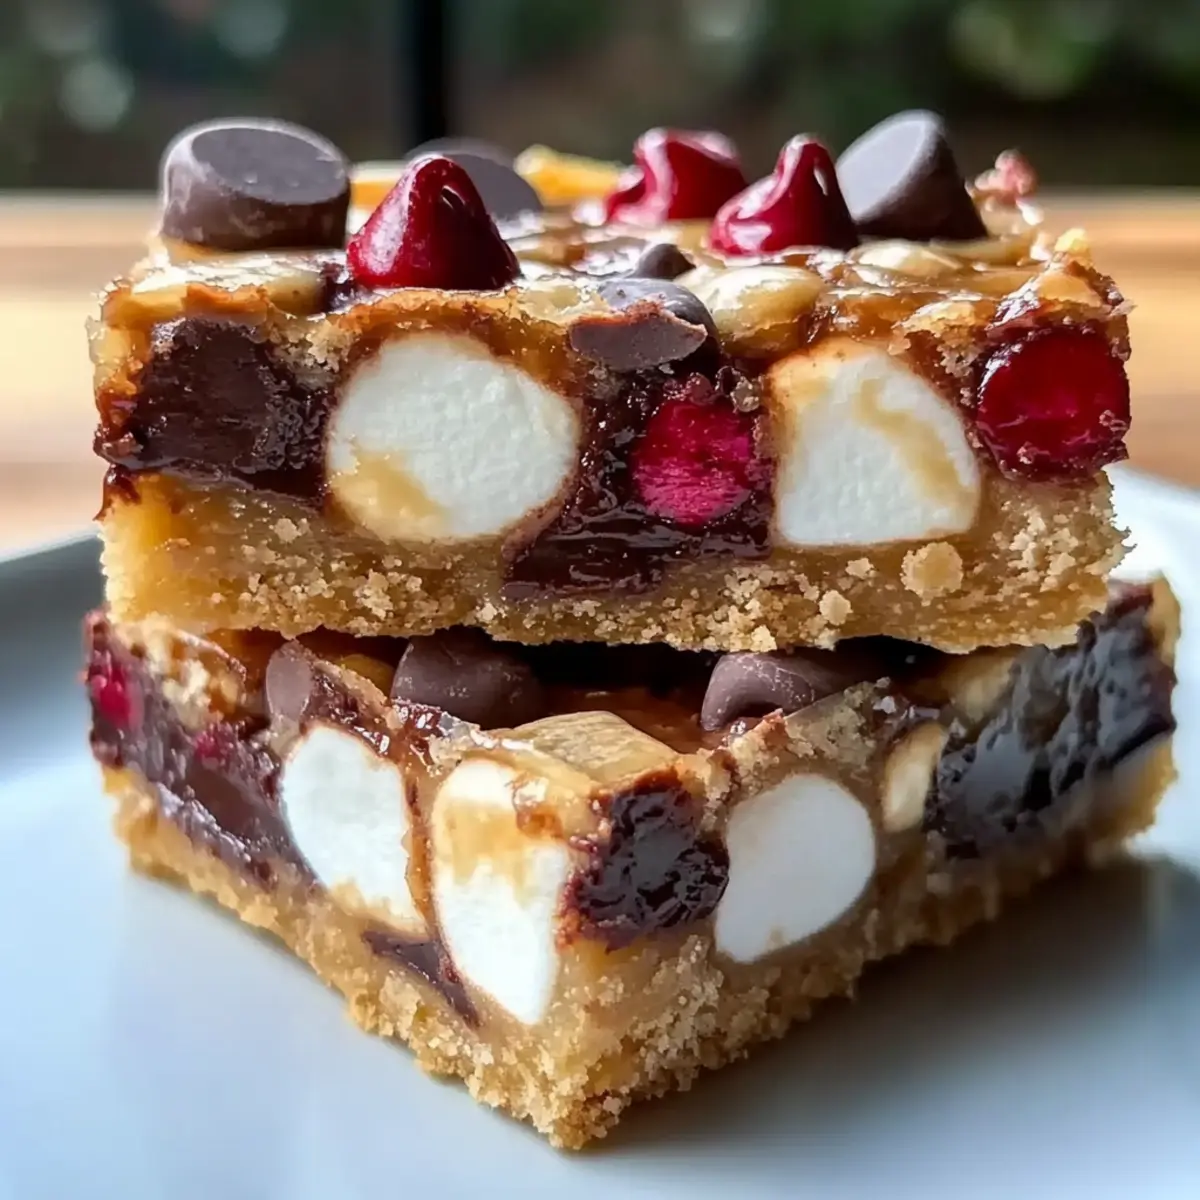
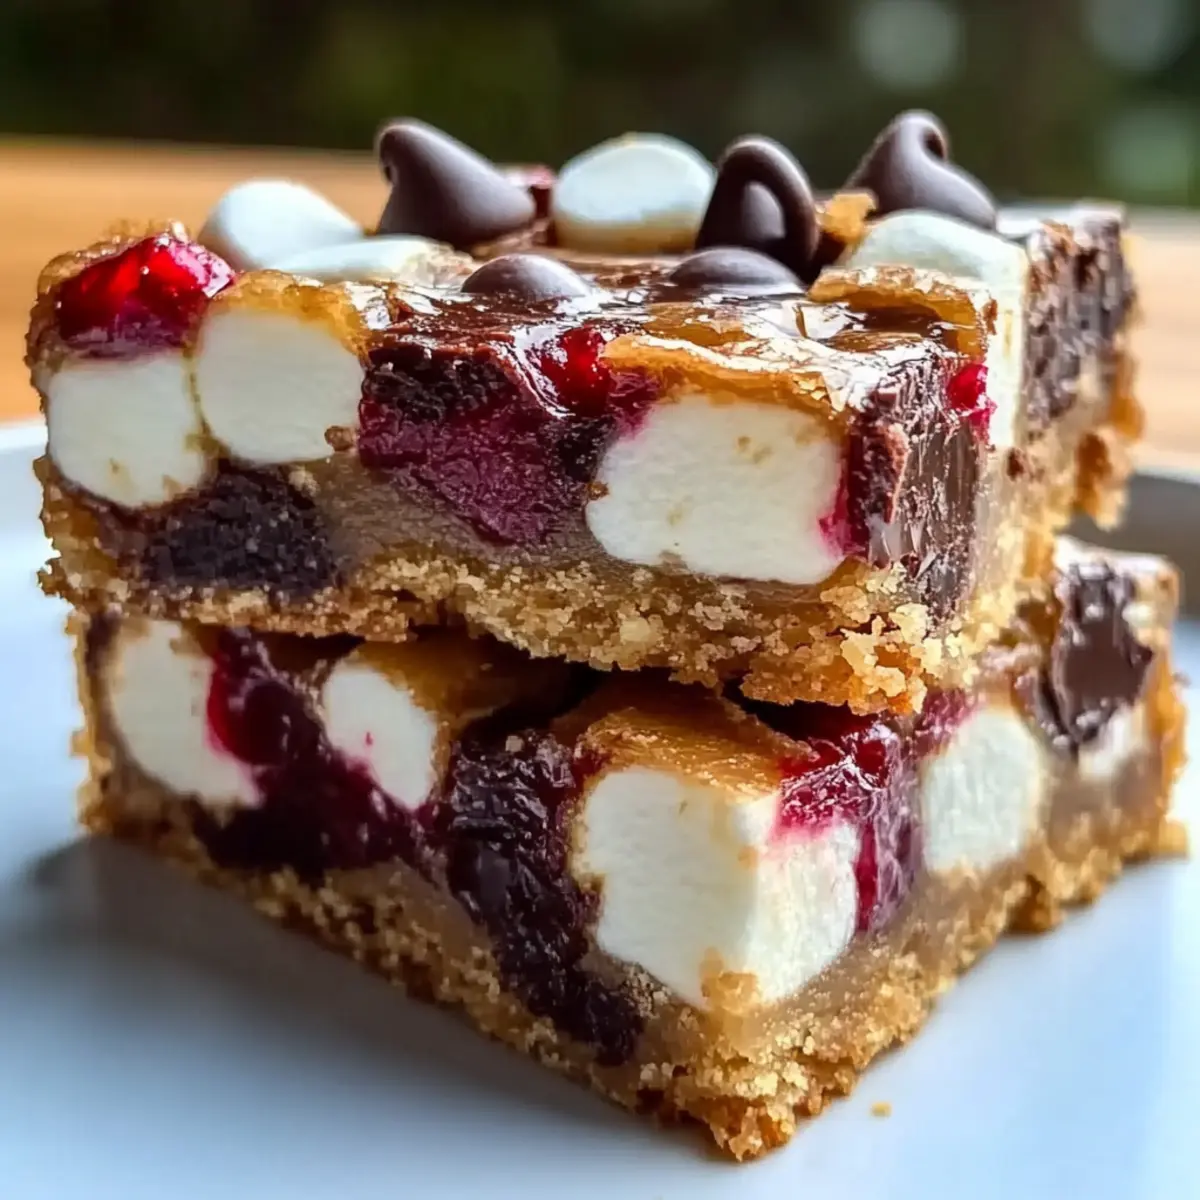
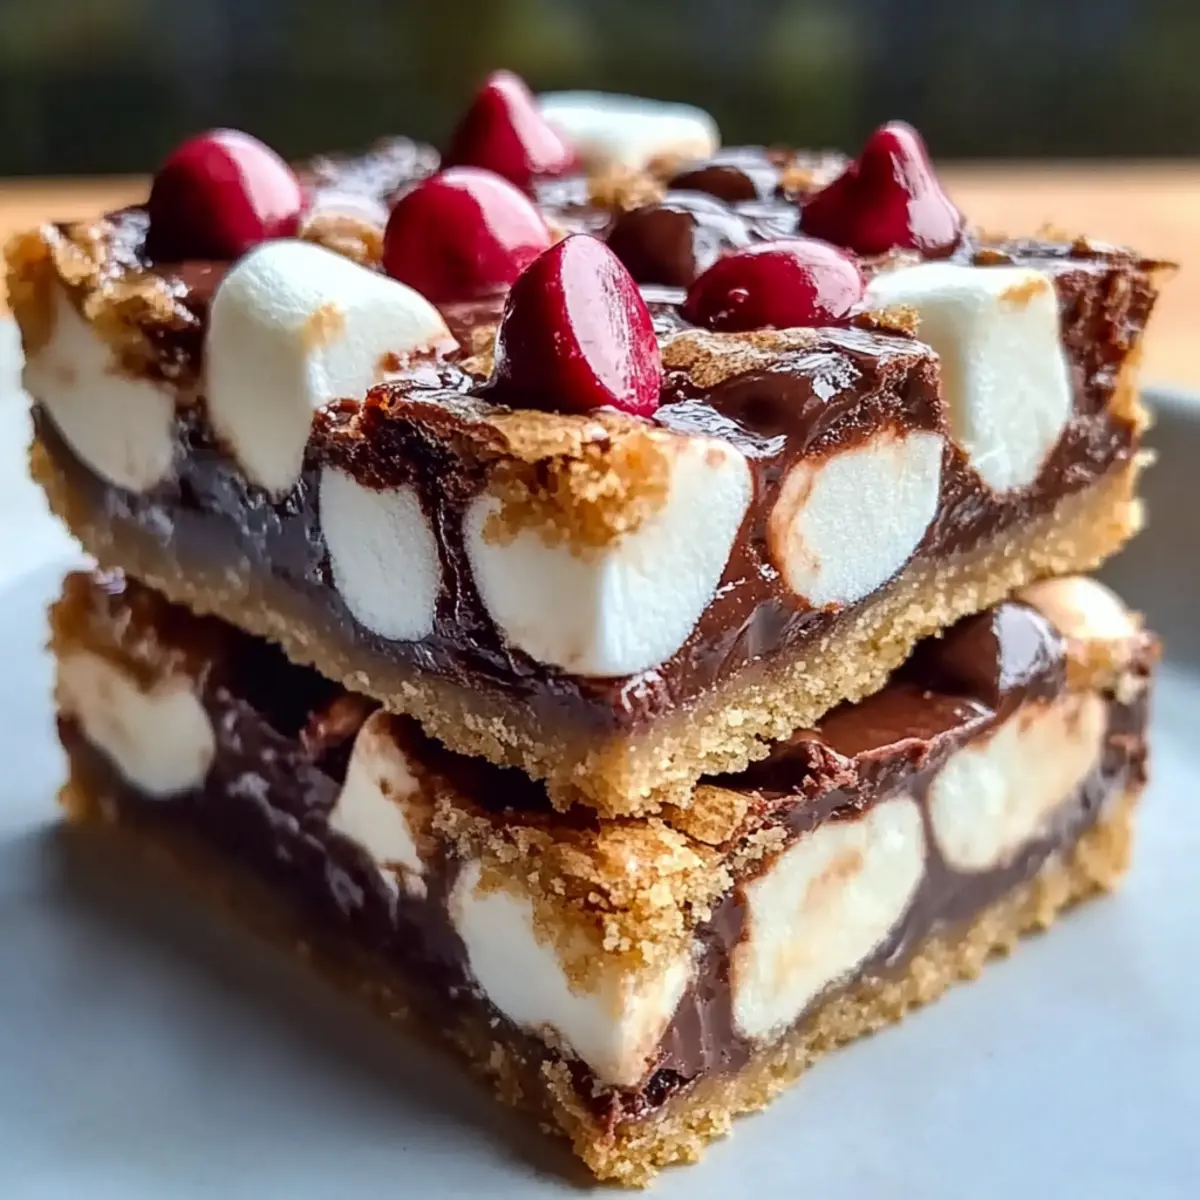
The air is filled with the cozy aroma of cocoa, and it’s the perfect backdrop for our holiday baking adventures. Today, I’m excited to share my recipe for Festive Chocolate Marshmallow Christmas Bars. These delightful treats are not just a quick bake; they’re a versatile canvas for your creativity. In just 45 minutes, you can whip up these gooey, chocolatey squares, adorned with mini marshmallows and bits of chocolate that promise to brighten your holiday gatherings or quiet nights in. Plus, they’re incredibly customizable—whether you’re looking for a nut-free option, a gluten-free twist, or a vegan adaptation, I have you covered! Are you ready to bring a sweet touch to your seasonal celebrations? Let’s dive into the magic of these Christmas bars!
Why Are These Christmas Bars Irresistible?
Decadent Chocolate Bliss: These Christmas bars blend rich cocoa with gooey marshmallows, creating a mouthwatering treat perfect for any holiday gathering.
Quick and Easy: Made in just 45 minutes, even novice bakers can create these delights without hassle.
Advertisement
Customizable to Perfection: Mix in your favorite flavors, from nuts to fruits, or try a mint chocolate twist for a festive flair.
Crowd-Pleasing Delight: Whether you’re sharing at a party or enjoying a cozy night in, these bars are sure to impress everyone.
Make Ahead Convenience: Prepare these tasty bars a few days in advance for an effortless dessert option, allowing the flavors to meld beautifully.
Dive into the season with these delightful treats!
Christmas Bars Ingredients
For the Base
- Graham Cracker Crumbs – Provides a sweet, crunchy foundation; swap with gluten-free graham crackers or almond flour for a gluten-free version.
- Unsweetened Cocoa Powder – Infuses the bars with rich chocolate flavor; choose high-quality cocoa for the best taste.
- Powdered Sugar – Sweetens and smooths the mixture, essential for achieving that melt-in-your-mouth texture.
- Unsalted Butter – Adds richness and binds the ingredients together; melted coconut oil is a great dairy-free alternative.
For the Filling
- Sweetened Condensed Milk – Adds moisture and sweetness, crucial for creating that chewy texture traditional in Christmas bars.
- Mini Marshmallows – Contributes that fun, chewy element; mini marshmallows distribute better than larger ones, ensuring every square is decadent.
- Chocolate Chips – Intensifies the chocolate flavor; consider mixing dark, milk, or white chocolate for a delicious twist.
Optional Add-Ins
- Chopped Nuts – Provides a delightful crunch; remove for a nut-free version and add extra chocolate chips if desired.
- Flavor Variations – Add dried fruit or coconut for unique flavors; a sprinkle of peppermint extract offers a festive mint chocolate twist.
Step‑by‑Step Instructions for Festive Chocolate Marshmallow Christmas Bars
Step 1: Preheat the Oven
Begin your holiday baking by preheating your oven to 350°F (175°C). This initial step is key for ensuring your Christmas bars bake evenly throughout. While your oven heats up, gather your ingredients and equipment, including a greased 9×13 inch baking pan for the batter.
Step 2: Mix the Dry Ingredients
In a large mixing bowl, combine graham cracker crumbs, unsweetened cocoa powder, and powdered sugar. Stir with a whisk until all dry ingredients are well combined, creating a sweet, chocolatey foundation for your bars. This mixture should have a nice even color without any lumps to ensure a smooth texture in your festive chocolate marshmallow Christmas bars.
Step 3: Combine the Wet Ingredients
Next, melt unsalted butter in a microwave-safe bowl until completely liquefied. Add the sweetened condensed milk to the melted butter and mix until smooth. Pour this buttery mixture into the bowl of dry ingredients, stirring gently until everything is well combined. This blend will create a rich base that makes your Christmas bars wonderfully chewy.
Step 4: Fold in the Delicious Mix-ins
Now it’s time to elevate your mixture! Gently fold in the mini marshmallows and chocolate chips, ensuring they’re evenly distributed throughout the batter. If you’re using chopped nuts, add those too! Be careful not to overmix, as you want those gooey marshmallows and chocolate chips to shine in your final Christmas bars.
Step 5: Spread the Mixture and Bake
Carefully transfer your delightful mixture into the prepared baking pan, spreading it evenly using a spatula. Bake in the preheated oven for 25-30 minutes, or until the edges are set and the center is slightly firm to the touch. You’ll know it’s done when the edges appear slightly crisp and the center has a soft, inviting bounce.
Step 6: Cool and Cut into Bars
Once baked, remove the pan from the oven and let your Festive Chocolate Marshmallow Christmas Bars cool completely in the pan on a wire rack. This cooling time is essential for the bars to firm up; cutting them too soon may lead to crumbling. Once ready, slice them into squares for serving during your holiday celebrations.
How to Store and Freeze Christmas Bars
Room Temperature: Store leftover Christmas bars in an airtight container at room temperature for up to 3 days to maintain freshness.
Fridge: For longer-lasting treats, keep the bars in the fridge, wrapped well, for up to 1 week. This also enhances the flavor over time!
Freezer: Wrap individual squares tightly in plastic wrap and freeze them for up to 3 months. Thaw overnight in the fridge before enjoying a delightful treat.
Reheating: If you prefer warm bars, reheat in the microwave for 10-15 seconds. Enjoy them gooey and fresh!
What to Serve with Festive Chocolate Marshmallow Christmas Bars
Indulging in these delightful holiday treats is a festive experience, and pairing them with the right companions enhances their rich flavors.
- Hot Cocoa: A warm cup of rich hot cocoa complements the chocolateiness perfectly, creating a cozy touch to your gathering.
- Spiced Apple Cider: The sweet and spiced notes of apple cider beautifully balance the bars’ decadence, making a seasonal beverage choice.
- Vanilla Ice Cream: A scoop of creamy vanilla ice cream adds a creamy contrast, enhancing the chewy texture while cooling down the chocolate warmth.
- Powdered Sugar Dusting: A light dusting of powdered sugar provides a festive touch, making your bars look extra special for holiday parties.
- Festive Fruit Salad: A colorful salad with fresh fruits like pomegranate and citrus adds a refreshing burst, balancing the sweet, sugary flavors of the bars.
- Peppermint Bark: Serve alongside pieces of homemade peppermint bark for a fun textural contrast and a delightful seasonal twist.
- Coffee or Espresso: A robust cup of coffee or espresso rounds out the sweet profile, elevating the dessert experience during your holiday celebrations.
Expert Tips for Baking Christmas Bars
-
Melt Butter Completely: Ensure that the butter is fully melted for a smooth mixture. This prevents any separation or clumping, enhancing the overall texture of your Christmas bars.
-
Use Non-Stick Spray: Apply non-stick spray or line your baking pan with parchment paper for easy removal. This will help prevent any sticking, ensuring your delicious creation comes out beautifully.
-
Cool Before Cutting: Allow the bars to cool completely in the pan before slicing. Cutting too soon may cause them to crumble, ruining their festive presentation.
-
Experiment with Mix-ins: Feel free to be adventurous! Try adding dried fruit or a sprinkle of coconut for unique flavors. Just remember to keep the balance of ingredients right for perfect Christmas bars.
-
Adjust Sweetness: Taste the mixture before baking; if you prefer sweeter bars, you can add a bit more powdered sugar to suit your palette.
-
Customize for Dietary Needs: Don’t hesitate to adapt the recipe! Use gluten-free graham crackers or melt coconut oil instead of butter for delicious vegan Christmas bars without compromising on taste.
Make Ahead Options
These Christmas Bars are perfect for busy home cooks looking to save time during the hectic holiday season! You can prepare the mixture up to 24 hours in advance by combining the dry and wet ingredients and storing it in the refrigerator. Just remember to cover it tightly to maintain freshness. Additionally, once baked, the bars can be stored in an airtight container for up to 3 days at room temperature, allowing them to become even more flavorful. When you’re ready to serve, simply slice them into squares and enjoy those delightful, gooey morsels—the longer they sit, the more delicious they become!
Christmas Bars Variations & Substitutions
Feel free to wield your creativity in the kitchen and customize these delightful bars to fit your preferences!
-
Nut-Free Version: Omit nuts and add extra chocolate chips for a richer, chocolaty flavor that everyone can enjoy.
-
Gluten-Free Option: Swap in gluten-free graham crackers or almond flour to keep the festive spirit alive while catering to gluten sensitivities.
-
Vegan Adaptation: Use melted coconut oil instead of butter and prepare a homemade vegan sweetened condensed milk for a delicious dairy-free treat.
-
Mint Chocolate Twist: Stir in a teaspoon of peppermint extract for a refreshing holiday flavor that adds an exciting twist to your bars!
-
Fruit and Nut Medley: Add chopped dried cranberries or cherries along with nuts for vibrant bursts of flavor and festive color.
-
Coconut Delight: Mix in shredded coconut for an extra layer of texture and a tropical flair that perfectly complements the chocolate.
-
Caramel Drizzle: Drizzle warm caramel sauce over the cooled bars before cutting for a decadent treat that adds both sweetness and visual appeal.
-
Spiced Version: Incorporate a pinch of cinnamon or nutmeg into the batter to bring warm, aromatic spices into your delightful holiday creation—perfect for cozy winter nights!
Explore these variations for your Christmas bars, and don’t forget to pair them with a cup of spiced apple cider or cozy hot cocoa, just like those irresistible Christmas Cookie Bars!
Christmas Bars Recipe FAQs
How do I select ripe ingredients for my Christmas Bars?
Absolutely! When choosing ingredients, especially for sweet recipes, the quality is essential. Opt for fresh, high-quality cocoa powder for a rich flavor. If using mini marshmallows, look for those that are soft and fluffy without any hard pieces. For nuts (if included), choose fresh varieties that are not stale. Using quality ingredients makes a noticeable difference in the final taste of your Christmas Bars.
How should I store my Christmas Bars?
To keep your delicious Christmas Bars fresh, store them in an airtight container at room temperature for up to 3 days. If you’d like to enjoy them longer, you can refrigerate them for up to 1 week; this actually enhances their flavor! Just be sure they are tightly wrapped. I often make a batch ahead and let them sit in the fridge—they become even tastier!
Can I freeze Christmas Bars, and how?
Absolutely! Freezing is a great option to extend the life of your Christmas Bars. To freeze, wrap individual squares tightly in plastic wrap or aluminum foil, then place them in a freezer-safe bag—this prevents freezer burn. They can be stored for up to 3 months. When you’re ready to enjoy, just thaw them overnight in the fridge. For a warm treat, pop them in the microwave for about 10-15 seconds before serving.
What if my bars turn out too crumbly?
If your Christmas Bars are crumbly, it might be due to the mixture being overbaked or not enough wet ingredients. Make sure you don’t let them bake longer than 30 minutes as you want the edges set but the center slightly soft. If they cool too quickly or get cut too soon, they might crumble as well. Let them cool completely in the pan before slicing to maintain a soft and chewy texture.
Can I make these bars nut-free?
Very! For nut-free Christmas Bars, simply omit any added nuts and increase the amount of chocolate chips for a delicious alternative. The bars will still be rich and flavorful without any nuts, maintaining their chewy texture. You can also explore fun additions, like dried fruits or coconut, for a delightful taste without nuts.
Are there any dietary considerations for my Christmas Bars?
For those with allergies, it’s important to note that this recipe calls for several ingredients that may trigger sensitivities. The bars contain gluten, dairy, and possibly nuts, depending on your choice of add-ins. However, with a few tweaks, you can make them accessible for various diets: use gluten-free graham crackers for a gluten-free version, coconut oil instead of butter for a dairy-free option, and substitute homemade sweetened condensed milk for a vegan adaptation.
Delicious Christmas Bars: The Ultimate Festive Treats
Ingredients
Equipment
Method
- Preheat your oven to 350°F (175°C). Gather your ingredients and prepare a greased 9x13 inch baking pan.
- In a large mixing bowl, combine graham cracker crumbs, cocoa powder, and powdered sugar. Whisk until well combined.
- Melt unsalted butter in a microwave-safe bowl. Add sweetened condensed milk and mix until smooth. Combine with dry ingredients.
- Fold in mini marshmallows and chocolate chips, being careful not to overmix.
- Spread the mixture evenly into the baking pan and bake for 25-30 minutes, until edges are set.
- Allow the bars to cool completely in the pan on a wire rack before cutting into squares.