Advertisement
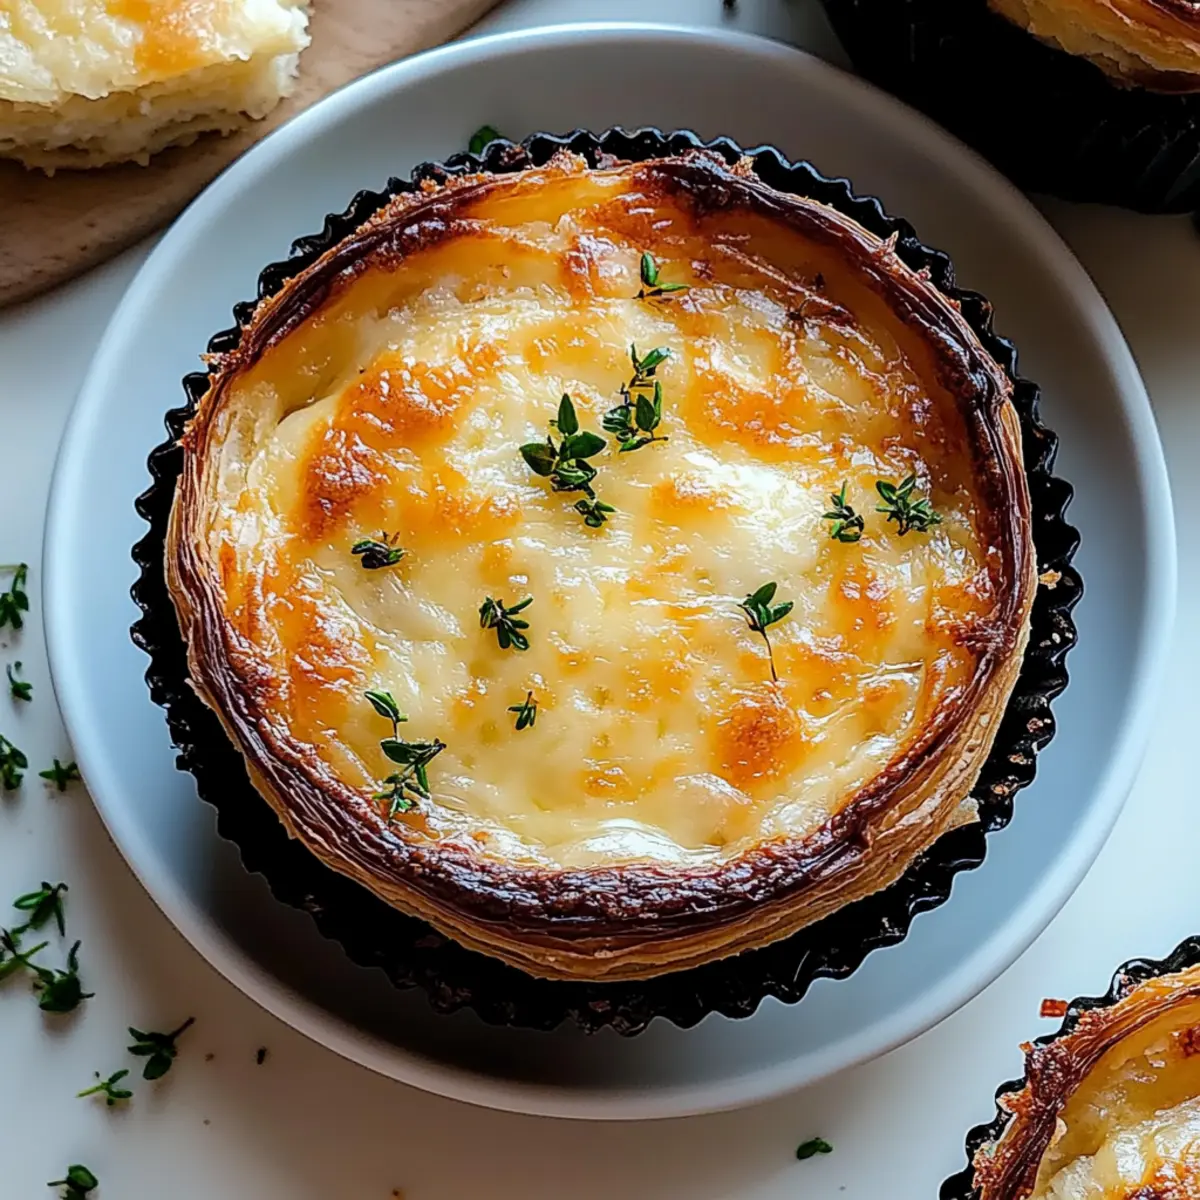
The aroma of freshly baked bread wafts through my kitchen, instantly transforming the atmosphere. Today, I’m excited to share my recipe for Cheesy Garlic Cruffins, an indulgent treat that has become a household favorite. These buttery, flaky delights are not just a visual feast but also a heartfelt embrace, perfect for lazy lunches or as an impressive addition to any gathering. With minimal prep time and a comforting flavor profile, they invite everyone to savor the simple joys of homemade goodness. Whether enjoyed warm with a side of creamy soup or simply on their own, these cruffins are sure to please. Ready to discover how to whip up this delectable pastry? Let’s dive into the details!
Why are Cheesy Garlic Cruffins Irresistible?
Irresistible Flavors: The savory blend of garlic and melty cheese makes every bite unforgettable.
Effortless Preparation: With simple steps, this recipe is perfect for both baking novices and seasoned chefs.
Advertisement
Versatile Snack: Enjoy them warm on their own or pair with a zesty salad or creamy tomato soup for a satisfying meal.
Crowd-Pleasing Treat: Impress guests at brunch or family gatherings with these flaky delights—everyone will be asking for seconds.
For more delightful recipes, check out my Cheesy Loaded Meatloaf or Golden Savory Cheesy Bites.
Cheesy Garlic Cruffin Ingredients
For the Dough
- All-Purpose Flour – Provides structure and stability; substitute with bread flour for a chewier texture.
- Granulated Sugar – Adds a hint of sweetness; can be omitted for a less sweet dough.
- Salt – Enhances flavor; ensure to use kosher salt for even seasoning.
- Instant Yeast – Helps dough rise quickly; active dry yeast can substitute but must be activated in warm water.
- Warm Milk – Provides moisture and richness; use dairy-free milk for a vegan option.
- Unsalted Butter – Adds richness and flavor; could be swapped with margarine or vegan butter.
- Warm Water – Activates yeast; ensure it’s lukewarm to not kill the yeast.
- Large Egg – Binds ingredients and adds richness; a flax egg works as a vegan substitute.
For the Filling
- Grated Parmesan Cheese – Adds sharpness and umami flavor; aged cheddar serves as a delicious alternative.
- Shredded Mozzarella Cheese – Provides a gooey texture; fontina can create a more complex and rich flavor.
- Minced Garlic – Enhances the savory profile; adjust the amount based on your taste.
- Softened Unsalted Butter – Used in the filling for richness; ensure it’s softened for easy mixing with garlic.
- Fresh Parsley – Adds freshness and color; can be replaced with chives or omitted if needed.
Optional Toppings
- Extra Cheese – Sprinkle additional cheese on top before baking for an even cheesier delight.
- Fresh Herbs – Garnish with fresh herbs like basil or thyme after baking for an aromatic touch.
Dive into the joy of baking with these Cheesy Garlic Cruffin Ingredients, and let the savory magic unfold!
Step‑by‑Step Instructions for Cheesy Garlic Cruffin
Step 1: Prepare Dough
In a large mixing bowl, combine all-purpose flour, sugar, salt, and instant yeast. Create a well in the center, then pour in warm milk, melted butter, and warm water. Crack the large egg into the mixture and stir until the ingredients are just combined, forming a shaggy dough.
Step 2: Knead
Transfer the shaggy dough onto a lightly floured surface. Knead the dough for 8-10 minutes, applying your weight to fully develop the gluten until smooth and elastic. The dough should spring back when poked and feel slightly tacky, creating the perfect base for your Cheesy Garlic Cruffin.
Step 3: First Rise
Grease a large bowl with a bit of oil, place the kneaded dough inside, and cover it with a clean kitchen towel. Allow the dough to rise in a warm, draft-free area for about 1 hour, or until it has doubled in size. This step is crucial for achieving those light and airy layers.
Step 4: Prepare Filling
While the dough is rising, mix minced garlic, softened unsalted butter, and freshly chopped parsley in a small bowl. Combine these ingredients until well-blended, creating a flavorful garlic butter that will enhance the Cheesy Garlic Cruffin filling with a robust and savory punch.
Step 5: Preheat Oven
Once the dough has risen, preheat your oven to 375°F (190°C). While the oven heats up, lightly grease a muffin tin with non-stick spray or softened butter to ensure easy release of your golden cruffins after baking.
Step 6: Shape and Roll Dough
After the first rise, punch down the dough to release air and roll it out on a floured surface into a rectangular shape, about ¼ inch thick. Spread the garlic butter mixture evenly across the surface, then sprinkle grated Parmesan and shredded mozzarella cheese over the garlic butter, ensuring even coverage for a cheesy delight in every bite.
Step 7: Roll & Slice
Carefully roll the dough into a tight log, starting from one long edge to the other. Once fully rolled, use a sharp knife to slice it into 8-10 equal pieces, depending on your desired size for your Cheesy Garlic Cruffin. Each piece should showcase those tantalizing layers.
Step 8: Build Cruffins
Take each dough slice and stack it upright in the greased muffin cups, allowing the layers to fan out slightly. This stacking method is essential for achieving the characteristic flaky texture and height of your cruffins during baking.
Step 9: Second Rise
Cover the muffin tin loosely with a kitchen towel and let the cruffin slices rise for an additional 20 minutes. This second rise allows the dough to relax and gain fluffiness, ensuring a beautifully puffy texture for your Cheesy Garlic Cruffin.
Step 10: Bake
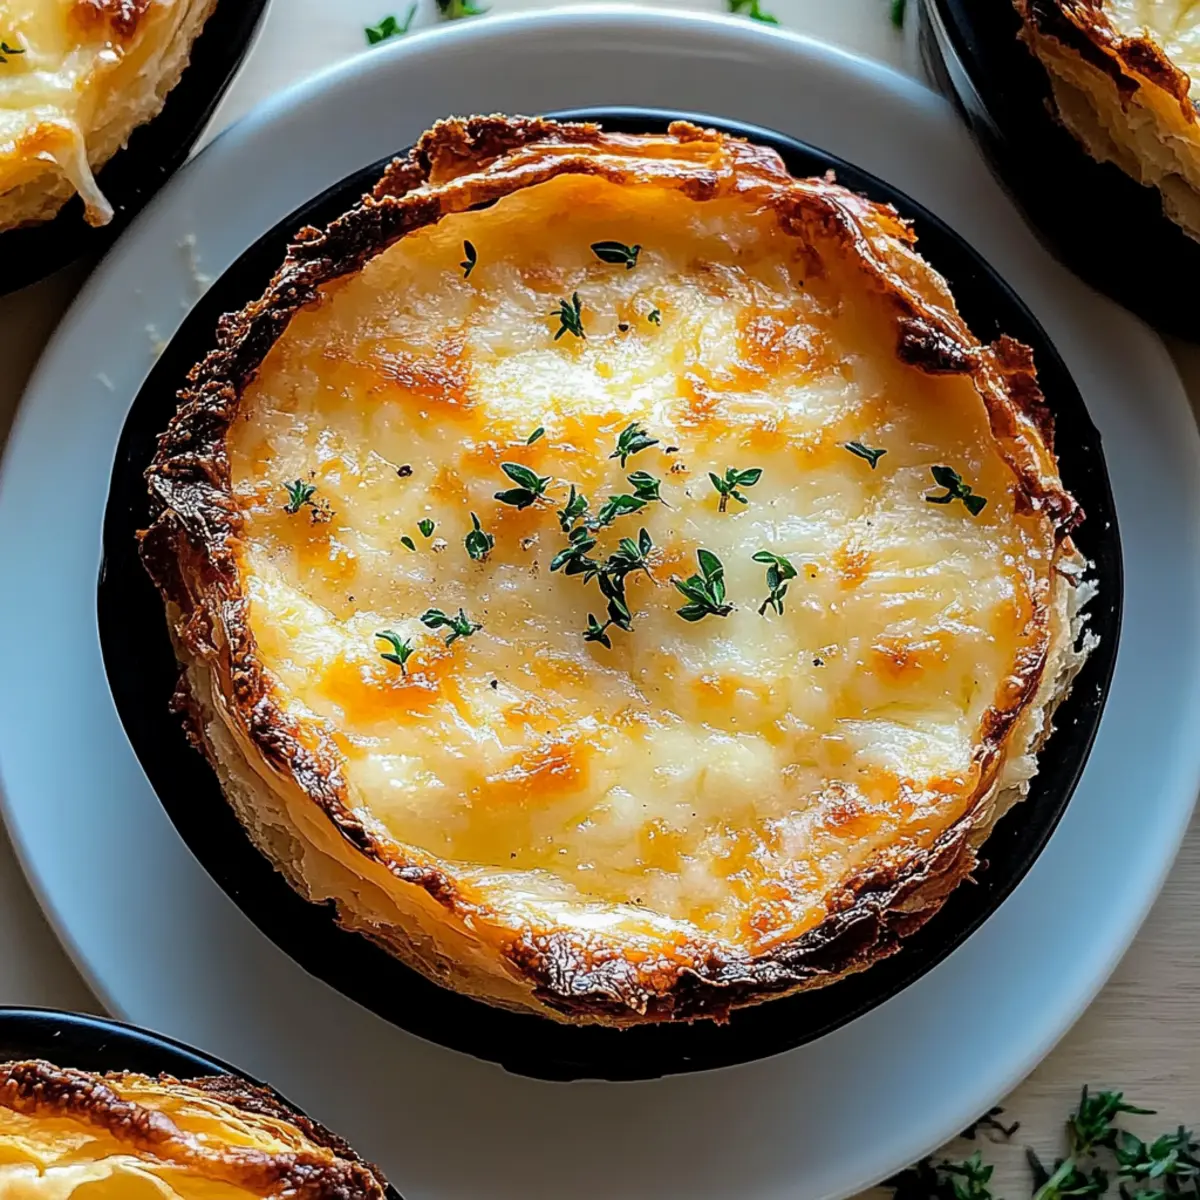
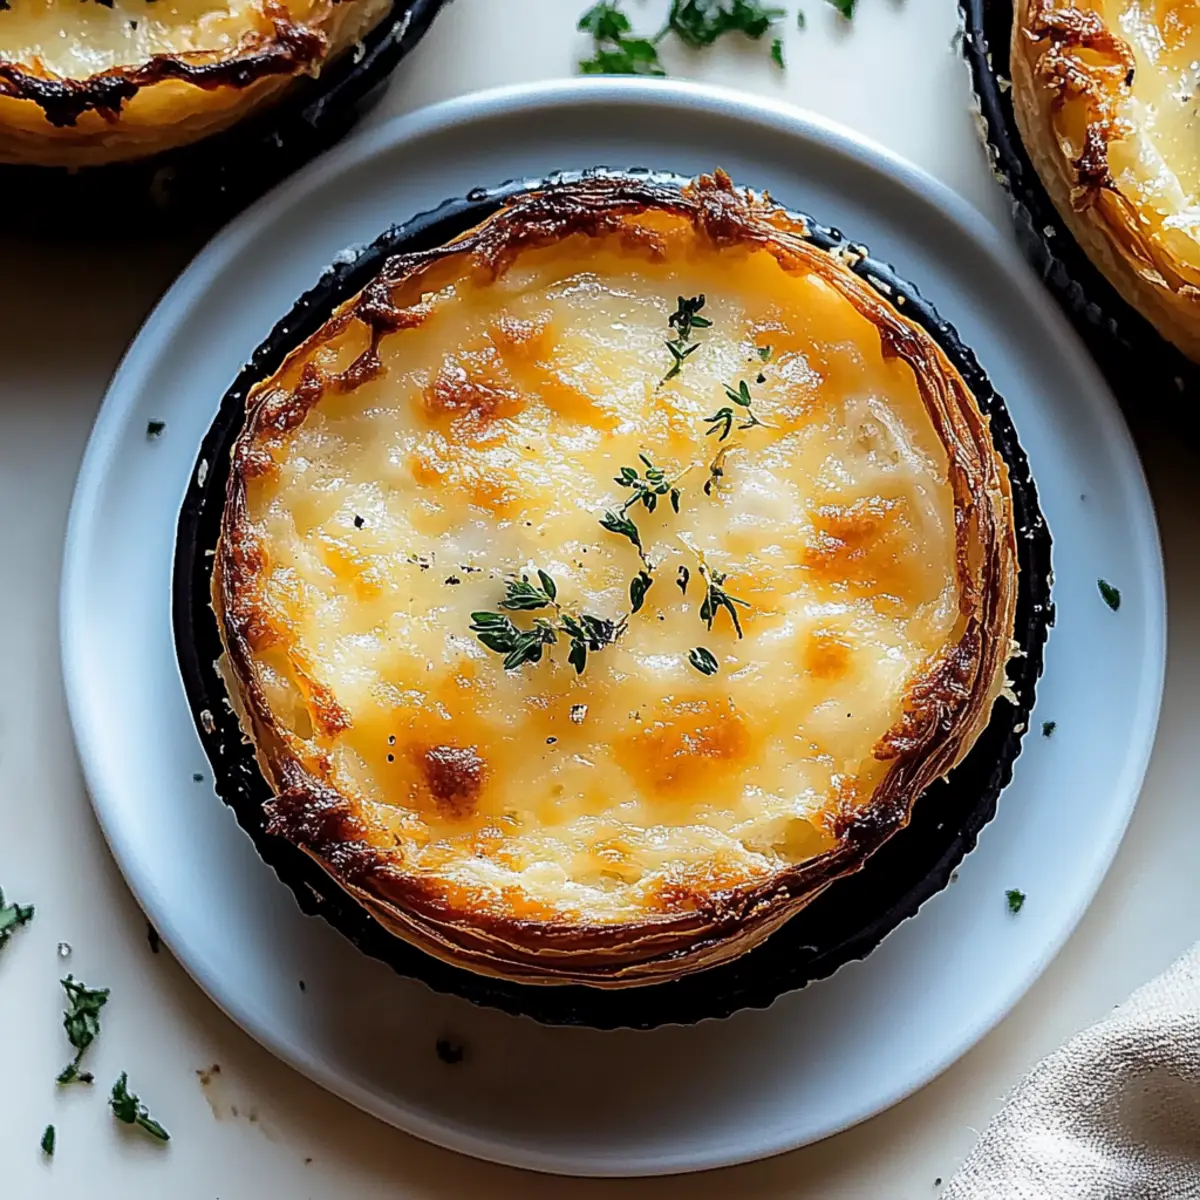
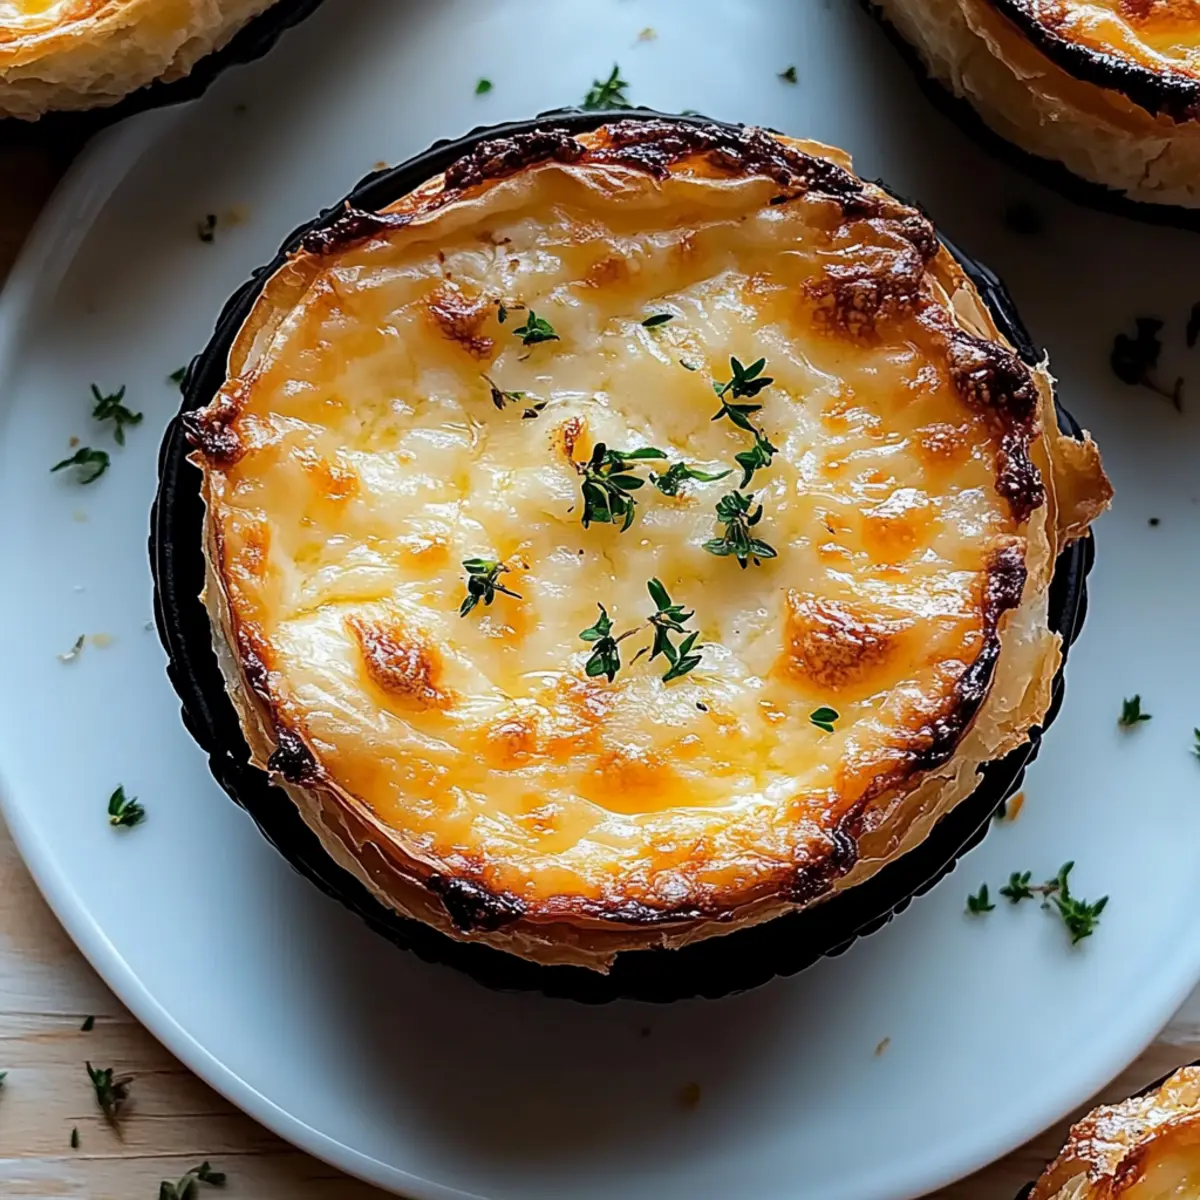
Place the muffin tin in the preheated oven and bake the cruffins for 20-25 minutes or until they are golden brown and the cheese is bubbling. Keep an eye on them towards the end; you want a beautiful crust that invites you to dig in while the aroma fills your kitchen.
Step 11: Cool and Serve
Once baked to perfection, remove the cruffins from the oven and allow them to cool in the pan for about 5 minutes. Gently transfer them to a wire rack to cool slightly before serving, enhancing the cheesy goodness inside. Enjoy your Cheesy Garlic Cruffins warm for the best experience!
What to Serve with Cheesy Garlic Cruffins
These cheesy garlic cruffins are a delightful start to a comforting meal that will warm your heart and tantalize your taste buds.
-
Creamy Tomato Soup: The velvety richness of tomato soup pairs perfectly with the savory cruffins, creating a classic and satisfying combination. This duo makes for a soothing meal, especially on chilly days.
-
Fresh Mixed Greens Salad: A bright salad with zesty lemon vinaigrette adds a refreshing contrast to the indulgent cruffins, balancing flavors beautifully. Toss in some cherry tomatoes and cucumber for extra crunch!
-
Garlic Herb Butter Pasta: This simple pasta dish offers an additional layer of garlicky goodness, enhancing the flavor profile of the cruffins while adding hearty fullness. Serve it alongside the cruffins for an indulgent feast.
-
Roasted Vegetable Platter: A platter of seasonal roasted veggies, drizzled with olive oil, brings earthiness to the dinner table. Their crunchy texture complements the softness of the cruffins while maintaining a visual appeal.
-
Chardonnay or Sparkling Wine: A crisp glass of Chardonnay elevates the meal, as its fruitiness and acidity highlight the cheese and garlic notes in the cruffins. For a festive touch, opt for a sparkling wine that brings excitement to every bite.
-
Chocolate Chip Cookies: Indulge in a sweet ending with warm chocolate chip cookies for dessert. The gooey sweetness pairs nicely after savory bites, making for a well-rounded meal experience.
How to Store and Freeze Cheesy Garlic Cruffins
Room Temperature: Store in an airtight container at room temperature for up to 2 days to maintain freshness and avoid sogginess.
Fridge: If you plan to keep them longer, refrigerate for up to 4 days. Reheat in the oven at 350°F (175°C) for 5-10 minutes to restore their flaky texture.
Freezer: For longer storage, wrap each cruffin individually in plastic wrap and place them in a freezer-safe bag. They can be frozen for up to 2 months.
Reheating: When ready to enjoy your cheesy garlic cruffin, thaw overnight in the fridge if frozen, then warm up in the oven to bring back that delectable, gooey cheese and buttery goodness!
Make Ahead Options
These Cheesy Garlic Cruffins are perfect for meal prep enthusiasts! You can prepare the dough and filling up to 24 hours in advance, allowing you to enjoy homemade goodness even on the busiest days. Simply mix the ingredients and allow the dough to complete the first rise, then cover and refrigerate until ready to use. The filling can also be made ahead; just refrigerate the garlic butter mixture. When you’re ready to bake, allow the dough to come to room temperature for about 30 minutes before shaping and baking as directed. This way, you’ll have freshly baked cruffins, just as delicious as the day you made them, saving you time without sacrificing flavor!
Cheesy Garlic Cruffin Variations
Feel free to make these Cheesy Garlic Cruffins your own by exploring delightful substitutions and twists that will tantalize your taste buds!
-
Cheese Swap: Use sharp cheddar, gouda, or provolone for distinct flavor profiles. Each cheese brings its own unique character, adding an exciting twist to these delicacies.
-
Vegetable Boost: Add sautéed spinach or mushrooms to the filling for a nutritious veggie punch. These additions not only enhance flavor but also provide a beautiful color contrast.
-
Spicy Kick: Mix in chopped jalapeños or red pepper flakes for an added spice that will tingle your palate. A little heat livens up the flavor, making every bite an adventure!
-
Herb Infusion: Incorporate fresh herbs like thyme or rosemary into the garlic butter for an aromatic lift. These fragrant additions result in a more sophisticated taste experience that elevates your cruffins to gourmet heights.
-
Gluten-Free Option: Substitute all-purpose flour with a gluten-free blend for a delicious, safe alternative. Enjoy without sacrificing flavor or texture, providing everyone the chance to join in on the indulgence!
-
Sweetened Version: For a delightful breakfast twist, sprinkle some cinnamon and sugar in the filling for a faux cinnamon roll flavor. This variation is perfect for transforming your cruffin into a sweet indulgence.
-
Extra Richness: Drizzle some garlic-infused olive oil over the top before baking for extra flavor and richness. The added aroma and taste create an irresistible allure that’s hard to resist.
Pair your cruffins with a light salad or a bowl of lovely creamy tomato soup for a comforting, satisfying meal. If you’re interested in trying other cheesy delights, don’t miss my Cheesy Loaded Meatloaf or indulge in some Golden Savory Cheesy Bites for even more cheesy goodness!
Tips for the Best Cheesy Garlic Cruffins
-
Check Your Yeast: Always ensure your yeast is fresh and active. If it doesn’t fizz when mixed with warm water, it’s time to buy a new batch.
-
Measure Flour Correctly: Use the spoon-and-level method to avoid adding too much flour, which can lead to dense cruffins. Always scooping directly from the bag can cause unnecessary excess.
-
Proper Dough Temperature: Make sure the liquids you add are lukewarm, between 100°F to 110°F (38°C to 43°C), to ensure the yeast thrives without being killed.
-
Knead Well: Don’t rush the kneading process; aim for 8-10 minutes of kneading until the dough is smooth and elastic, which is essential for the fluffy texture of your cheesy garlic cruffins.
-
Timing the Rises: Allow enough time for both the first and second rises. Rushing these steps can result in tough, dense cruffins.
-
Experiment with Fillings: Try adding sautéed vegetables or different cheeses to bring a new essence to your cheesy garlic cruffins and customize them to your taste.
Cheesy Garlic Cruffin Recipe FAQs
How do I choose the right garlic for my cruffins?
Absolutely! When selecting garlic, look for firm bulbs without any dark spots or sprouting. Fresh garlic should feel solid and not have any soft or mushy sections. The best garlic will also have a strong aroma, which means it’s fragrant and flavorful! I often find that using roasted garlic enhances the sweetness and mellows the pungency, creating a lovely depth of flavor in my cruffins.
How should I store leftover cruffins?
Very simple! Store your Cheesy Garlic Cruffins in an airtight container at room temperature for up to 2 days. If you plan to keep them longer, refrigerate them, and they’ll last for about 3 to 4 days. However, for the best texture, I recommend reheating them in an oven at 350°F (175°C) for about 5-10 minutes before serving.
Can I freeze Cheesy Garlic Cruffins?
Absolutely! Freezing is a great way to prolong their deliciousness. To freeze, wrap each cruffin individually in plastic wrap and place them in a freezer-safe bag. They can be stored for up to 2 months. When you’re ready to enjoy one, simply thaw it overnight in the refrigerator, then reheat it in the oven until warmed through to restore that flaky crust!
What if my dough doesn’t rise?
Oh, don’t worry! If your dough hasn’t risen, this usually indicates that the yeast is inactive. Make sure your yeast is fresh and was not exposed to heat over 110°F (43°C). If you’ve followed all the steps correctly but still have a dense dough, try letting it rise in a warm space, like on top of the oven when it’s turned on. You can also sprinkle some sugar over the yeast when activating it to give it a little boost!
Are there any dietary considerations for my Cheesy Garlic Cruffins?
Great question! If you’re making these cruffins for those with dietary restrictions, you can easily swap ingredients. Use non-dairy milk and margarine or vegan butter for a dairy-free version. Similarly, substitute a flax egg for the regular egg to make it vegan-friendly. Just be mindful of allergens, especially with cheese—some can be sensitive to lactose. Always ask your guests about their dietary needs before serving!
Cheesy Garlic Cruffin: Your New Favorite Indulgent Snack
Ingredients
Equipment
Method
- Combine flour, sugar, salt, and yeast in a bowl. Add warm milk, melted butter, warm water, and egg. Stir until shaggy dough forms.
- Knead dough on a floured surface for 8-10 minutes until smooth and elastic.
- Grease a bowl, place the dough inside, cover, and let rise for 1 hour until doubled in size.
- Mix minced garlic, softened butter, and parsley in a bowl until well blended.
- Preheat oven to 375°F (190°C) and grease a muffin tin.
- Roll out dough to ¼ inch thick, spread garlic butter, and sprinkle cheeses over it.
- Roll dough tightly, slice into 8-10 pieces, and stack upright in muffin cups.
- Cover muffin tin and let cruffin slices rise for another 20 minutes.
- Bake for 20-25 minutes until golden brown and cheese is bubbling.
- Cool for 5 minutes in the pan before transferring to a wire rack. Serve warm.