Advertisement
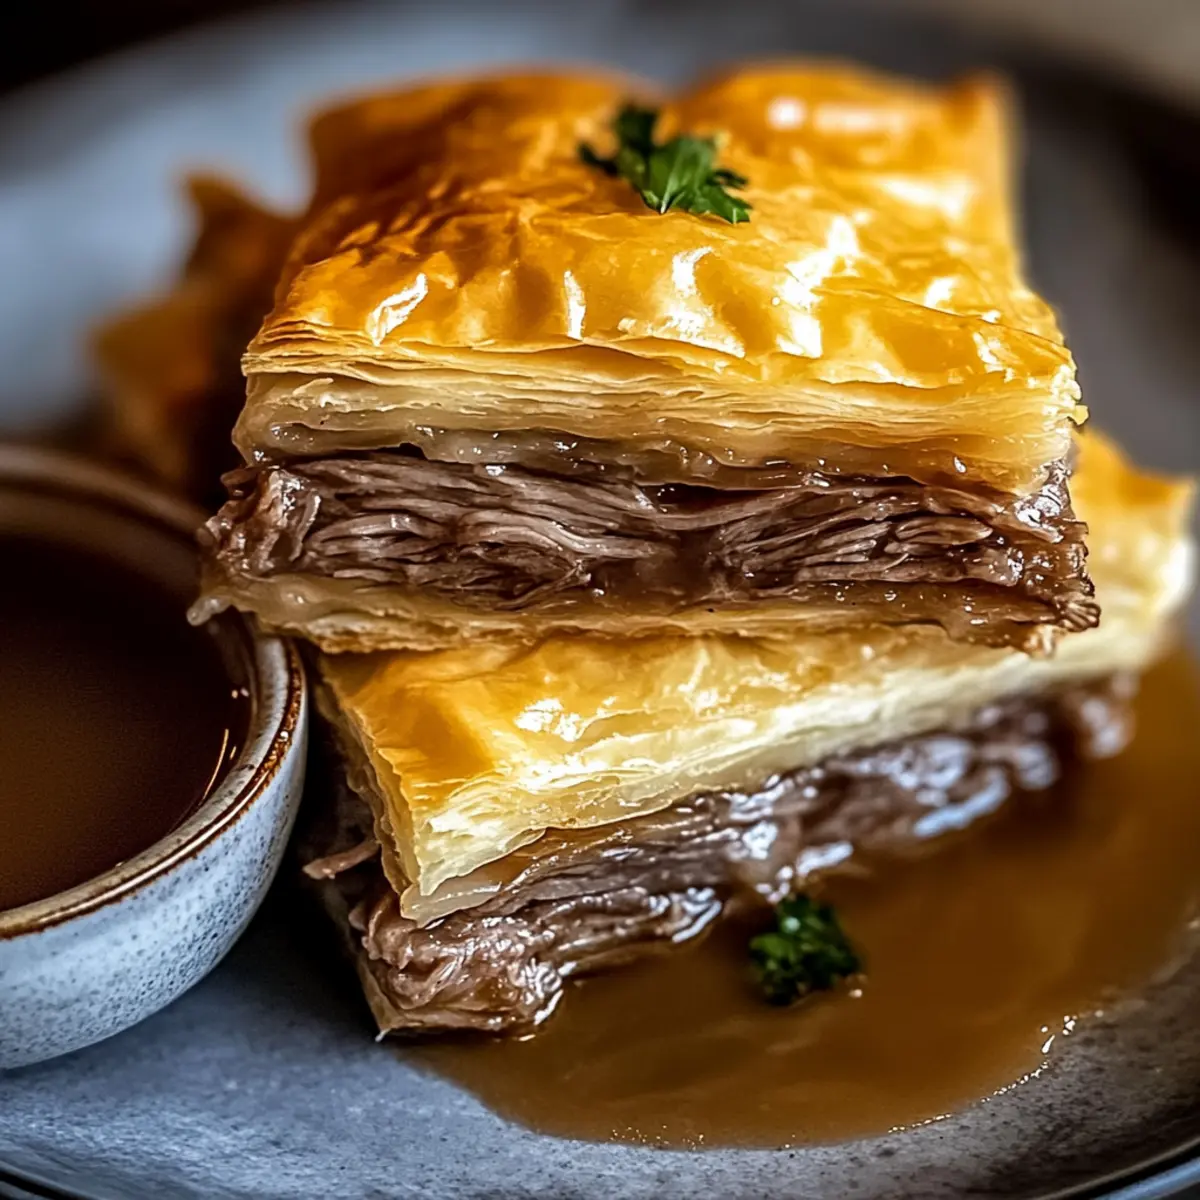
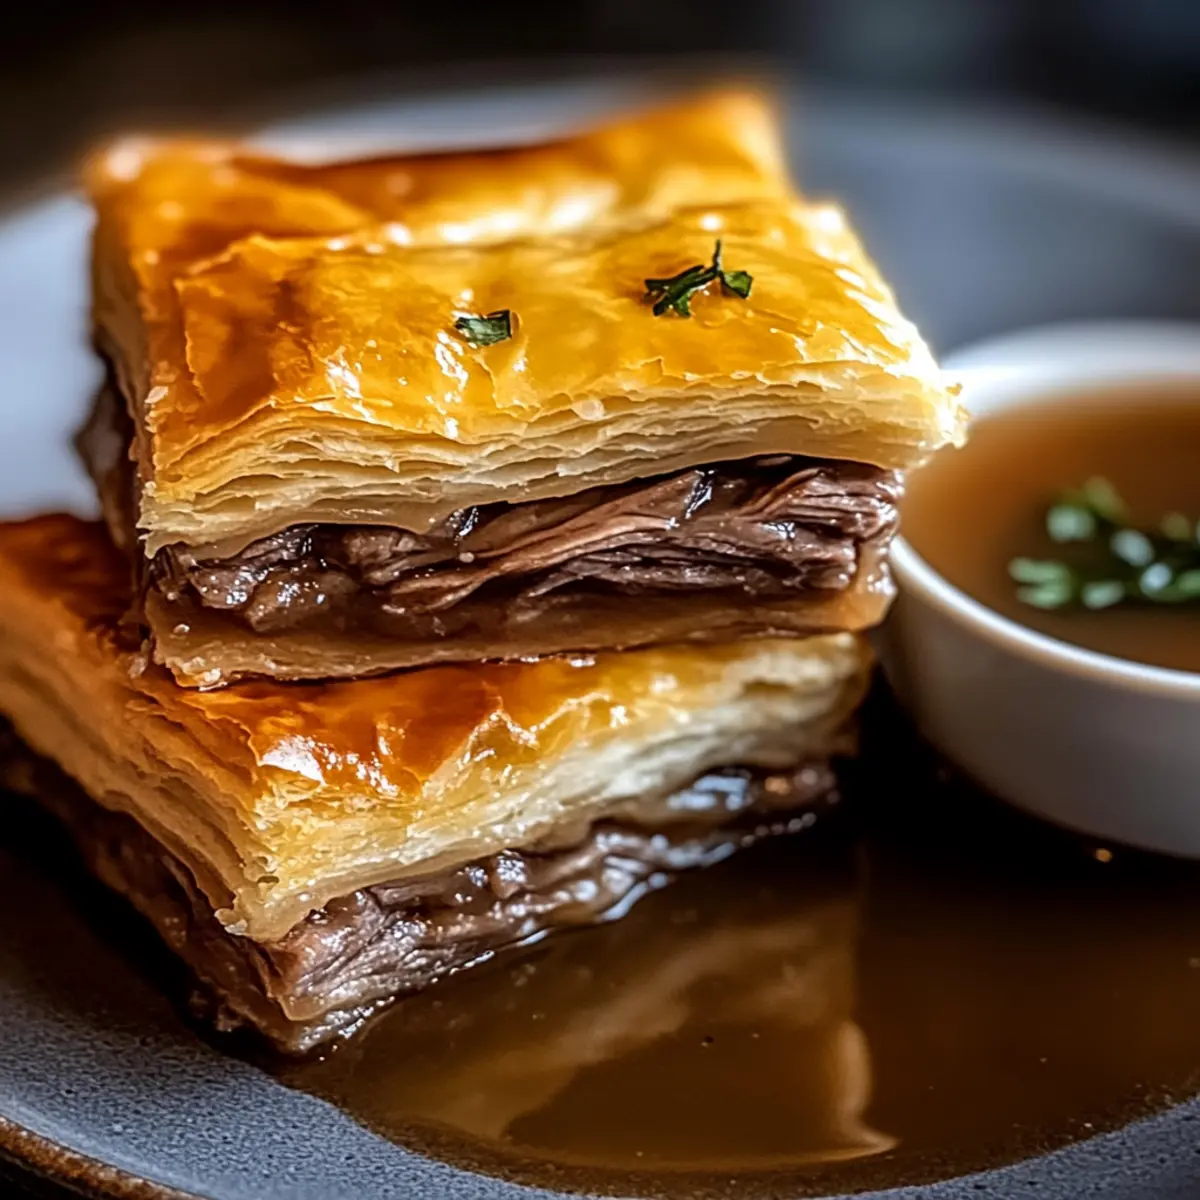
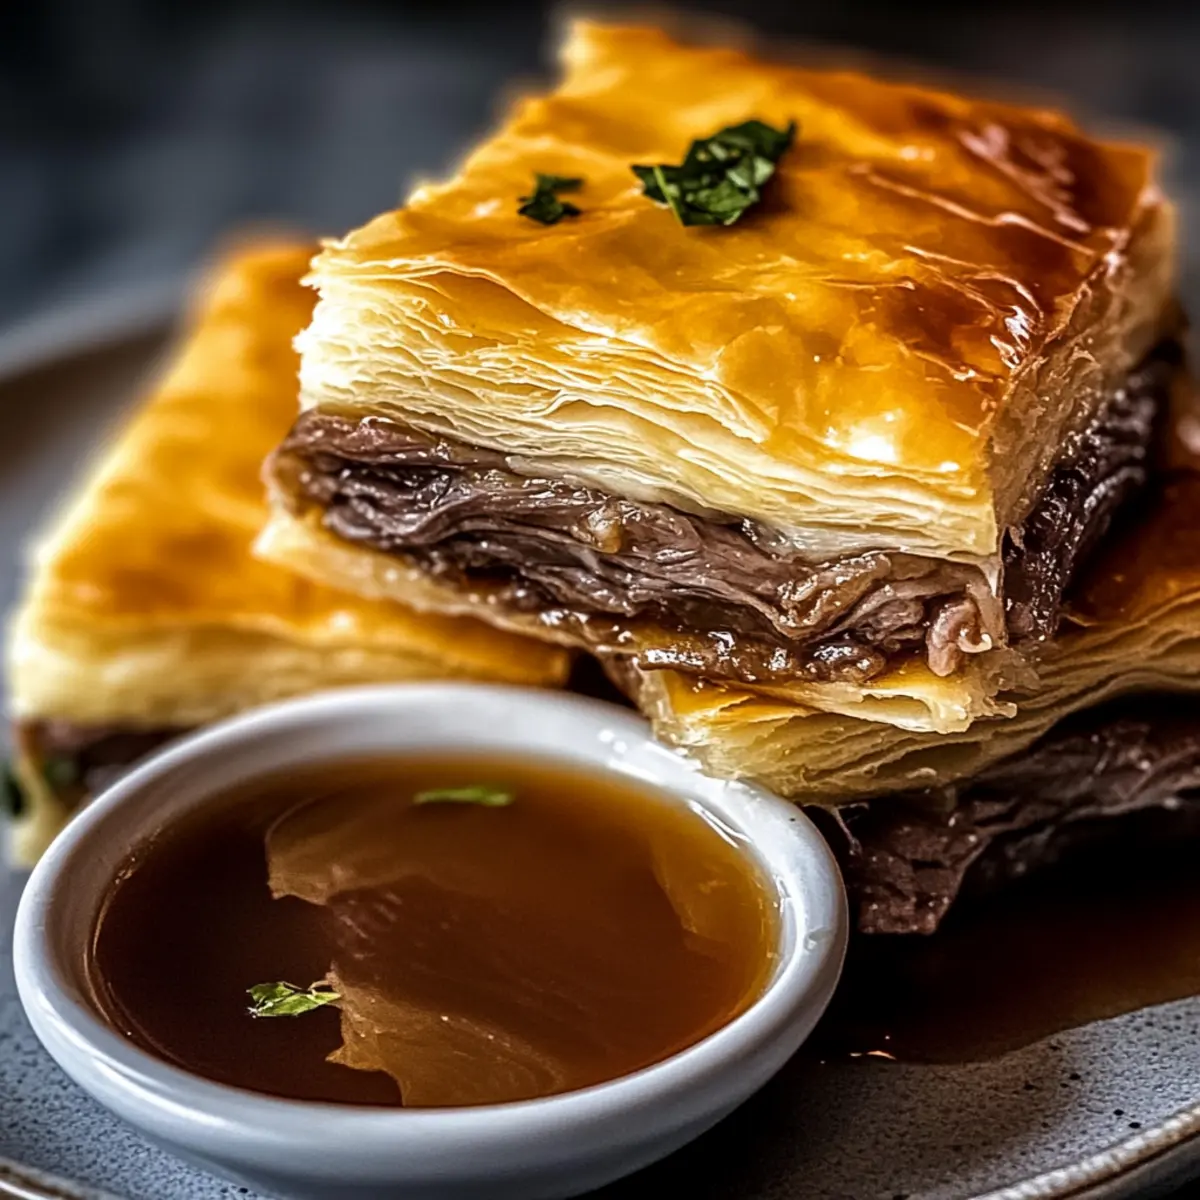
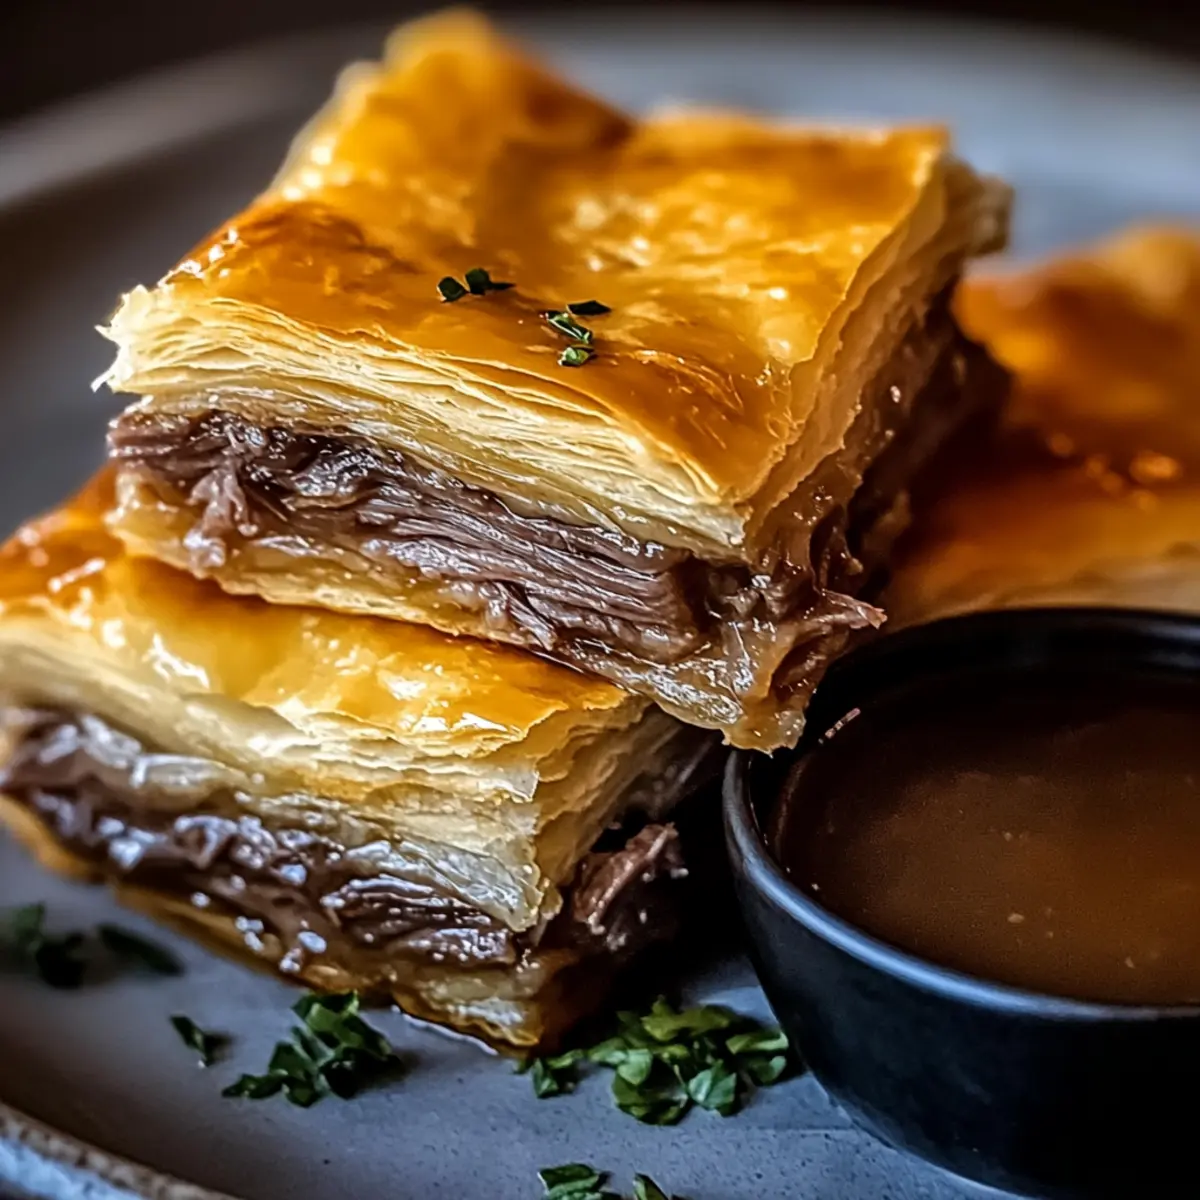
As I stood in my kitchen, the aroma of warm crescents enveloped me like a comforting hug, reminding me of gatherings centered around good food and laughter. Today, I’m excited to share a twist on a classic favorite—French Dip Squares. This easy-to-make, shareable dish is ideal for parties or cozy nights in, with layers of tender deli roast beef and gooey Swiss cheese wrapped in a buttery crescent roll crust. The best part? Each delightful square is perfect for dipping into warm beef broth, bringing the comforting essence of a traditional French Dip sandwich right to your table. Are you ready to create a dish that will have everyone asking for seconds?
Why Are French Dip Squares a Must-Try?
Simplicity: This recipe is a breeze to whip up, combining minimal ingredients and quick prep steps—perfect for busy weeknights or spontaneous gatherings.
Comfort Food Delight: Indulge in the rich flavors of tender roast beef and gooey Swiss cheese, all encased in a flaky crescent roll that offers a nostalgic twist on classic sandwiches.
Advertisement
Versatile and Adaptable: Feel free to get creative! Try different protein substitutions like turkey or chicken, and mix in extra ingredients like caramelized onions for added depth.
Perfect for Sharing: Cut them into bite-sized squares, and you’ve got an appetizer that’s sure to impress—perfect for your next party or game day feast!
Time-Saving and Make-Ahead: Easily assemble ahead of time, refrigerate, and bake when you’re ready, allowing you to focus on enjoying the moment with friends. Don’t forget to check out my suggestions for serving them with a fresh salad or roasted potatoes for a complete meal!
French Dip Squares Ingredients
• Everything you need for comfort!
For the Base
- Refrigerated Crescent Rolls – A buttery, flaky crust that bakes up perfectly to encase all the delicious fillings.
- Butter – Adds richness and helps to achieve that golden brown finish on top.
For the Filling
- Deli Roast Beef – The star of the dish; tender and savory, offering that classic taste of a French Dip sandwich.
- Swiss Cheese – Melts wonderfully, providing a mild, nutty flavor that complements the beef beautifully.
For the Flavor Boost
- Dry Onion Soup Mix – Infuses the dish with savory flavors that elevate the overall experience.
- Garlic Powder – Introduces a subtle kick that rounds out the dish’s flavor profile.
- Worcestershire Sauce – Adds a depth of flavor to the drizzle for that classic richness.
For Dipping
- Beef Broth – Essential for that traditional dipping experience, delivering warmth and flavor with every bite.
Step‑by‑Step Instructions for French Dip Squares
Step 1: Preheat and Prepare
Begin by preheating your oven to 375°F (190°C). While the oven warms up, spray a 9×13 inch baking dish with non-stick cooking spray to ensure your French Dip Squares won’t stick. This combination of preparation will set the stage for a beautifully baked dish that’s easy to serve at gatherings.
Step 2: Create the Base Layer
Roll out one can of refrigerated crescent rolls onto the bottom of your prepared baking dish. Ensure to pinch the seams together as you form an even layer, giving you a fully enclosed crust to hold in the delicious filling. This flaky base will provide the perfect foundation for the savory aspects of your French Dip Squares.
Step 3: Layer Roasted Beef and Cheese
Next, evenly distribute the deli roast beef over the crescent roll base, making sure to cover it completely for maximum flavor in every bite. Then, generously sprinkle grated Swiss cheese across the beef layer. The cheese will melt beautifully as it bakes, enveloping the savory beef and enhancing the overall deliciousness of the French Dip Squares.
Step 4: Prepare the Flavor Drizzle
In a small bowl, mix together the dry onion soup mix, melted butter, Worcestershire sauce, and garlic powder until well combined. Drizzle this flavorful mixture evenly over the cheese layer, allowing it to seep into the filling. This step adds a rich, savory essence to your French Dip Squares that will elevate the dish to a whole new level of comfort food.
Step 5: Top with Crescent Rolls
Roll out the second can of crescent rolls and cover the filling completely. Ensure that you seal the seams tightly to prevent any juices from leaking out as it bakes. This top layer will become golden brown and flaky, beautifully enclosing all the goodness of your French Dip Squares.
Step 6: Bake to Golden Perfection
Place the baking dish in your preheated oven and bake for 15-20 minutes. Keep an eye on the progress—look for a golden brown top and bubbling edges. If it starts to brown too quickly, cover the dish loosely with foil to protect it while it cooks through. At this stage, your kitchen will fill with a mouthwatering aroma.
Step 7: Prepare the Dipping Sauce
While your French Dip Squares are baking, heat up some beef broth in a pot on the stove. Enhance the broth by adding Worcestershire sauce, salt, and pepper to your taste. This dipping sauce should be warm and flavorful, offering the essential complement that captures the classic French Dip experience.
Step 8: Cool, Cut, and Serve
Once baked, allow the French Dip Squares to cool for about 5-10 minutes before cutting them into squares. This resting time will help them hold their shape and allow for cleaner slicing. Serve each portion warm, alongside a bowl of beef broth for dipping, bringing that comforting homestyle flavor to your table.
What to Serve with French Dip Squares
As you bite into those warm, savory squares, consider these delightful additions to elevate your meal experience.
- Crisp Green Salad: A refreshing mix of greens with a light vinaigrette cuts through the richness of the dish, adding crunch and brightness.
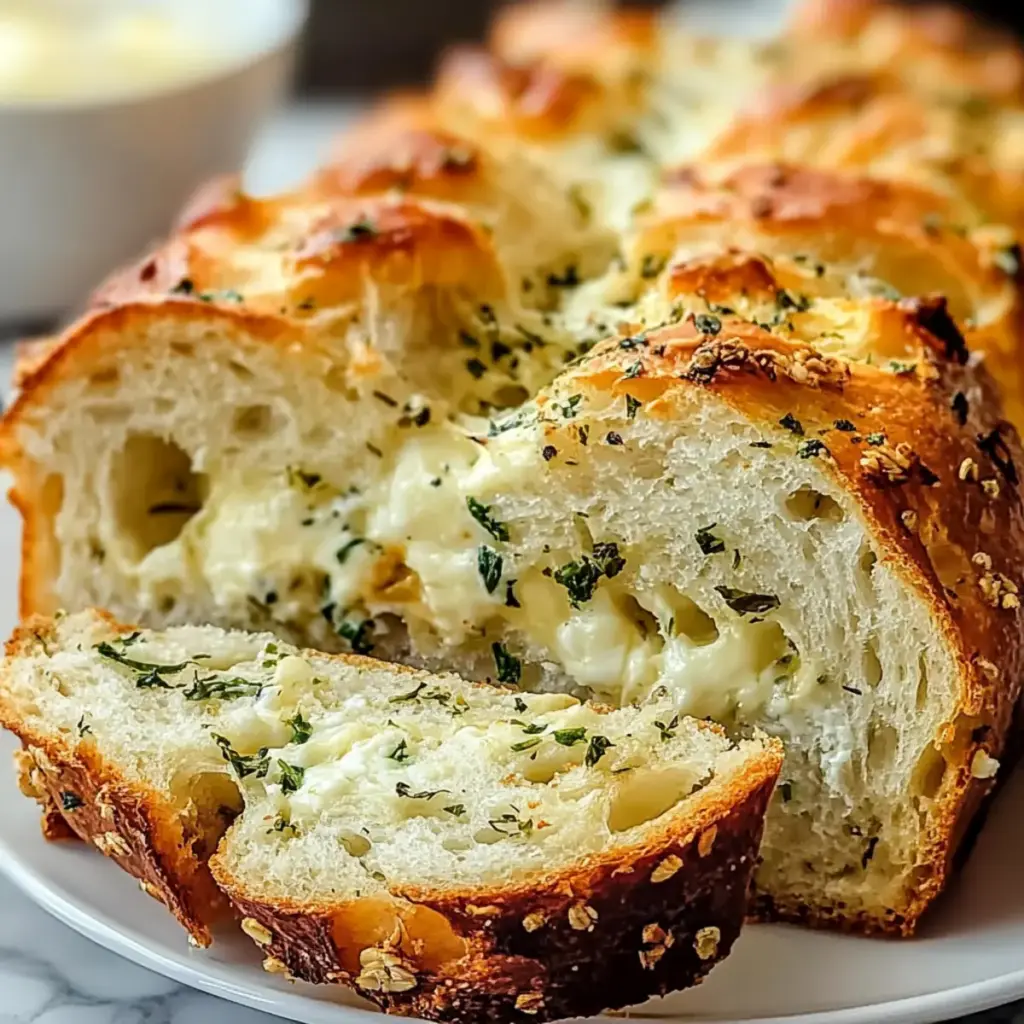
- Garlic Breadsticks: Soft, buttery breadsticks complement the savory flavors of the French Dip Squares, perfect for soaking up that warm broth.
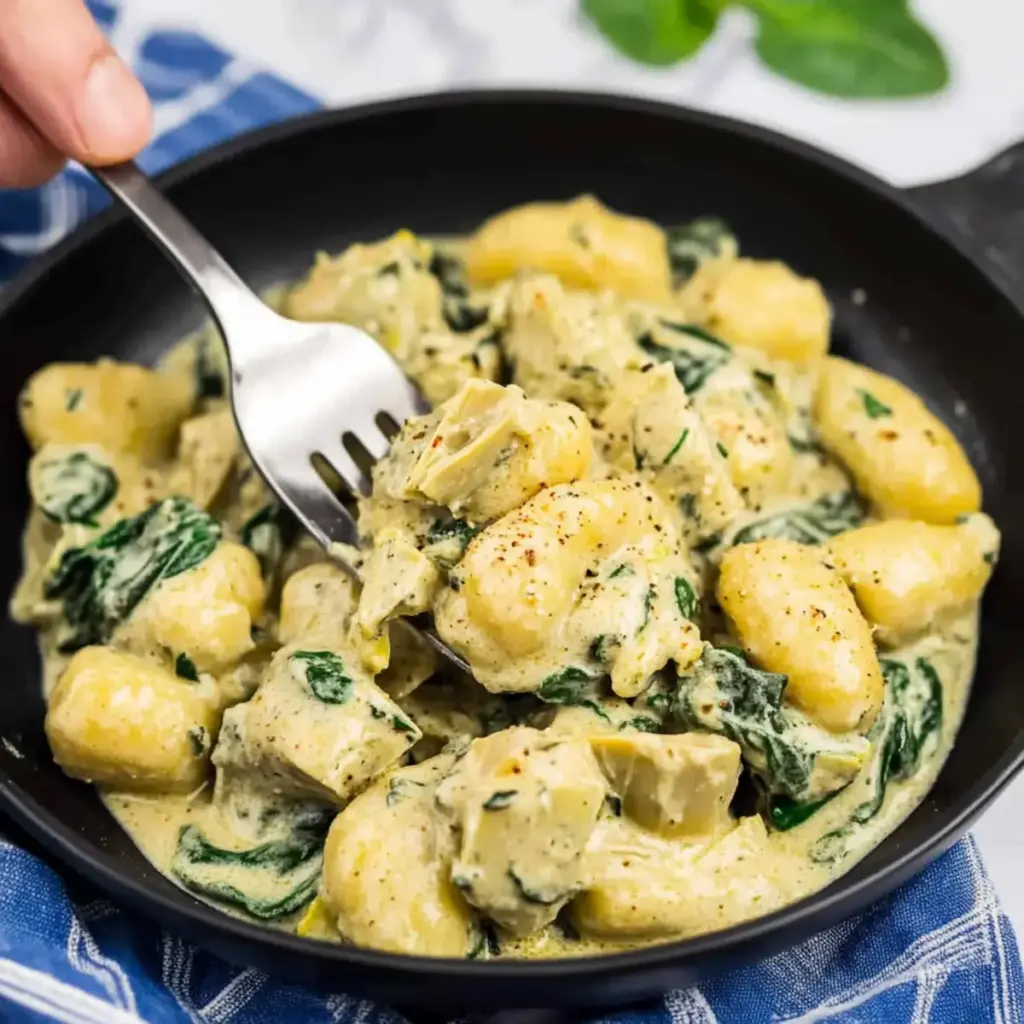
- Roasted Vegetables: Seasonal veggies roasted to caramelized perfection provide a colorful and nutritious balance, enhancing the meal’s texture and taste.
- Creamy Coleslaw: This crunchy side dish adds a creamy tang that pairs wonderfully with the savory meat and cheese, creating a delightful contrast.
- Potato Wedges: Seasoned and baked to crispy perfection, these wedges offer a hearty, comforting element that matches the dish’s flavor profile.
- Sparkling Lemonade: A fizzy and refreshing drink that cleanses the palate, making it a perfect companion to the indulgence of French Dip Squares.
Gather your loved ones, serve these sides, and let the flavors dance on your palate as you savor this delightful meal together!
Make Ahead Options
French Dip Squares are perfect for busy home cooks looking to simplify mealtime! You can prepare the entire dish up to 24 hours ahead by assembling it, covering it tightly with plastic wrap, and refrigerating. This helps maintain that flaky crust while keeping the fillings fresh. When ready to enjoy, simply preheat your oven and bake directly from the refrigerator, adding a few extra minutes if needed for thorough cooking. Alternatively, you can fully bake the squares and store them in the fridge for up to 3 days; just reheat in the oven to restore their crispy texture before serving. This make-ahead approach ensures you’ll have a comforting, shareable dish ready with minimal effort!
French Dip Squares Variations and Substitutions
Feel free to get creative and make these French Dip Squares your own with some delicious twists!
-
Protein Swap: Replace deli roast beef with sliced turkey or ham for a lighter take that still satisfies.
-
Cheese Alternatives: Use cheddar or provolone instead of Swiss for a bolder flavor. Each cheese brings its unique character that can enhance your dish beautifully.
-
Veggie Addition: Incorporate caramelized onions or sautéed mushrooms to add a sweet or earthy taste that complements the flavors. These little additions can elevate the overall dish, making it even more enticing.
-
Spice it Up: Add sliced jalapeños or a sprinkle of red pepper flakes for extra heat. This zest can give your squares an exciting kick that spice lovers will appreciate.
-
Herbal Infusion: Mix in fresh herbs like thyme or rosemary into the filling for a fragrant lift. The aroma of fresh herbs adds a delightful layer of flavor that can transform your dish.
-
Dairy-Free Version: Opt for a dairy-free cheese alternative to make this dish suitable for lactose-sensitive eaters. There are several options available today that melt nicely, ensuring everyone can enjoy it.
-
Gluten-Free Base: Use a gluten-free crescent roll dough to make this dish accessible for those with dietary restrictions. It’s an excellent way to keep the comfort while maintaining a gluten-free lifestyle.
-
Make-Ahead Option: For an easy entertaining solution, prepare the filling and assemble the squares in advance, storing them in the fridge. Bake them just before serving for a fresh-out-of-the-oven experience.
Don’t forget, enjoying the culinary journey is part of the fun! If you’re looking for more recipe ideas to share or serve alongside this dish, try a refreshing green salad or some roasted potatoes for a wholesome meal.
Expert Tips for French Dip Squares
-
Sealing the Edges: Pinch those seams tight to prevent filling leakage during baking. A securely sealed crust makes for a cleaner presentation and prevents mess!
-
Rest Before Slicing: Allow the French Dip Squares to cool for 5-10 minutes before cutting. This helps maintain their shape and ensures cleaner, more appealing slices.
-
Baking Progress: Keep an eye on the top. If it browns too quickly, loosely cover with foil. This prevents burning while allowing the square to bake through evenly.
-
Flavor Variations: Experiment with different proteins or cheeses. Using turkey or cheddar can offer a delightful twist on traditional French Dip Squares.
-
Prep Ahead for Ease: Assemble your dish a day prior and refrigerate. Just pop it in the oven when you’re ready to eat, making entertaining or family meals a breeze!
How to Store and Freeze French Dip Squares
Fridge: Store leftovers in an airtight container for up to 3 days; reheat in the oven at 350°F (175°C) until warmed through, ensuring the flaky crust remains crispy.
Freezer: For longer storage, wrap unbaked French Dip Squares tightly in plastic wrap and foil, keeping them in the freezer for up to 3 months; bake directly from frozen, adding a few extra minutes to the cooking time.
Leftover Tips: If you have baked leftovers, let them cool completely before refrigerating; reheat single portions in a microwave or oven for the best texture.
Meal Prep: Assemble the French Dip Squares a day in advance, refrigerate, and bake when you’re ready for an easy, gather-ready meal that tastes just as great!
French Dip Squares Recipe FAQs
How do I choose the right deli roast beef for French Dip Squares?
Absolutely! Look for deli roast beef that is freshly sliced, preferably from a reputable butcher or deli counter. A good indicator of quality is the color—look for a deep, rich shade of brown without any grey or slimy texture. When possible, request lean cuts to balance flavor and healthiness.
What is the best way to store leftover French Dip Squares?
I recommend keeping leftovers in an airtight container in the fridge for up to 3 days. Simply reheat in the oven at 350°F (175°C) for about 10-15 minutes, ensuring the pastry stays flaky and crispy. If you opt for the microwave, do so for shorter intervals to avoid sogginess.
Can I freeze assembled French Dip Squares?
Yes, you can! For unbaked French Dip Squares, wrap them tightly in plastic wrap and then in foil. This method keeps them fresh for up to 3 months. When ready to bake, you can cook them straight from frozen—just add a few extra minutes to the baking time. Make sure to check for a golden brown crust!
What should I do if my crescent rolls start to burn while baking?
Very! If you notice that the top is browning too quickly, simply cover it loosely with foil. This will prevent burning while allowing the squares to finish baking evenly. Keep checking as they cook to ensure everything comes out perfectly!
Are there any dietary considerations I should keep in mind?
Of course! If you have friends or family with dietary restrictions, consider using low-fat cheese or opting for gluten-free crescent rolls. Additionally, for those who are vegetarian, feel free to substitute the deli roast beef with hearty vegetables or plant-based protein options to create a delightful, meat-free version.
Can I make this dish ahead of time?
Absolutely! You can assemble the French Dip Squares up to a day in advance and refrigerate them. Just wait to bake until you’re ready to enjoy. This makes it super convenient for gatherings—your guests will be so impressed with your delicious creation!
French Dip Squares: Comfort Food for Sharing with Friends
Ingredients
Equipment
Method
- Preheat your oven to 375°F (190°C) and spray a baking dish with non-stick cooking spray.
- Roll out one can of refrigerated crescent rolls onto the bottom of your prepared baking dish.
- Evenly distribute the deli roast beef over the crescent roll base and sprinkle grated Swiss cheese on top.
- Mix together dry onion soup mix, melted butter, Worcestershire sauce, and garlic powder, then drizzle over the cheese layer.
- Cover the filling with the second can of crescent rolls, sealing the seams tightly.
- Bake for 15-20 minutes until golden brown. Cover loosely with foil if browning too quickly.
- Heat beef broth in a pot, adding Worcestershire sauce, salt, and pepper to taste.
- Cool for 5-10 minutes before cutting into squares and serve with warm beef broth for dipping.