Advertisement
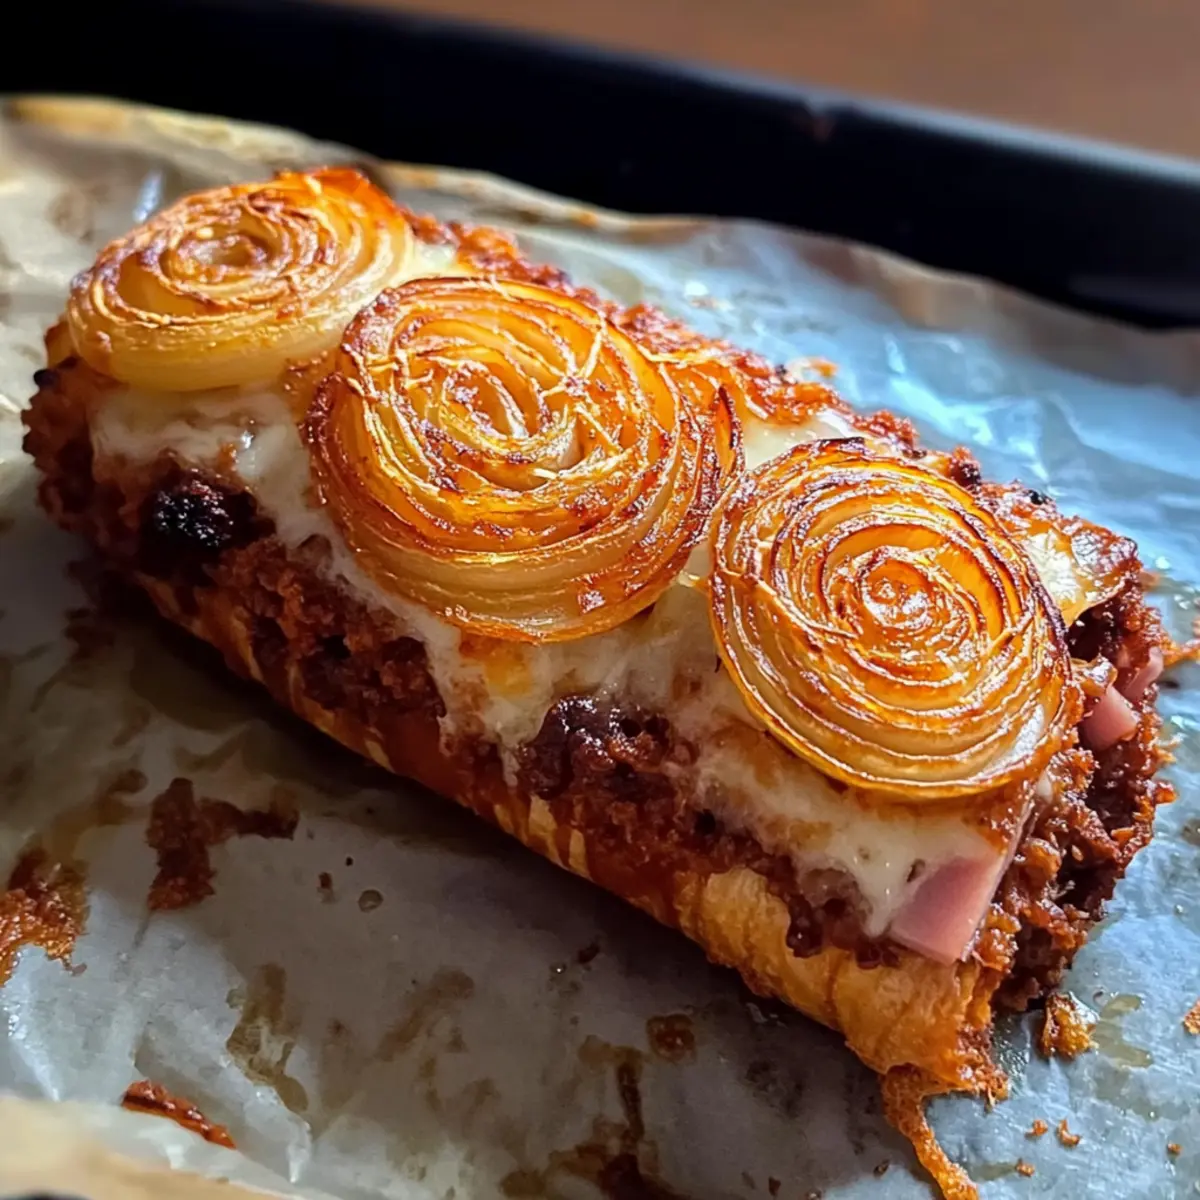
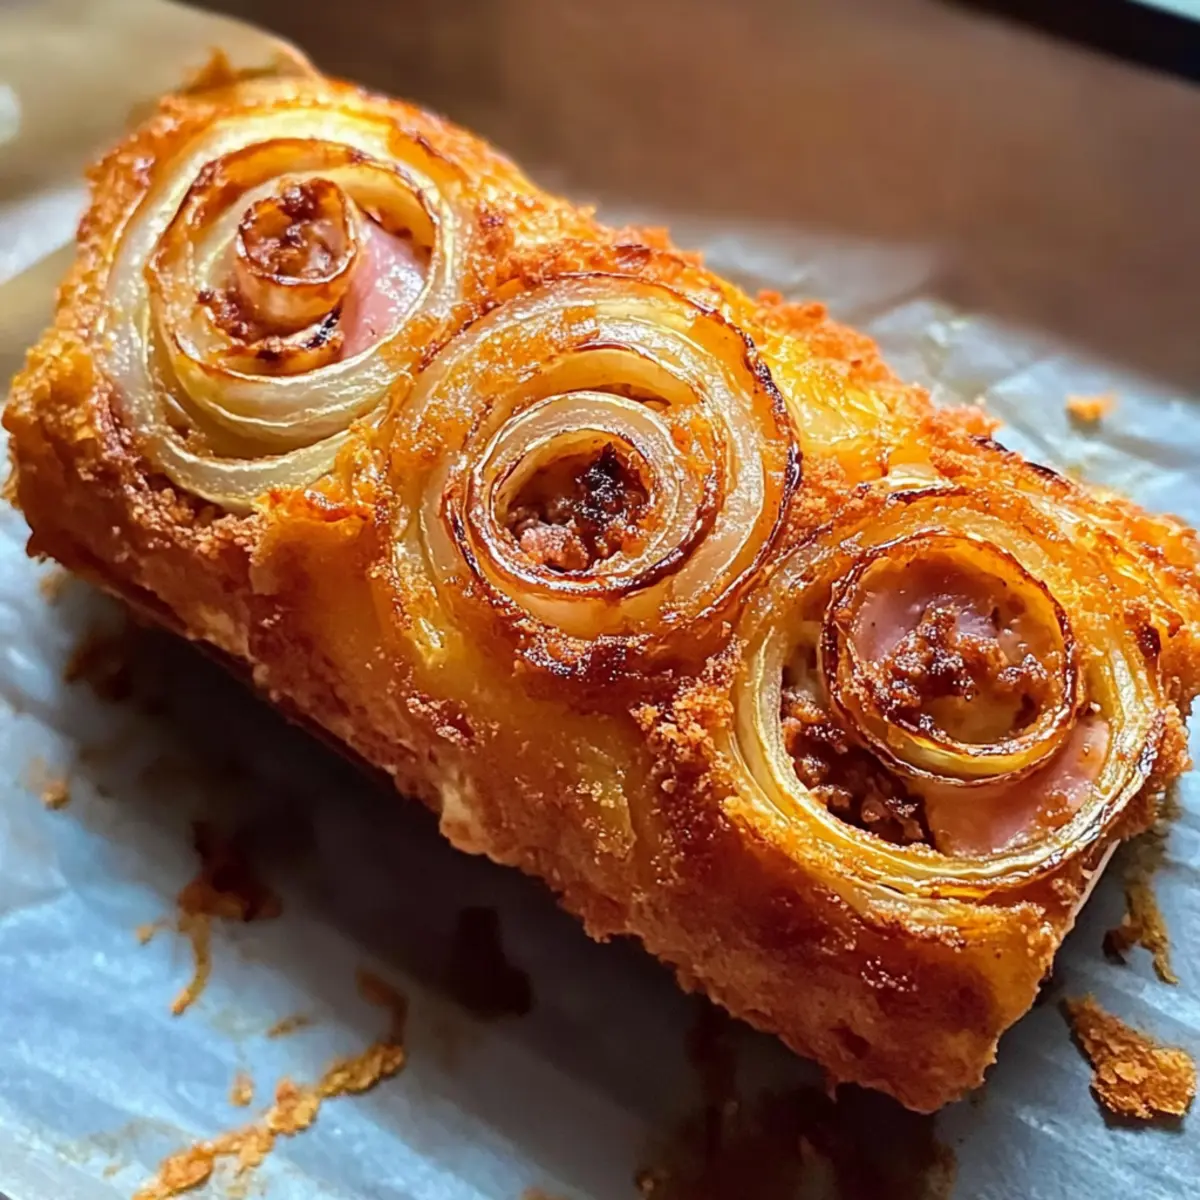
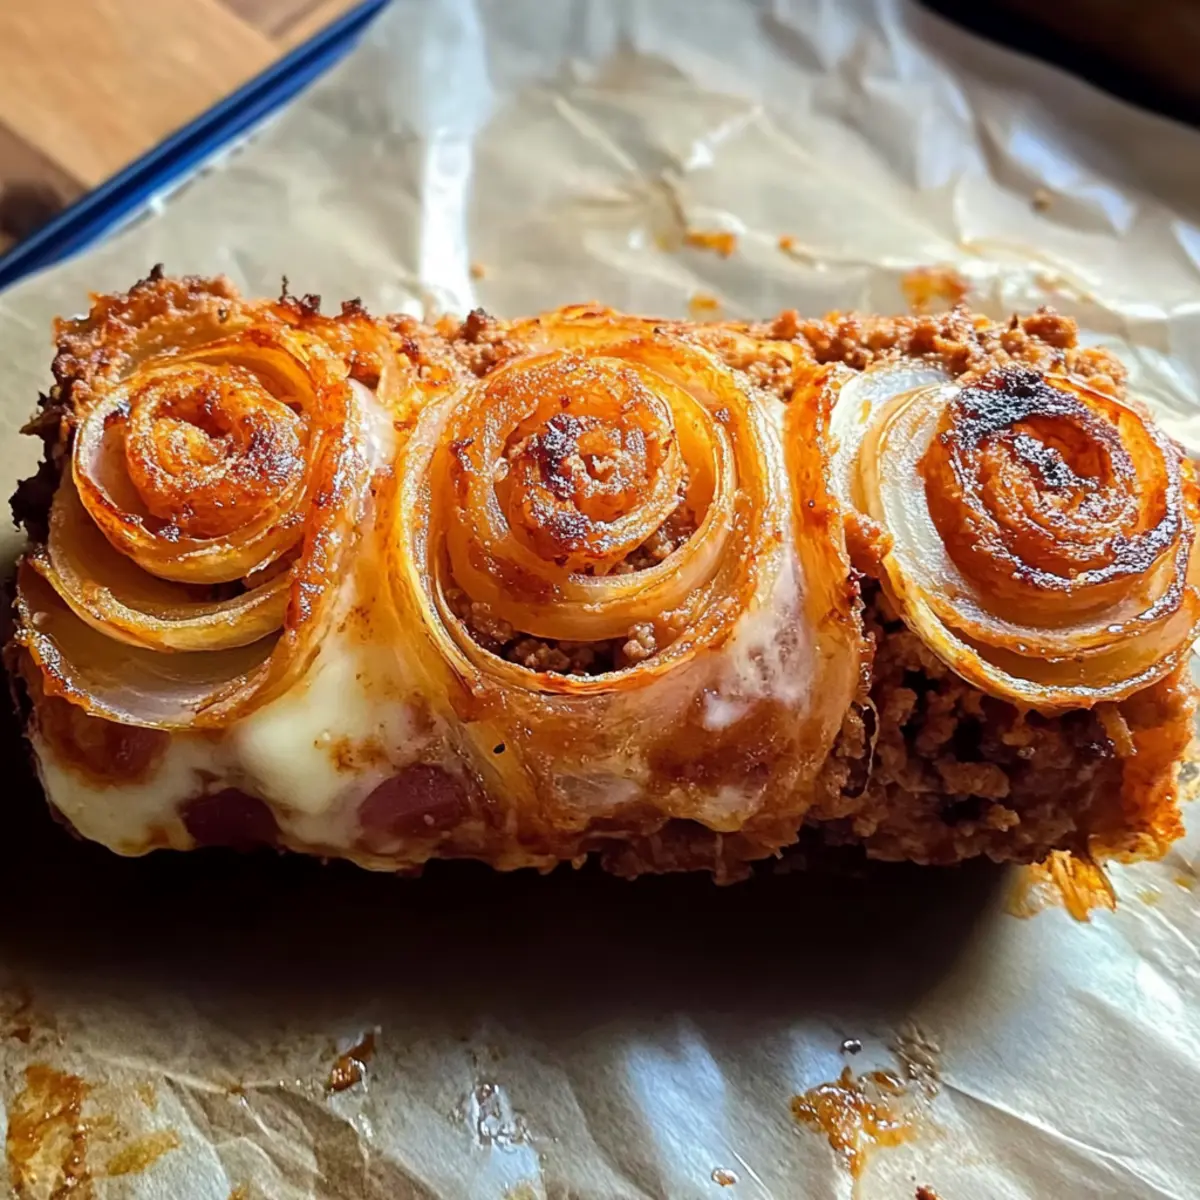
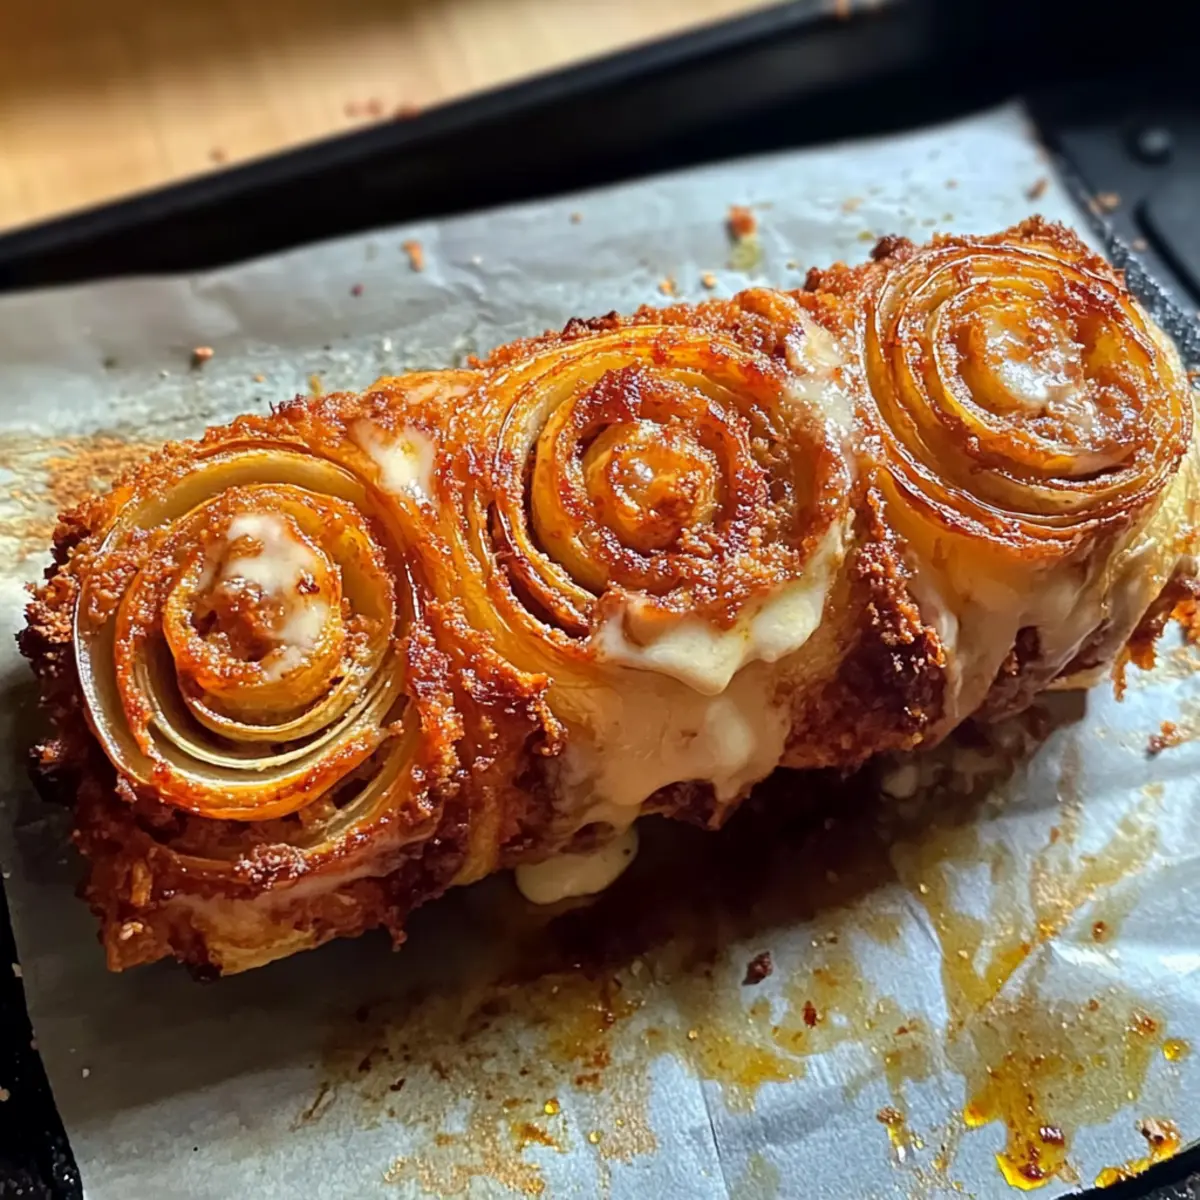
Biting into a crispy onion ring roll is like unearthing a hidden treasure—one that’s filled with savory ground meat, ham, and gooey cheese. With our Cheeseburger Onion Ring Roll, you can indulge in this delectable dish that’s not just a feast for your taste buds but also incredibly easy to whip up for a weeknight dinner. In just 50 minutes, you can enjoy a high-protein, low-carbohydrate option that’s also perfect for meal prep or a satisfying snack. Whether you’re entertaining guests or simply craving something special, these rolls offer a delightful blend of crunchy and creamy textures that will have everyone coming back for more. Curious about how to elevate this classic comfort food? Let’s dive into the recipe and discover the magic!
Why is this Cheeseburger Onion Ring Roll special?
Crispy Joy: The onion rings create a delightful crunch, which perfectly contrasts the savory filling of ground meat, ham, and ooey-gooey cheese.
Quick Prep: Ready in just 50 minutes, this recipe is a time-saver for busy weeknights or impromptu gatherings.
Advertisement
Nutritional Balance: With high protein and low carbohydrates, it’s a filling yet guilt-free option, perfect for those looking to eat healthier without sacrificing flavor.
Versatile Options: You can easily customize this dish—try adding your favorite veggies or swapping out the meats for a personal touch!
Whether you serve it with a side of ranch or ketchup, each bite of the Cheeseburger Onion Ring Roll is sure to satisfy cravings and bring smiles around the table. Want to explore more fun flavors? Check out our Garlic Parmesan Cheeseburger for another exciting twist!
Cheeseburger Onion Ring Roll Ingredients
• Dive into the deliciousness of our Cheeseburger Onion Ring Roll with these essential ingredients.
For the Onion Rings
- Small White Onions – Offers a sweet and sharp flavor base; yellow onions can be used for a bolder taste.
- Shredded Parmesan Cheese – Adds umami depth and helps bind the rings; you can swap in any hard cheese like Pecorino.
- Olive Oil – Essential for brushing and sautéing, boosting flavor and moisture; try avocado oil for a unique twist.
For the Filling
- Ground Meat (1 lb) – The star protein; beef, turkey, or chicken work great here; vegetarian ground meat can also be used for a plant-based alternative.
- Low Sodium Chicken Broth (1/4 cup) – Adds moisture and flavor to the filling; use vegetable broth for a vegetarian option.
- Seasonings (Salt, Garlic Powder, Onion Powder, Paprika, Chili Powder) – Creates flavor complexity; feel free to adjust based on your heat preference.
- Ham Slices – Introduces a salty, savory layer; opt for turkey ham or bacon for a different taste.
- American Cheese Slices – Provides creaminess and meltability; cheddar or Swiss cheese can be substituted for added flavor.
- Pickles (1/3 cup) – Adds a tangy crunch that balances the richness of the filling; jalapeños or other pickled veggies can offer a spicy alternative.
Experience the joy of creating this Cheeseburger Onion Ring Roll and discover just how delightful and satisfying comfort food can be!
Step‑by‑Step Instructions for Cheeseburger Onion Ring Roll
Step 1: Preheat and Prepare
Begin by preheating your oven to 400°F (200°C). While the oven heats, line a baking sheet with parchment paper to prevent sticking. This preparation sets the stage for making the crispy onion rings that will wrap around the savory filling of the Cheeseburger Onion Ring Roll.
Step 2: Bake the Onion Rings
Spread a thin layer of shredded Parmesan cheese on the prepared baking sheet, then arrange your sliced small white onions in a single layer, ensuring none overlap. Brush the onion rings lightly with olive oil, then season them with salt, garlic powder, and paprika. Bake for 18-20 minutes, flipping halfway, until they are golden brown and crispy.
Step 3: Cook the Ground Meat
In a large skillet, heat a splash of olive oil over medium heat. Add the ground meat and cook it by breaking it apart with a spatula until browned, which should take about 7-9 minutes. Once browned, stir in the seasonings and chicken broth, cover, and let it simmer for 10 minutes to develop flavors while retaining moisture in the filling.
Step 4: Assemble the Rolls
Once the onion rings cool slightly, turn them over and start layering. Place a slice of ham on each ring, followed by a slice of American cheese, a generous spoonful of the ground meat, and a few pickles. Carefully roll each ring tightly from one short end to the other, creating a mini roll filled with deliciousness, then place them seam-side down on the parchment-lined sheet.
Step 5: Final Bake
Bake the Cheeseburger Onion Ring Rolls in the preheated oven for another 7-10 minutes until they are heated through, and the cheese is melty. Keep an eye on them to ensure the outside stays crisp while the inside remains deliciously gooey. Once done, remove from the oven, slice them if desired, and serve warm!
What to Serve with Cheeseburger Onion Ring Roll
Transform your homemade Cheeseburger Onion Ring Roll into a full flavorful spread that delights all the senses!
-
Creamy Coleslaw: A refreshing crunch that complements the richness of the rolls, bringing brightness and balance to your plate.
-
Spicy Dipping Sauce: Elevate each bite with a zesty sauce, like sriracha mayo, that adds a delightful kick against the savory filling.
-
Sweet Potato Fries: The sweetness and crispiness of baked fries create a satisfying contrast, perfect for dipping and sharing!
-
Mixed Green Salad: A simple salad with vinaigrette provides a light, refreshing element that offsets the hearty rolls and adds freshness.
-
Garlic Breadsticks: Soft and fluffy, these breadsticks provide a delightful chew while absorbing flavors of your favorite dipping sauce.
-
Refreshing Lemonade: A tangy drink, like fresh-squeezed lemonade, cleanses the palate, making every bite of your Cheeseburger Onion Ring Roll even more enjoyable.
-
Apple Crisp: For dessert, this warm, sweet treat adds the perfect cherry-on-top finish to your meal, with a comforting flavor ideal for unwinding.
-
Craft Beer: A chilled craft lager’s mild bitterness pairs wonderfully with the savory and crispy elements, enhancing your overall dining experience.
Each of these choices complements the flavorful layers of your Cheeseburger Onion Ring Roll beautifully, ensuring every meal is filled with joy and satisfaction!
How to Store and Freeze Cheeseburger Onion Ring Roll
Room Temperature: Store any leftover rolls in a cool, dry place for up to 2 hours; they’re best enjoyed fresh but can sit out for a short time.
Fridge: Place the cooled Cheeseburger Onion Ring Rolls in an airtight container and refrigerate for up to 3 days; reheating in the oven restores their crispiness.
Freezer: Wrap each roll tightly in plastic wrap and then place in a freezer bag to enjoy later; they can be frozen for up to 2 months.
Reheating: To reheat from the fridge, bake at 350°F (175°C) for about 10-15 minutes; from the freezer, bake directly from frozen for 20-25 minutes until heated through.
Expert Tips for the Cheeseburger Onion Ring Roll
-
Perfect Onion Rings: Avoid overbaking the onions during the first bake; they need to remain flexible for rolling.
-
Cooling Time: Allow the baked onion rings to cool slightly before assembling the rolls. This helps them retain their shape without becoming too firm.
-
Filling Consistency: Make sure the ground meat mixture isn’t too wet. A dry filling ensures easier rolling and keeps the rolls intact.
-
Cheese Choices: Feel free to experiment with different types of cheese. Cheddar or Pepper Jack can add a delightful twist to your Cheeseburger Onion Ring Roll.
-
Zesty Add-ins: Consider adding diced bell peppers or mushrooms to the filling for extra flavor and nutrition—just ensure they’re sautéed first.
-
Make Ahead: You can prep these rolls in advance, refrigerate them, and bake just before serving for a quick, satisfying meal!
Make Ahead Options
These Cheeseburger Onion Ring Rolls are perfect for meal prep enthusiasts! You can prepare the onion rings and the filling up to 24 hours in advance. Simply bake the onion rings as directed and allow them to cool completely before storing them in an airtight container in the refrigerator. The ground meat filling can also be made ahead; just cook, cool, and refrigerate it in a separate container. When you’re ready to enjoy the rolls, assemble them with the ham and cheese, then bake for 7-10 minutes until heated through and the cheese is melty. This way, you’ll have deliciously crispy rolls ready with minimal effort, saving you precious time on busy weeknights!
Variations & Substitutions for Cheeseburger Onion Ring Roll
Feel free to let your creativity shine as you customize the Cheeseburger Onion Ring Roll with these delicious twists!
-
Dairy-Free: Swap out the cheese for nutritional yeast or a dairy-free cheese alternative to keep it creamy without dairy.
-
Vegetarian: Replace the ground meat with plant-based crumbles or lentils for a hearty, vegetarian filling that’s just as satisfying.
-
Spicy Kick: Add diced jalapeños or crushed red pepper to the meat mixture for an extra kick of flavor that spice lovers will adore.
-
Cheese Alternatives: Experiment with tasty cheeses like Gouda for a smoky flavor or Pepper Jack for a zesty touch that takes it to the next level.
-
Extra Veggies: Toss in some sautéed mushrooms or bell peppers into the meat mixture to enhance flavor and boost nutrition for a colorful roll.
-
Whole Wheat Option: Use whole wheat or gluten-free tortillas to wrap the filling instead of onion rings for a healthful, alternative twist.
-
Herby Flavor: Mix in fresh herbs like cilantro or parsley into the filling for a refreshing burst of flavor in every bite.
-
Sweet & Savory: Replace pickles with sweet relish or caramelized onions to create a delightful sweet and savory contrast in the filling.
If you’re hungry for more inspiration, consider diving into our Easy Homemade Caramel Apple Cinnamon Rolls or explore our yummy Cheesy Chicken Roll recipes for even more comforting delights!
Cheeseburger Onion Ring Roll Recipe FAQs
What type of onions should I use for the Cheeseburger Onion Ring Roll?
Using small white onions is recommended for their sweet and sharp flavor base. However, if you’re looking for a bolder taste, yellow onions can work just as well!
How should I store leftover Cheeseburger Onion Ring Rolls?
After they’ve cooled, store your Cheeseburger Onion Ring Rolls in an airtight container in the refrigerator for up to 3 days. To preserve their delicious crunch, reheat them in the oven at 350°F (175°C) for about 10-15 minutes before serving.
Can I freeze Cheeseburger Onion Ring Rolls?
Absolutely! To freeze them, wrap each roll tightly in plastic wrap and place them in a labeled freezer bag. This way, they can be kept in the freezer for up to 2 months. When you’re ready to enjoy, simply bake them at 350°F (175°C) for 20-25 minutes directly from the freezer.
What if my onion rings are too crispy or too firm to roll?
To ensure you can roll the onion rings easily, avoid overbaking them during the initial baking stage. If they do become too crispy, you can try soaking them lightly in a warm broth to soften them just a tad before you attempt to roll. Just be sure to let them drain well afterward!
Are there any dietary considerations to keep in mind?
If you or anyone you’re serving has dietary restrictions, you can easily modify the Cheeseburger Onion Ring Roll. For gluten-free options, ensure the broth and any added seasonings are gluten-free. You can also opt for vegetarian ground meat if looking for a plant-based version, and for the cheese, vegan alternatives are a tasty substitute.
Cheeseburger Onion Ring Roll: Crunchy, Cheesy Comfort Awaits
Ingredients
Equipment
Method
- Preheat your oven to 400°F (200°C) and line a baking sheet with parchment paper.
- Spread shredded Parmesan cheese on the baking sheet, arrange small white onions in a single layer. Brush with olive oil, season, and bake for 18-20 minutes until golden brown and crispy.
- Cook the ground meat in a skillet with olive oil over medium heat for 7-9 minutes. Stir in seasonings and chicken broth, cover, and simmer for 10 minutes.
- Layer ham, American cheese, ground meat, and pickles onto cooled onion rings, then roll tightly.
- Bake the rolls for 7-10 minutes until heated through and cheese is melted, then serve warm.