Advertisement
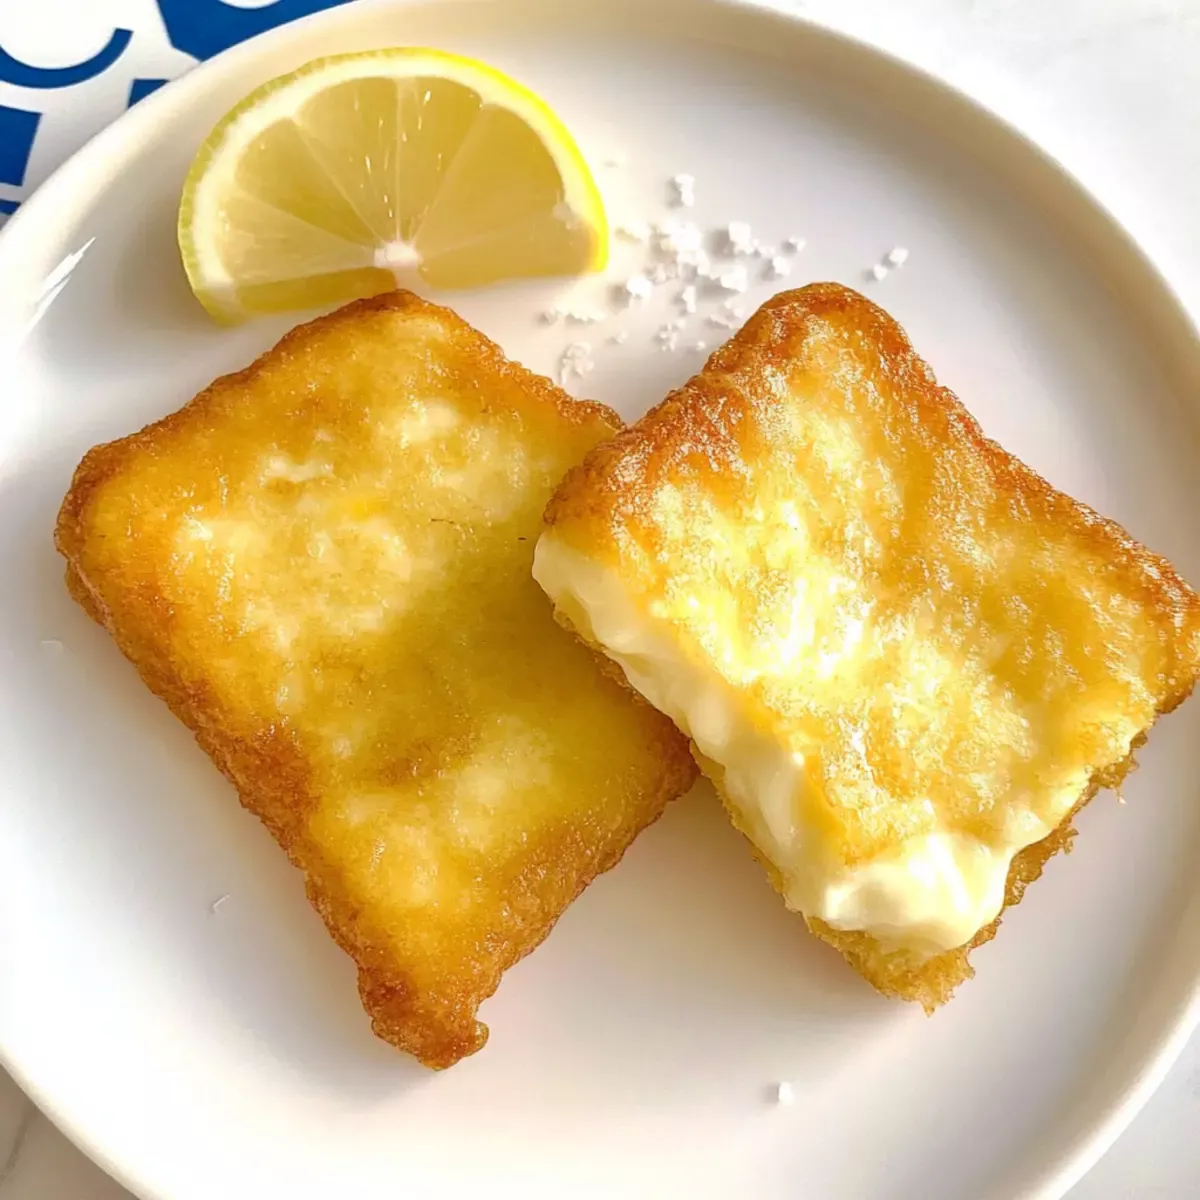
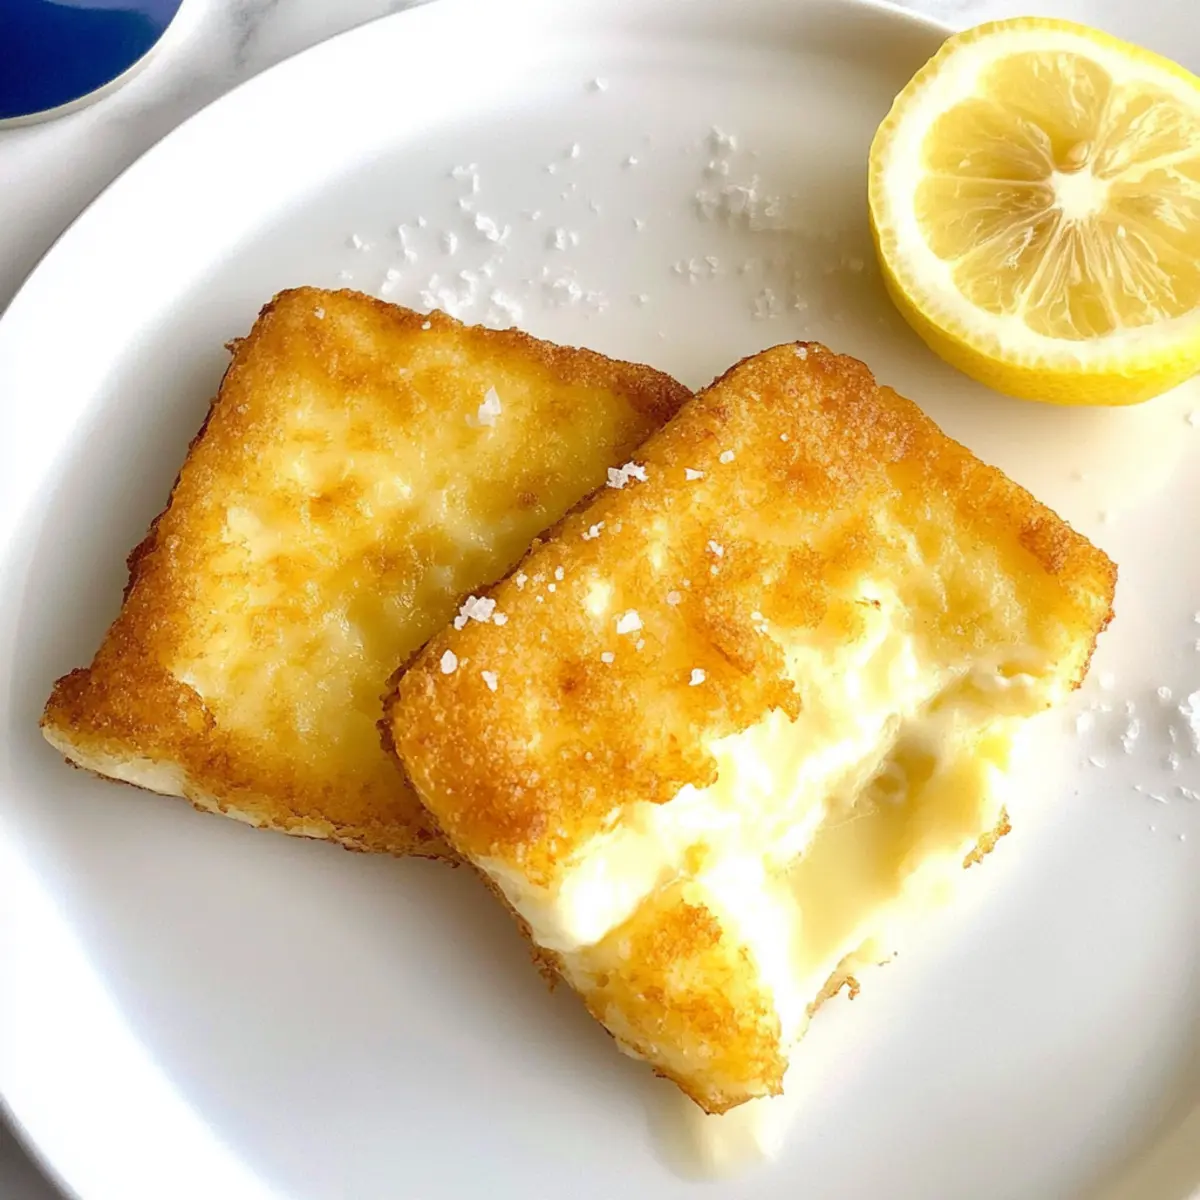
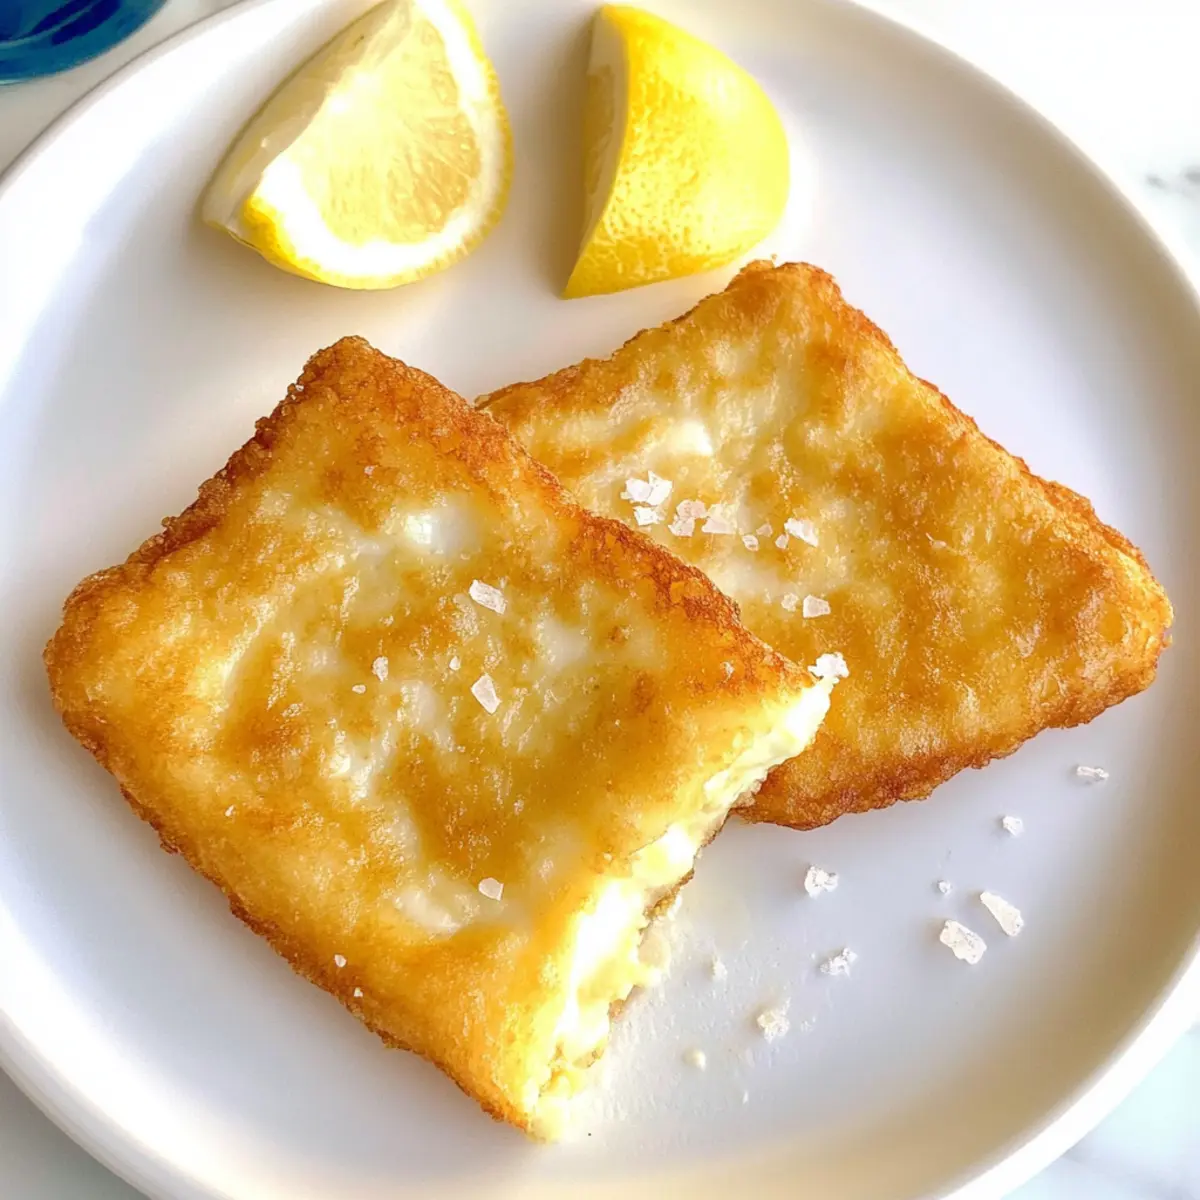
As the enticing aroma of sizzling cheese wafts through the kitchen, it takes me back to my summer vacations in Greece, where its golden, crispy allure is impossible to resist. Today, I’m excited to share my take on Greek Fried Cheese, better known as Saganaki. This easy recipe not only makes for a delightful appetizer but also offers a perfect way to surprise your friends with its pleasantly gooey center encapsulated in a crispy crust. With just a few simple ingredients and minimal prep time, you’re just moments away from enjoying this Mediterranean gem. Whether served with warm pita, a sprinkle of flaky salt, or a dash of fresh lemon juice, Saganaki is sure to impress at any gathering. Ready to dive into this cheesy masterpiece? Let’s get cooking!
Why is Saganaki So Irresistible?
Crispy Delights: This Greek Fried Cheese boasts a perfectly golden crust, creating a delightful crunch that gives way to a warm, gooey center. Easy to Make: With just a handful of ingredients and straightforward steps, this appetizer can be whipped up in no time. Versatile Serving: Saganaki shines as a starter, but feels just as special alongside other Mediterranean dishes like Turkey Grilled Cheese or White Chicken Chili. Crowd-Pleasing Flavor: The rich, creamy flavor of the cheese paired with a squeeze of fresh lemon creates a balanced taste that all ages will adore. Cultural Experience: With each bite, you’re transported to a lively Greek taverna, adding a dash of adventure to your meal. Get ready to fall in love with this dish!
Greek Fried Cheese Ingredients
• Get ready to melt your heart!
Advertisement
For the Cheese
• Kefalograviera Cheese – This is the star of the dish, delivering sharpness and creaminess; you can substitute with Kefalotyri or Graviera for a similar texture.
For the Coating
• All-Purpose Flour – Provides a crunchy exterior; don’t forget to season it with salt for added flavor.
For Frying
• Olive Oil – The key to achieving that crispy golden finish; opt for high-quality olive oil for the best results, only about ½ cup is needed for shallow frying.
For Garnishing
• Lemon Juice – Adds brightness to the dish; always use freshly squeezed lemon juice right before serving for the best taste.
Now that you have your ingredients ready, let’s fry up some delicious Greek Fried Cheese!
Step‑by‑Step Instructions for Greek Fried Cheese
Step 1: Prepare Cheese
Begin by cutting the Kefalograviera cheese into uniform blocks, about ½ inch thick. This size ensures that the cheese cooks evenly and achieves that perfect gooey center we crave. Once cut, arrange the cheese pieces on a plate, ready for the next delicious step in making Greek Fried Cheese.
Step 2: Coat Cheese
Take your seasoned all-purpose flour and place it in a shallow dish. Gently roll each block of cheese in the flour, making sure every side is evenly coated. This dusting creates a crunchy exterior that will beautifully contrast with the creamy interior. Shake off any excess flour to avoid clumping during frying.
Step 3: Heat Oil
In a large frying pan, pour about ½ cup of good quality olive oil and place it over medium heat. Allow the oil to heat up until it shimmers, which typically takes around 2-3 minutes. You’ll know it’s ready when it starts to make tiny bubbles. Getting the oil hot enough is crucial for achieving that desired crispiness in your Greek Fried Cheese.
Step 4: Fry Cheese
Gently lay the coated cheese blocks into the hot oil, making sure not to overcrowd the pan. Fry them for about 3 minutes on one side until they turn golden brown and crispy. Carefully flip each piece using tongs and continue cooking for an additional 2 minutes on the other side. The cheese should be beautifully golden and perfectly crisp, filling your kitchen with an irresistible aroma.
Step 5: Check Doneness
After frying, ensure that each piece of Greek Fried Cheese is not only golden-brown but also springy when touched. If they are firm and retaining their shape, they’re ready! This texture tells you that the exterior is crisp while the inside remains warm and gooey.
Step 6: Serve
Once cooked, use a slotted spoon to transfer the fried cheese to a plate lined with paper towels to drain any excess oil. As soon as they’re plated, squeeze fresh lemon juice generously over the top, adding a burst of brightness. Serve immediately alongside warm pita, garnished with flaky salt, and enjoy the delightful flavors of your homemade Greek Fried Cheese!
Make Ahead Options
These delightful Greek Fried Cheese (Saganaki) are perfect for busy cooks looking to save time during hectic weeknights! You can prep the cheese by cutting it into uniform blocks and coating them in seasoned flour up to 24 hours in advance. Simply store the prepared cheese in an airtight container in the refrigerator. To maintain the crispy texture, avoid frying until you’re ready to serve. When it’s time to enjoy your Saganaki, heat about ½ cup of olive oil in a frying pan and fry the cheese blocks for approximately 3 minutes on each side until golden brown. Serve immediately with freshly squeezed lemon juice for that irresistible finish!
Greek Fried Cheese Variations & Substitutions
Feel free to unleash your creativity with these delightful twists on the classic Greek Fried Cheese recipe!
-
Halloumi Swap: Use Halloumi cheese for a firmer texture that still delivers on flavor; this will add delightful chewiness.
-
Herb-Infused Flour: Mix dried oregano or dill into the flour for an aromatic boost that enhances the Mediterranean experience. It’s like a little taste of the Greek countryside in every bite!
-
Spicy Kick: Add a dash of red pepper flakes to the flour for a subtle heat that pairs wonderfully with the cheese’s richness. Your taste buds will thank you!
-
Zesty Lemon & Garlic: Infuse olive oil with minced garlic and lemon zest before frying for an added layer of flavor that brightens each bite.
-
Gluten-Free Option: Substitute all-purpose flour with a gluten-free flour blend for those avoiding gluten, ensuring everyone can savor the crispy delight.
-
Creamy Dip: Serve with a side of tzatziki for a refreshing contrast; the cool and creamy dip beautifully balances the heat of the fried cheese. It’s a match made in appetizer heaven!
-
Garnish Ideas: Top with chopped fresh herbs such as parsley or mint after frying for a burst of color and fresh flavor that elevates your dish.
-
Cheese Variety: Experiment with other cheeses like Camembert or Brie for a luxurious twist; each one brings a unique taste profile to the table, inviting you to explore more Mediterranean delights.
With these variations, your Greek Fried Cheese will stay exciting and delicious every time you make it! If you’re craving more Mediterranean-inspired dishes, check out these amazing recipes: Calorie Healthy Greek and Dulce Leche Cheesecake. Enjoy!
Expert Tips for Perfect Greek Fried Cheese
• Hot Oil Required: Ensure your oil is hot enough before adding the cheese; this maintains the crispy crust and prevents it from getting greasy.
• Uniform Cutting: Cut the cheese into uniform blocks for even frying. This ensures each piece reaches the perfect texture, making your Greek Fried Cheese delightful.
• Don’t Overcrowd: Avoid overcrowding the pan when frying. Fry in batches if necessary; this helps maintain temperature and promotes even cooking.
• Serve Fresh: For the best experience, serve the Greek Fried Cheese immediately after frying. This keeps the center gooey and the crust crunchy.
• Lemon Juice Timing: Always squeeze fresh lemon juice right before serving; this balances the flavors beautifully and enhances the dish’s Mediterranean charm.
What to Serve with Crispy Greek Fried Cheese (Saganaki)
Pairing Saganaki with the right accompaniments transforms this dish into an unforgettable feast that will linger in your memory.
-
Warm Pita Bread: A classic pairing, warm pita serves as the perfect vessel for scooping up crispy cheese and adds delightful texture to your meal.
-
Greek Salad: Chilled, fresh, and vibrant, a Greek salad with cucumber, tomatoes, and Feta provides a refreshing contrast to the rich, fried cheese, balancing out the flavors beautifully.
-
Tzatziki Sauce: The creamy, garlicky taste of tzatziki enhances the dish, while its coolness contrasts perfectly with the warm, gooey Saganaki.
-
Marinated Olives: A small bowl of marinated olives offers a briny complement, adding depth and contrasting flavors to the creamy cheese experience.
-
Sautéed Spinach: Gentle sautéed spinach with garlic makes for a nutritious and vibrant side that balances the richness of Saganaki, maintaining that Mediterranean flair.
-
Lemon Wedges: Fresh lemon wedges are essential for serving, as a squeeze of citrus elevates the flavors of the fried cheese and adds a zesty brightness.
-
Dry White Wine: A chilled glass of dry white wine, such as Assyrtiko, pairs beautifully, enhancing the dish’s flavor by cutting through its richness.
-
Baklava: For dessert, consider finishing your meal with baklava. Its sweet, nutty layers offer a satisfying conclusion to the savory delights of Saganaki.
Indulge your senses with these delightful pairings, each designed to enhance the experience of enjoying crispy Greek Fried Cheese!
How to Store and Freeze Greek Fried Cheese
Fridge: Store any leftover Greek Fried Cheese in an airtight container for up to 1 day. This keeps the cheese safe but note that it may lose some crunch.
Freezer: For longer storage, place the fried cheese on a baking sheet in a single layer and freeze until solid, then transfer to a freezer-safe bag for up to 1 month.
Reheating: To regain some crispiness, reheat the cheese in an oven preheated to 350°F (175°C) for about 10 minutes. Avoid the microwave, as it will make the cheese soggy.
Serving Tips: Enjoy reheated Saganaki promptly, adding fresh lemon juice just before serving for that delightful burst of flavor!
Greek Fried Cheese (Saganaki) Recipe FAQs
What type of cheese is best for Saganaki?
Absolutely! The traditional choice is Kefalograviera cheese, which has a wonderful balance of sharpness and creaminess. If you can’t find it, feel free to substitute with Kefalotyri or Graviera—the important thing is to use a firm sheep’s milk cheese to achieve that perfect gooey center.
How should I store leftover Saganaki?
To keep your leftovers fresh, store them in an airtight container in the fridge for up to 1 day. Just keep in mind that while they’ll still be safe to eat, they may lose some of their delicious crunch. To enjoy them again, it’s best to reheat them in the oven for that crispy texture.
Can I freeze Saganaki? If so, how?
Certainly! To freeze Saganaki, first, place the fried cheese in a single layer on a baking sheet and freeze it until solid, usually about 1 to 2 hours. Once frozen, transfer the pieces into a freezer-safe bag where they can stay fresh for up to 1 month. When ready to enjoy again, reheat them in a preheated oven at 350°F (175°C) for about 10 minutes to bring back some of that glorious crunch!
What if my cheese falls apart while frying?
No worries, this can happen! If your Saganaki begins to break apart, it might mean the oil wasn’t hot enough. Make sure your oil is shimmering before adding the cheese. For future attempts, ensure each piece is evenly coated in flour, allowing for a more stable fry and preventing excessive melting.
Are there any dietary considerations for Saganaki?
Very! Since Saganaki is made primarily with cheese, it is not suitable for those who are lactose intolerant or allergic to dairy. However, you can experiment with dairy-free cheese alternatives that can withstand frying! Always double-check the labels for any additional ingredients that may affect allergies.
Can I make Saganaki in advance?
While Saganaki is best enjoyed fresh for that gooey and warm experience, you can prepare the cheese blocks in advance by cutting and coating them in flour. Store the prepared cheese in the fridge for up to 1 day before frying, allowing for an easy and quick cook just before serving!

Irresistible Greek Fried Cheese Recipe for Flavorful Moments
Ingredients
Equipment
Method
- Begin by cutting the Kefalograviera cheese into uniform blocks, about ½ inch thick.
- Take your seasoned all-purpose flour and place it in a shallow dish. Gently roll each block of cheese in the flour, making sure every side is evenly coated.
- In a large frying pan, pour about ½ cup of good quality olive oil and place it over medium heat until it shimmers.
- Gently lay the coated cheese blocks into the hot oil and fry for about 3 minutes on one side until golden brown.
- Carefully flip each piece using tongs and continue cooking for an additional 2 minutes on the other side.
- Ensure that each piece is golden-brown and springy when touched; this indicates they are ready.
- Transfer the fried cheese to a plate lined with paper towels, squeeze fresh lemon juice generously over the top, and serve immediately.