Advertisement
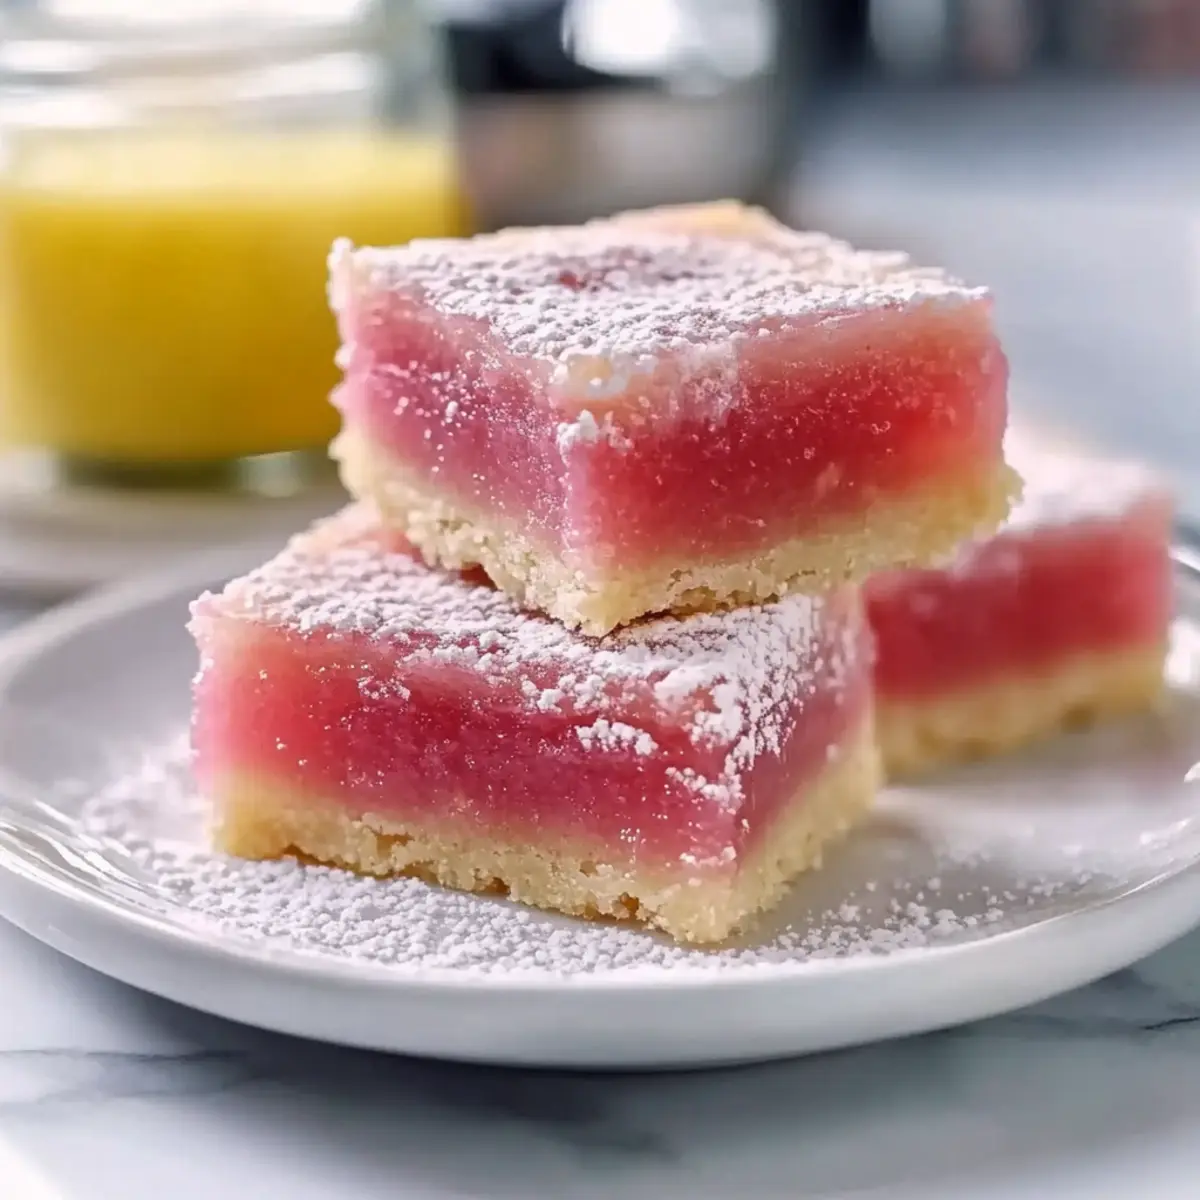
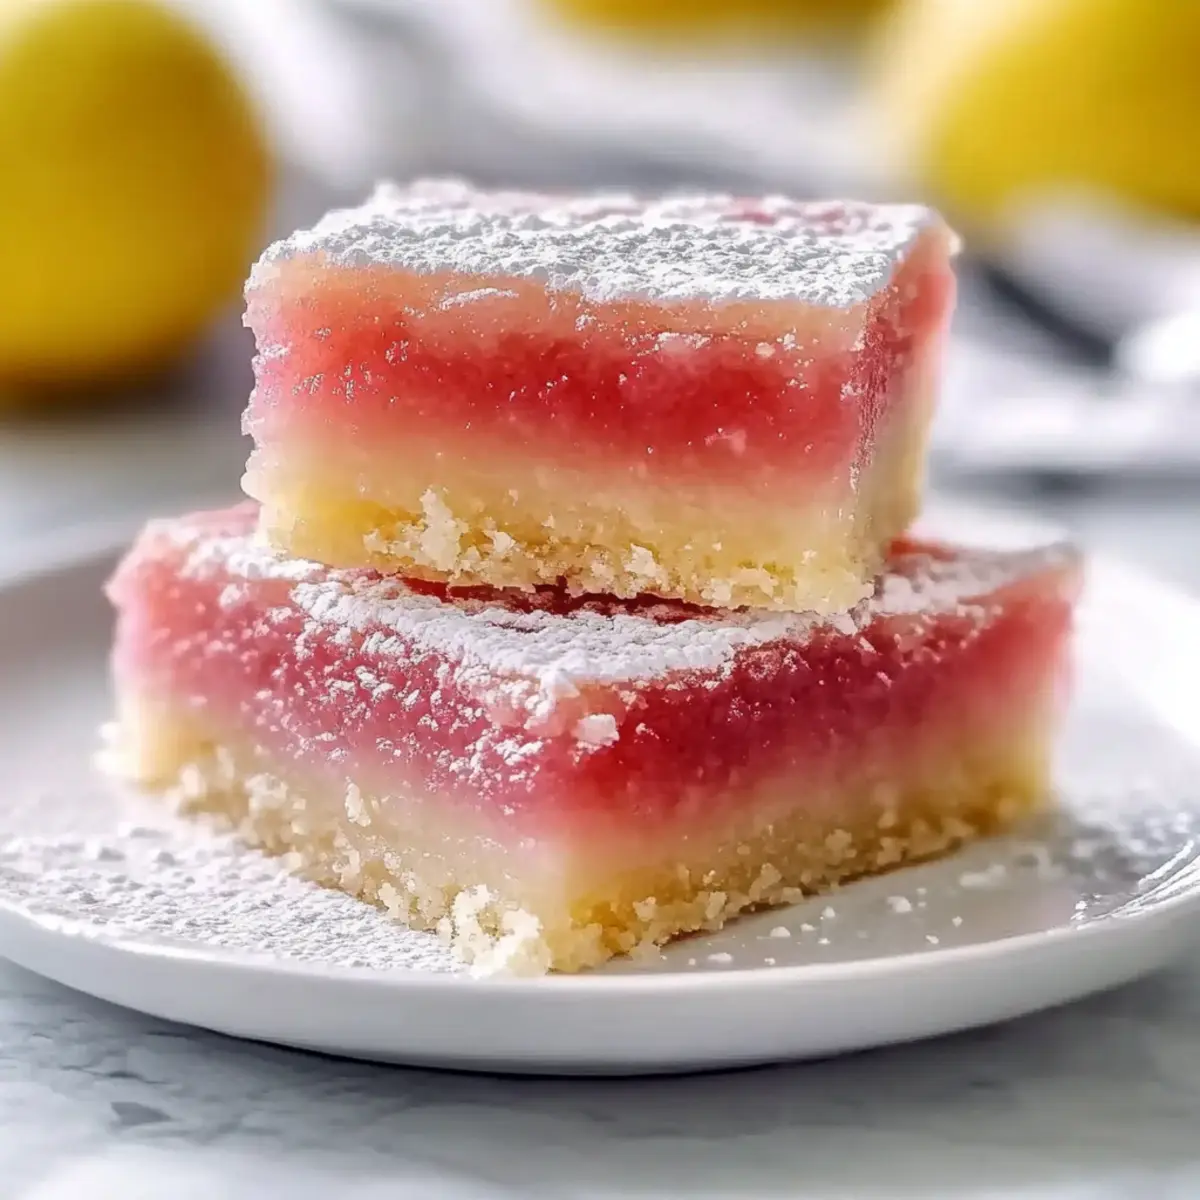
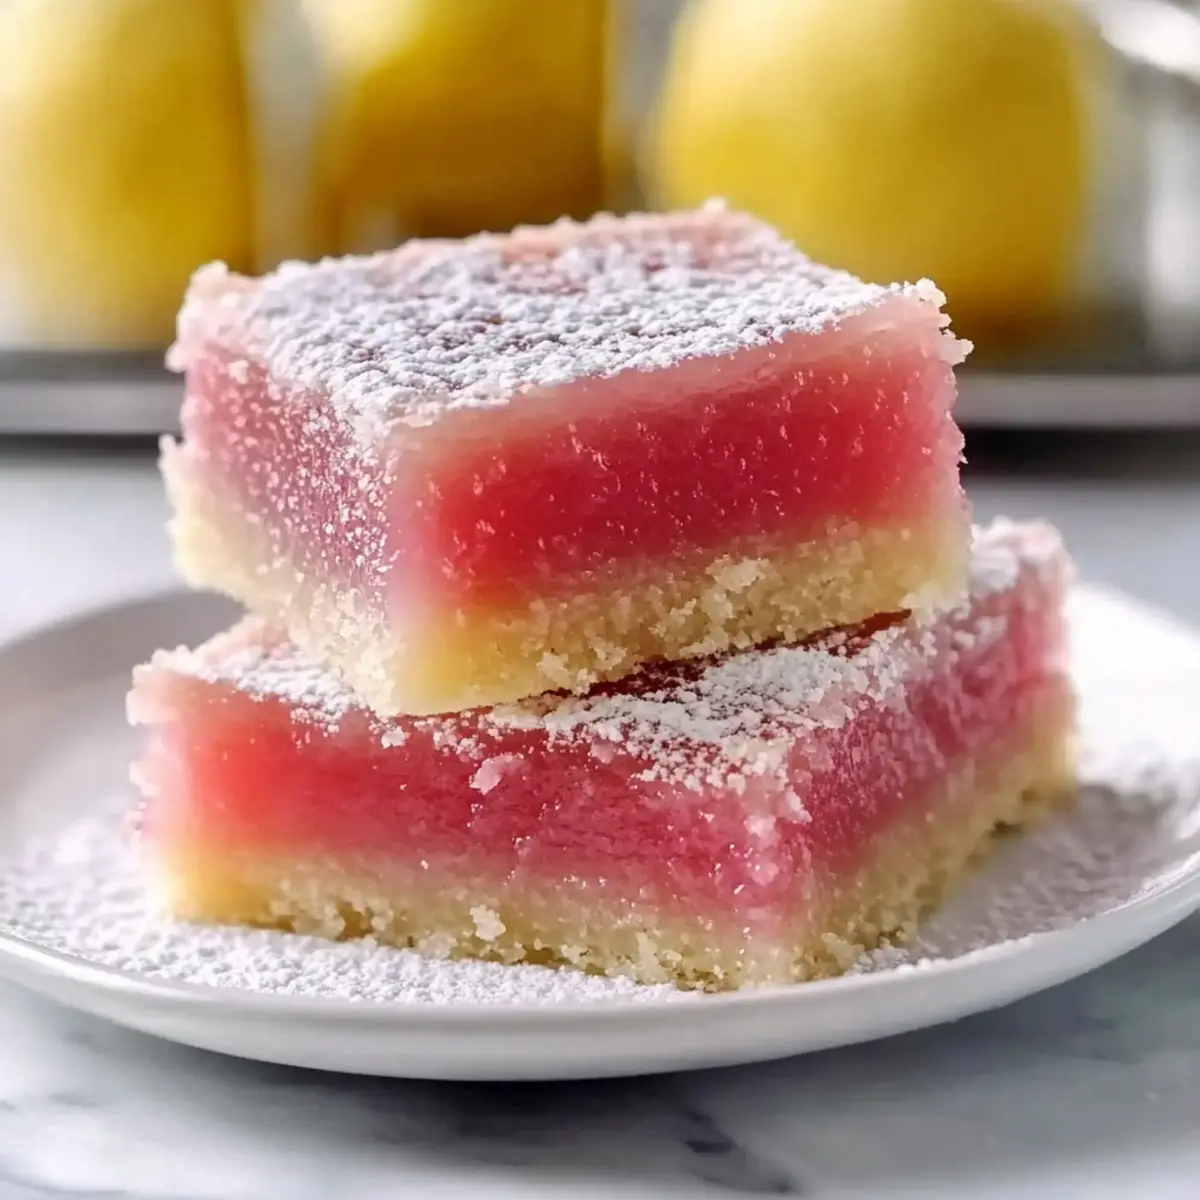
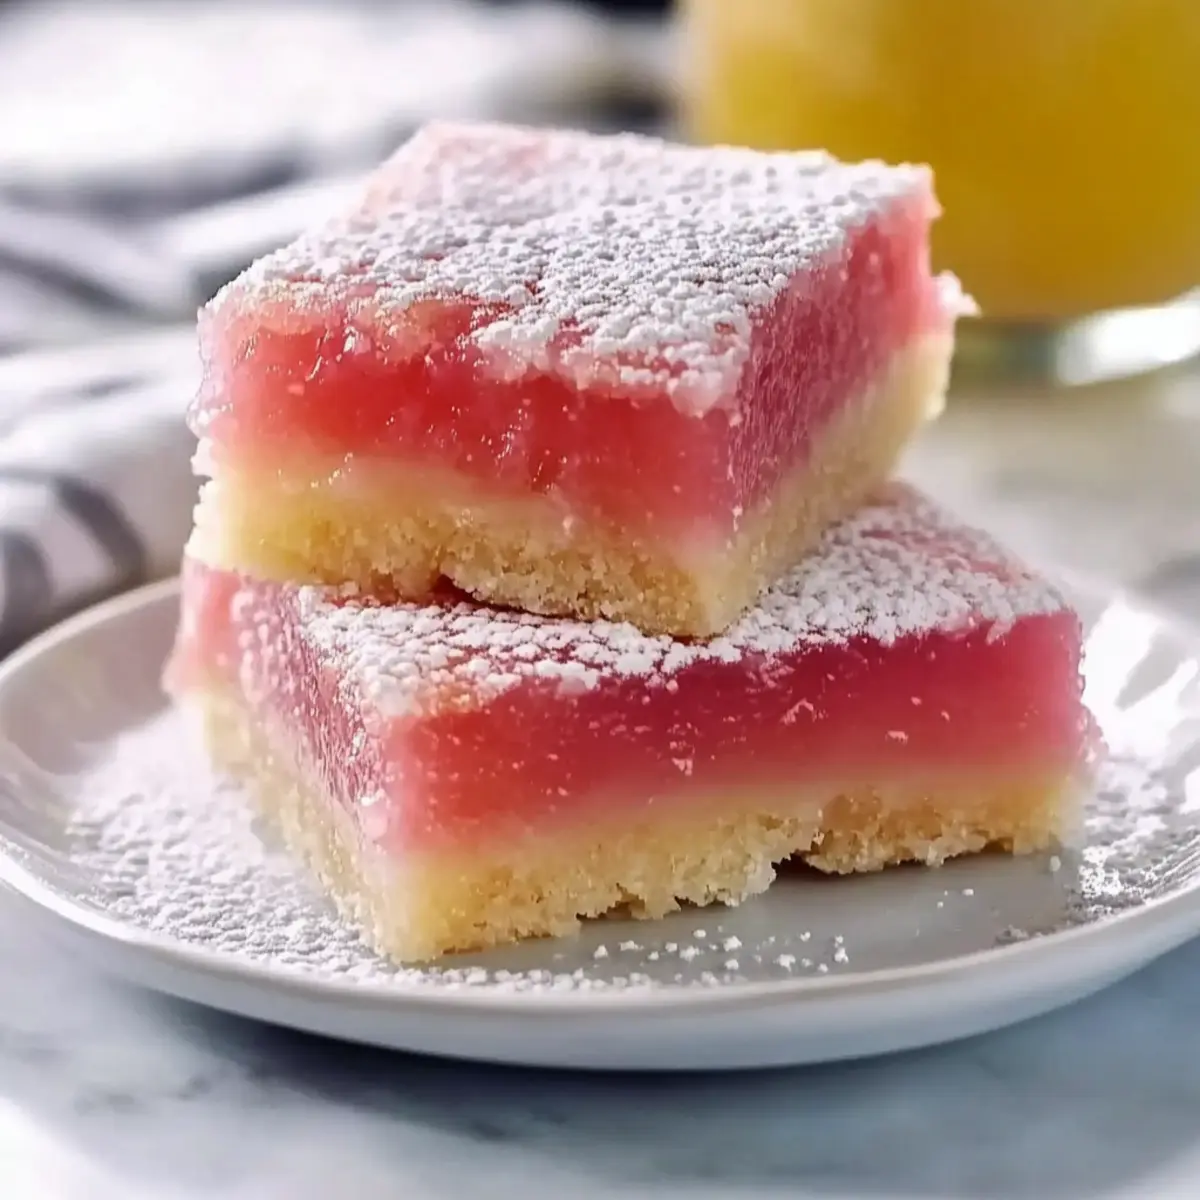
As I took a moment to savor the aroma wafting through my kitchen, I couldn’t help but feel transported to a sun-drenched floral garden. Hibiscus Lemon Bars carry all the magic of bright lemons intertwined with the delicate essence of hibiscus. This delightful recipe blends refreshing flavors into a luscious dessert that is both pleasing to the palate and the eye, showcasing a gorgeous pink hue that’s perfect for any spring or summer gathering. Made simply yet elegantly, these bars are not only quick to whip up but also offer a gluten-free option, ensuring everyone can enjoy a slice of happiness. So, whether you’re looking to impress guests or just treat yourself, why not give these Hibiscus Lemon Bars a try? What colorful twist will you add to make them your own?
Why Choose Hibiscus Lemon Bars?
Unique Flavor Fusion: The blend of tart lemon and floral hibiscus creates a refreshing twist that’s perfect for warm days.
Stunning Presentation: With their vibrant pink hue, these bars are a real showstopper at any gathering.
Versatile Options: Whether you prefer gluten-free or vegan, this recipe offers easy substitutions that cater to various dietary needs.
Quick Preparation: Ready in under an hour, these bars are a time-saver when you need a quick yet impressive dessert.
Perfect for Sharing: Cut into bite-sized squares, they make delightful treats for picnics, tea parties, or summer barbecues.
For additional sweet inspiration, try the Christmas Cookie Bars for a festive touch or get creative with some Lemon Sweet Rolls on the side!
Hibiscus Lemon Bars Ingredients
• Explore the vibrant flavors of these floral treats!
Advertisement
For the Crust
- Butter – ½ cup; provides richness and structure to the crust. Substitution: Use vegan butter for a dairy-free option.
- Granulated Sugar – 1 cup; adds sweetness to both the crust and filling. Substitution: Can replace with coconut sugar for a lower glycemic index.
- Vanilla Bean Paste – 1 Tbsp; enhances flavor depth. Substitution: Use pure vanilla extract (½ tsp).
- All-Purpose Flour – 1 ½ cups; forms the base of the crust and thickens the filling. Substitution: Gluten-free flour blend can be used for gluten-free bars.
- Salt – pinch; balances sweetness and enhances flavors.
For the Filling
- Dried Hibiscus Flowers – 1 cup; adds a floral flavor and vibrant color to the filling. Note: Use powdered hibiscus or hibiscus tea as a substitute if dried is unavailable.
- Fresh Lemon Juice – ½ cup; provides tanginess and brightness to the bars. Ensure it is fresh for best flavor.
- Eggs – 3; contributes to the custardy texture of the filling. Substitution: Use flaxseed meal or chickpea flour for a vegan version.
These Hibiscus Lemon Bars will surely captivate your taste buds and enliven your dessert table!
Step‑by‑Step Instructions for Hibiscus Lemon Bars
Step 1: Preheat the Oven
Begin by preheating your oven to 350°F (175°C). This ensures it reaches the perfect baking temperature for your Hibiscus Lemon Bars. While the oven warms up, gather all your ingredients and equipment, including a 9×9 inch greased baking pan for the crust.
Step 2: Cream Together the Base
In a mixing bowl, use an electric mixer to cream together ½ cup of butter, 1 cup of granulated sugar, and 1 tablespoon of vanilla bean paste until the mixture is light and fluffy, about 3-4 minutes. This step is crucial as it incorporates air, giving your crust a delightful texture.
Step 3: Combine Dry Ingredients
Gradually add 1 ½ cups of all-purpose flour and a pinch of salt to the creamed mixture. Mix until just combined—be careful not to overmix, as this could toughen your crust. The dough should appear crumbly but hold together when pressed.
Step 4: Form the Crust
Press the dough evenly into the bottom of the prepared 9×9 inch pan. Aim for an even layer that extends to the edges. Once done, pop the pan into the refrigerator for about 15 minutes to chill, helping the crust maintain its shape during baking.
Step 5: Bake the Crust
Remove the chilled pan from the refrigerator and bake the crust in the preheated oven for about 15 minutes. You’ll know it’s ready when the edges turn light golden brown. Take it out of the oven and let it cool slightly while you prepare the filling.
Step 6: Steep Hibiscus for Filling
In a small saucepan, combine ½ cup of fresh lemon juice with 1 cup of dried hibiscus flowers. Let this mixture steep for about 15 minutes to extract the floral flavors and vibrant color. After steeping, strain the mixture, discarding the hibiscus petals, and set aside.
Step 7: Whisk the Filling
In a large bowl, whisk together 3 eggs and 1 cup of granulated sugar until frothy and well combined. Gradually mix in the hibiscus-infused lemon juice. Finally, add a small amount (about 2 tablespoons) of flour to ensure the filling holds its lovely shape.
Step 8: Bake the Bars
Carefully pour the filling over the pre-baked crust, spreading it evenly. Return the pan to the oven and bake for 20-25 minutes. The filling should be set and firm, with no jiggle in the center when done. This ensures your Hibiscus Lemon Bars will slice perfectly.
Step 9: Cool and Serve
Once baked, remove the pan from the oven and allow it to cool completely. For an elegant touch, dust the top with confectioner’s sugar before slicing into squares. These Hibiscus Lemon Bars are now ready to be enjoyed at spring or summer gatherings!
Storage Tips for Hibiscus Lemon Bars
-
Room Temperature: Allow Hibiscus Lemon Bars to cool completely before storing. Once cooled, they can be kept at room temperature for up to 2 days in an airtight container.
-
Fridge: For longer freshness, store in the refrigerator in an airtight container, where they will keep well for 4-5 days. This helps maintain their lovely texture and flavor.
-
Freezer: If you wish to enjoy your Hibiscus Lemon Bars later, cut them into squares and freeze in a single layer on a baking sheet until solid. Transfer to a freezer-safe container and they can last for up to 2 months.
-
Reheating: If you prefer warm bars, gently reheat them in a low oven (300°F) for about 5 minutes to restore their delightful taste and texture.
Hibiscus Lemon Bars Variations
Feel free to put your own unique spin on these delightful Hibiscus Lemon Bars!
-
Gluten-Free: Substitute all-purpose flour with a gluten-free blend to cater to gluten sensitivities. This will keep the texture lovely and light.
-
Vegan: Use a flaxseed mixture (1 Tbsp flaxseed meal + 2.5 Tbsp water per egg) and swap in vegan butter for a flavorful twist that’s also dairy-free. Enjoy without missing out!
-
Enhanced Flavor: Infuse the filling with floral teas such as chamomile or even a sprinkle of cardamom. Adding unexpected spices makes each bite a delightful surprise.
-
Mini Muffins: Instead of baking in a pan, use mini muffin tins for bite-sized treats that are perfect for sharing, parties, or just enjoying on your own.
-
Graham Cracker Crust: Try replacing the traditional crust with crushed graham crackers mixed with butter for an extra layer of crunch and sweetness. It’s a nostalgic twist on a classic bar.
Pair these charming variations with a refreshing beverage like sparkling water or tea. And if you’re in the mood for more citrus-inspired delights, why not whip up some Lemon Sweet Rolls as a delightful breakfast option? Or treat yourself to some scrumptious Christmas Cookie Bars that will bring joy to any festive gathering!
Make Ahead Options
These Hibiscus Lemon Bars are fabulous for meal prep enthusiasts! You can prepare the crust up to 24 hours in advance—just press it into the pan, wrap tightly with plastic wrap, and refrigerate. The filling can also be mixed and stored in the refrigerator for up to 3 days; simply cover it in an airtight container to keep it fresh. When you’re ready to serve, pour the chilled filling over the pre-baked crust and bake as directed. This method not only saves you valuable time on busy weeknights but also ensures your Hibiscus Lemon Bars will be just as delicious and vibrant as if made fresh on the spot!
What to Serve with Hibiscus Lemon Bars?
As you delight in the refreshing tang of these vibrant bars, think about how to elevate your gathering into a full-fledged feast.
-
Creamy Whipped Cream: A dollop of freshly whipped cream enhances the citrusy notes, adding a light and airy compliment to each bite.
-
Fresh Berries: Serve with a mix of strawberries, blueberries, and raspberries for a burst of juiciness that harmonizes beautifully with the floral flavors.
-
Mint Tea: A warm cup of mint tea provides a refreshing contrast, cleansing the palate between bites and celebrating the hibiscus notes.
-
Sparkling Rosé: This bubbly beauty complements the visual presentation of the bars while offering fruity notes and added acidity to balance the sweet-tart filling.
-
Coconut Macaroons: These chewy, coconut delights add a different texture to the table, their sweetness harmonizing with the lemon’s tartness.
-
Citrus Granita: A light, icy granita made with lemon or orange provides an uplifting refresher and contrasts with the dense, custardy filling.
Elevate your spring or summer gathering with these delightful accompaniments, ensuring every bite of your Hibiscus Lemon Bars sings in harmony with other flavors!
Expert Tips for Hibiscus Lemon Bars
- Proper Mixing: Avoid overmixing the crust to keep it tender. A light hand ensures a flaky texture that perfectly complements the filling.
- Infusion Time: Steep the hibiscus in lemon juice long enough to extract vibrant flavor and color. Under-infusing can result in bland bars.
- Cooling Process: Allow the bars to cool completely before slicing; this ensures clean cuts and prevents squishy, messy edges.
- Egg Jell-Check: The filling should not jiggle excessively in the center when done baking, as this indicates it’s fully set for perfect Hibiscus Lemon Bars.
- Serving Fresh: Dust with confectioner’s sugar just before serving to prevent moisture absorption, which keeps your bars looking and tasting their best.
Hibiscus Lemon Bars Recipe FAQs
How do I choose the best hibiscus flowers for my bars?
Absolutely! When selecting dried hibiscus flowers, look for ones that are deep red and aromatic, signaling they are fresh and flavorful. Avoid any that have dark spots or seem brittle, as they may be past their prime. If you can’t find dried flowers, hibiscus tea bags or powdered hibiscus can work as great substitutes as well!
What’s the best way to store Hibiscus Lemon Bars?
For optimal freshness, you should store your Hibiscus Lemon Bars in an airtight container. They will last at room temperature for about 2 days but refrigerating them will extend their shelf life to 4-5 days. Just make sure they are completely cooled before placing them in the container to maintain their lovely texture.
Can I freeze Hibiscus Lemon Bars, and how should I do it?
Yes, absolutely! To freeze your Hibiscus Lemon Bars, first cut them into squares. Lay the squares in a single layer on a baking sheet lined with parchment paper and place them in the freezer until solid, which should take about 1-2 hours. Once frozen solid, transfer them to a freezer-safe container or bag, where they can last for up to 2 months. Just remember to label the container with the date!
What should I do if my filling jiggles when the bars are done baking?
Very important question! If the filling jiggles too much in the center when you take the bars out of the oven, it generally means they need a bit more time. Return them to the oven and bake for another 5-10 minutes, checking periodically. It’s done when the sides are set, but the center should still be slightly soft. Allow them to cool completely for the best texture.
Are there any dietary considerations for making these bars?
Absolutely! If you are catering to dietary needs, you can easily modify this recipe. For a gluten-free version, substitute all-purpose flour with a gluten-free blend. If you wish to make them vegan, replace the eggs with a flaxseed mixture (1 tablespoon of flaxseed meal mixed with 2.5 tablespoons of water per egg) or chickpea flour. Both alternatives work well and maintain the delicious flavor!
Hibiscus Lemon Bars: Refreshing Treat with a Floral Twist
Ingredients
Equipment
Method
- Preheat the oven to 350°F (175°C) and gather all ingredients and equipment.
- Cream together butter, granulated sugar, and vanilla bean paste until light and fluffy, about 3-4 minutes.
- Gradually mix in flour and salt until just combined; do not overmix.
- Press the dough into the bottom of a greased 9x9 inch pan and refrigerate for 15 minutes.
- Bake the crust for about 15 minutes until the edges are light golden brown.
- Steep dried hibiscus flowers in fresh lemon juice for about 15 minutes, then strain.
- Whisk together eggs and granulated sugar until frothy, then mix in the hibiscus-infused lemon juice.
- Carefully pour the filling over the crust and bake for 20-25 minutes until set.
- Cool completely, then dust with confectioner’s sugar before slicing into squares.