Advertisement
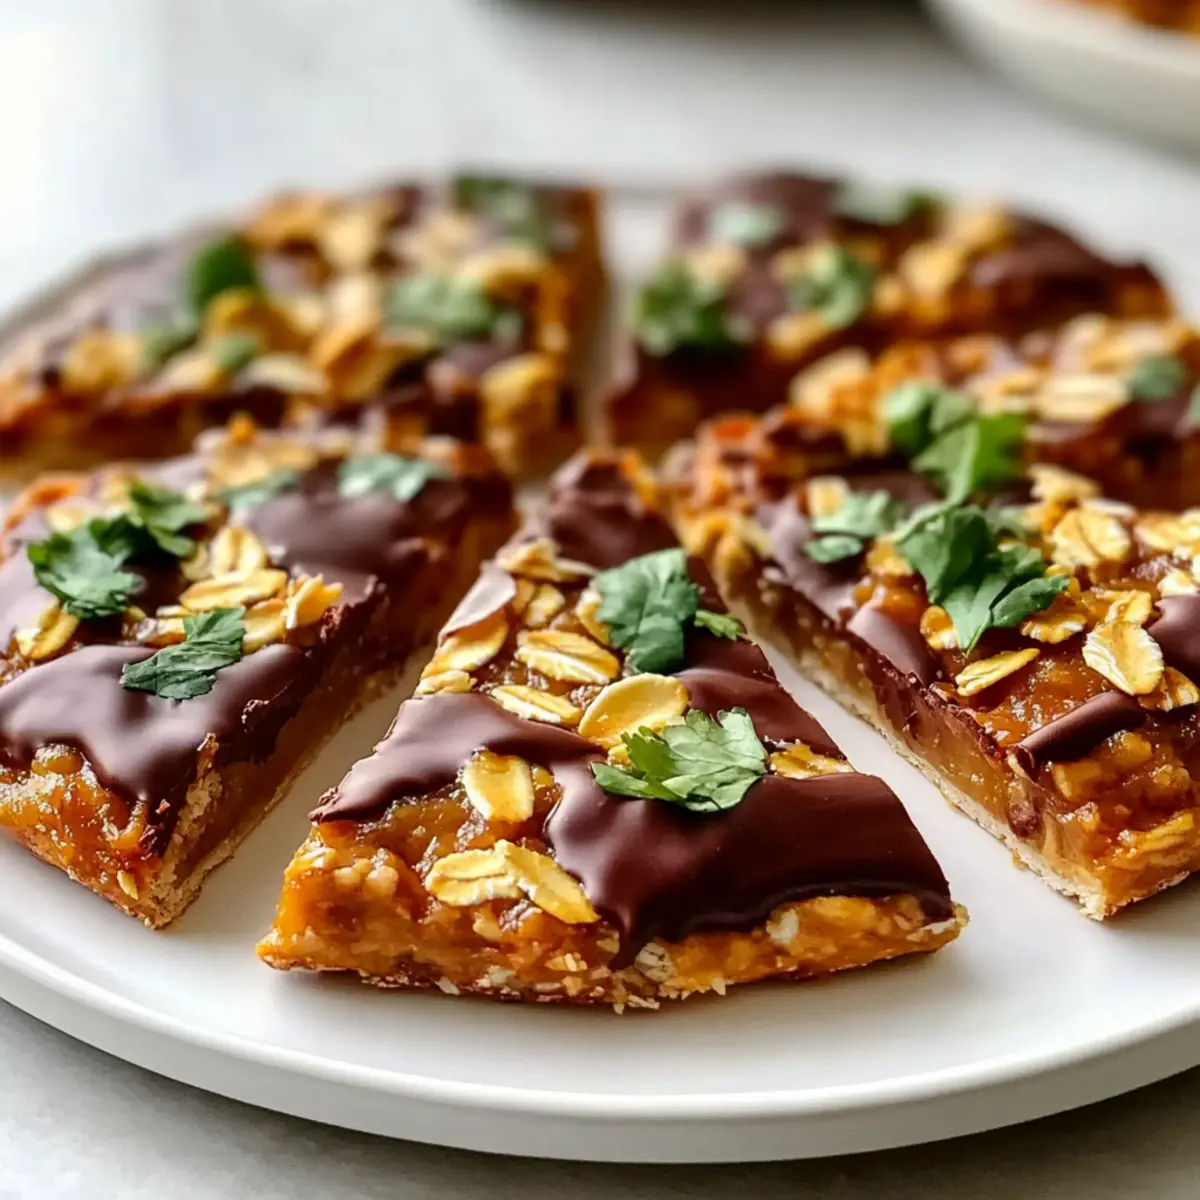
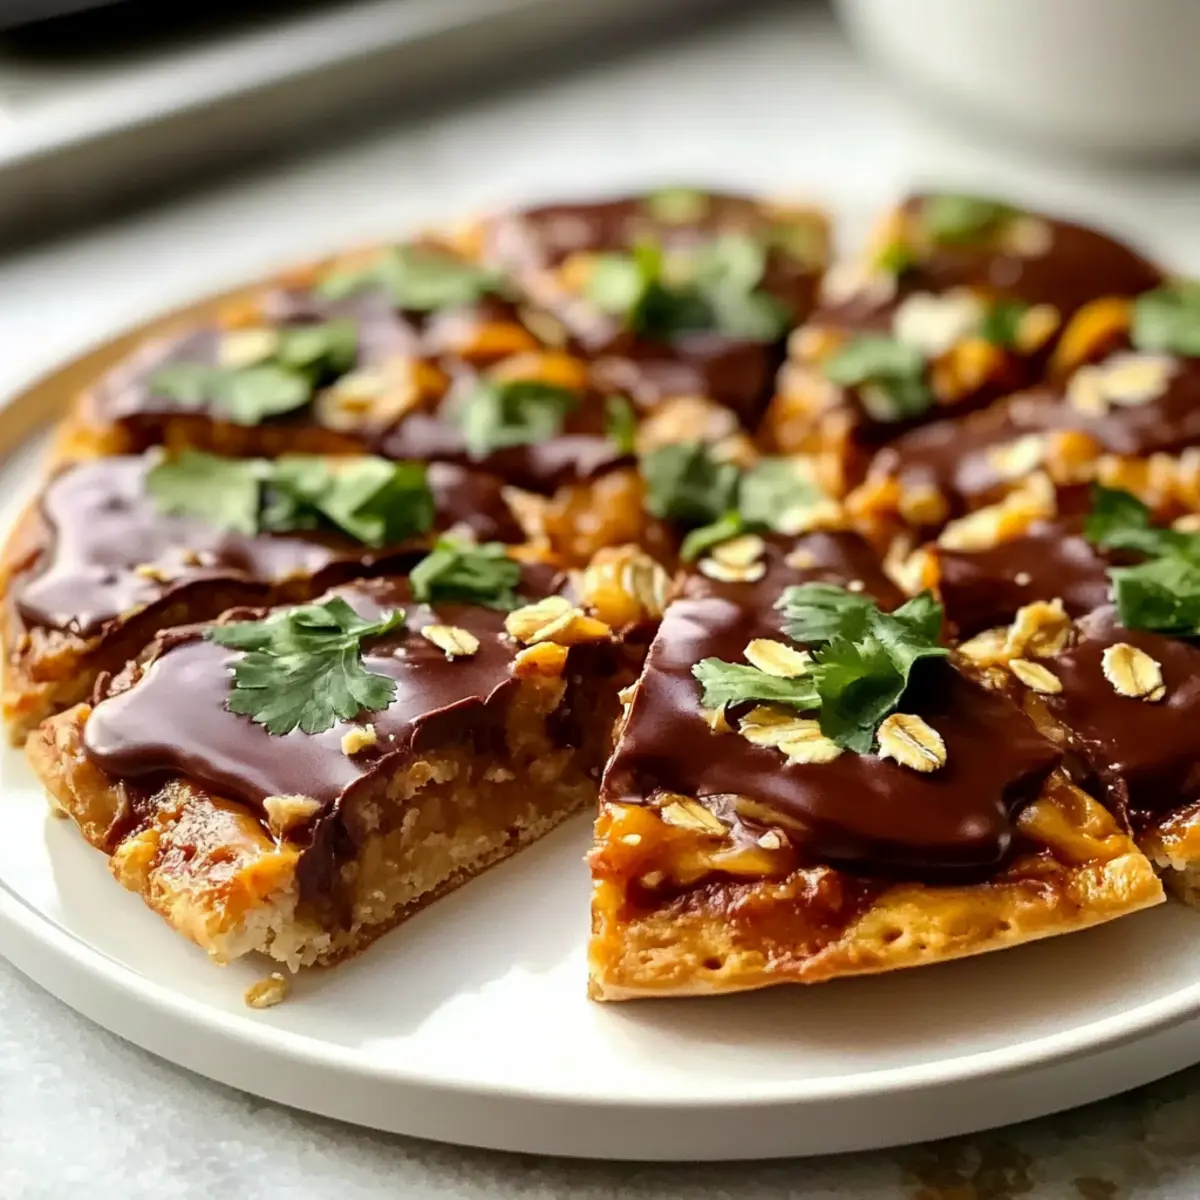
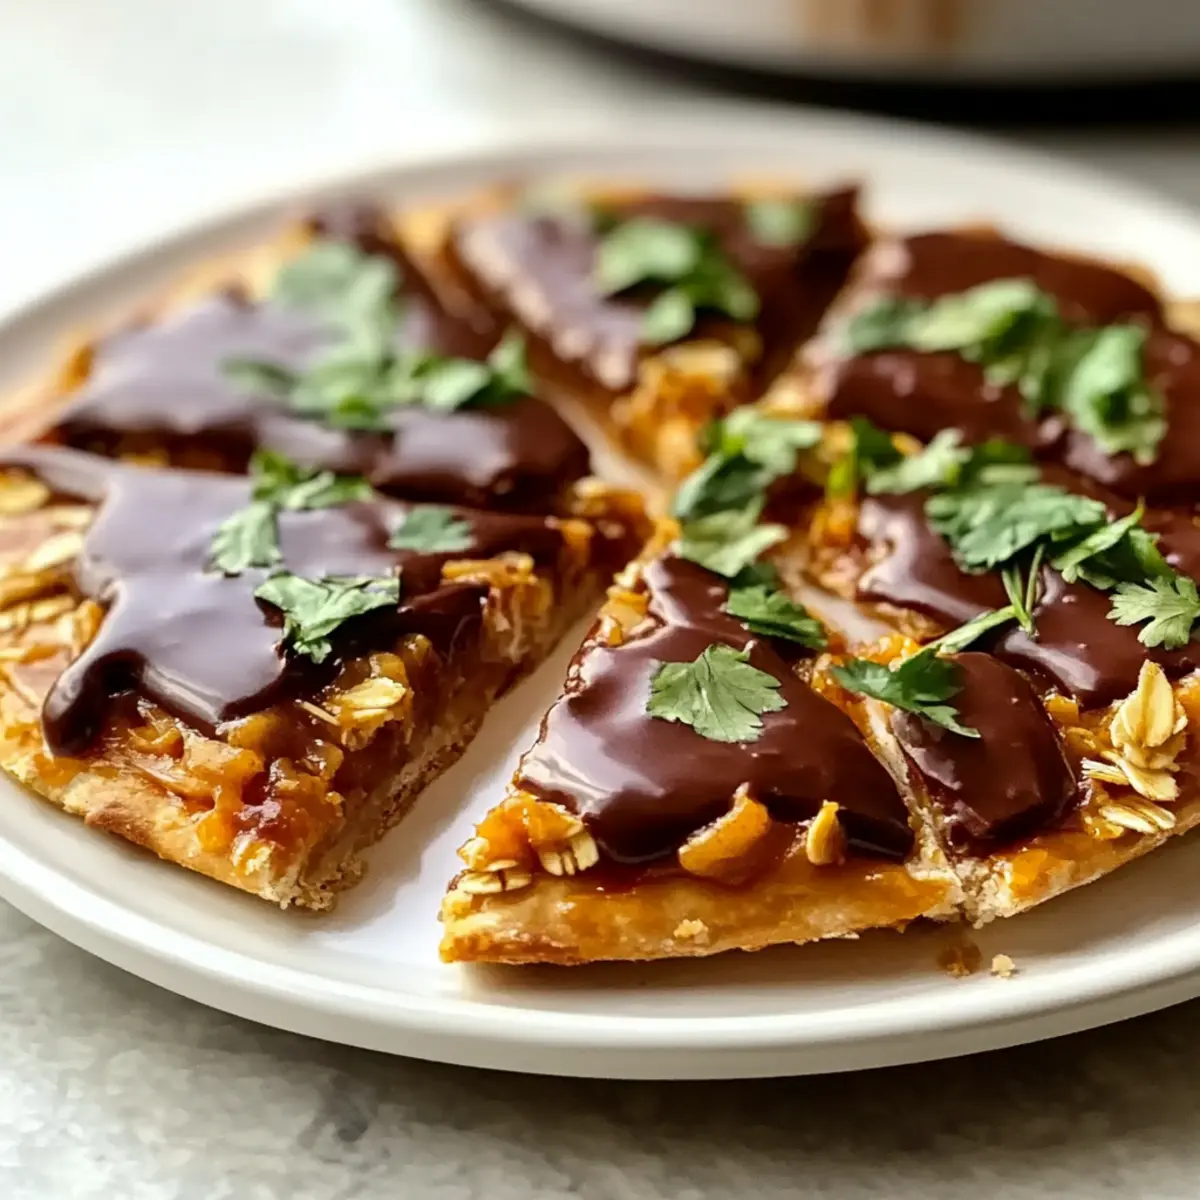
You won’t believe how simple it can be to whip up a delightful dessert that everyone will love! These Easy No-Bake Chocolate Peanut Butter Bars are my go-to recipe when I crave something sweet without spending hours in the kitchen. With just four main ingredients, you can create a creamy and satisfying treat that comes together in under 30 minutes. Plus, they’re gluten-free, making them a fantastic option for gatherings or when you’re entertaining guests. The best part? These bars are not only a quick fix but also a wholesome indulgence, loaded with protein and healthy fats, perfect for a pick-me-up any time of day. Curious how to make these irresistible treats? Let’s dive into the recipe!
Why Are No-Bake Peanut Butter Bars Amazing?
Simplicity, these bars come together in just 30 minutes, making them perfect for a last-minute sweet treat. Flavorful layers of rich chocolate and creamy peanut butter create a delightful combination that will satisfy your cravings. Versatile options abound! Swap peanut butter for almond butter or add dried fruits for a unique twist. Healthy indulgence means these bars are gluten-free and packed with protein, making them a guilt-free snack. For even more delicious ideas, check out my Cheesy Chicken Roll or Oven Baked Chicken recipes. Your taste buds will thank you!
No-Bake Chocolate Peanut Butter Bar Ingredients
• Get ready to whip up these delightful bars with just a few simple ingredients!
Advertisement
For the Base
- Oats – A great source of fiber, use rolled oats for extra chewiness.
- Peanut Butter – The star of the show; swap in almond butter for a nut-free version.
- Honey or Maple Syrup – Adds sweetness and helps bind everything together; opt for maple syrup for a vegan treat.
- Cocoa Powder – Provides deep, rich chocolate flavor; make sure it’s unsweetened for the best balance.
For the Topping
- Chocolate Chips – Optional but incredibly indulgent; dark chocolate chips will enhance the richness of these no-bake chocolate peanut butter bars as a topping.
Each ingredient contributes to a deliciously satisfying dessert, perfect for satisfying your sweet cravings quickly!
Step‑by‑Step Instructions for Easy No-Bake Chocolate Peanut Butter Bars
Step 1: Prepare the Base
In a large mixing bowl, combine rolled oats, peanut butter, honey, and cocoa powder. Use a spatula to mix until all ingredients are thoroughly combined and the mixture forms a sticky, cohesive mass, which should take about 3-5 minutes.
Step 2: Press the Mixture
Line an 8×8-inch square baking dish with parchment paper for easy removal. Transfer the oat mixture into the dish and, using the back of a spatula or your hands, press it down firmly and evenly to create a compact layer. It should have a smooth top surface after pressing.
Step 3: Chill
Place the baking dish in the refrigerator and chill the pressed mixture for at least 15 minutes, or until firm. This waiting period allows the bars to set properly, making them easier to cut later.
Step 4: Add Topping
While the base is chilling, melt the chocolate chips in a microwave-safe bowl. Heat in 30-second intervals, stirring in between, until fully melted and smooth. Once melted, pour the chocolate evenly over the chilled base, using a spatula to smooth it out if necessary.
Step 5: Final Chill
Return the baking dish to the refrigerator and chill for an additional 20-30 minutes, or until the chocolate topping is set. The bars should be firm to the touch and easy to lift from the dish.
Step 6: Slice & Serve
After the bars have fully set, carefully lift them out of the dish using the edges of the parchment paper. Place on a cutting board and slice into squares or rectangles. Serve the Easy No-Bake Chocolate Peanut Butter Bars chilled or at room temperature for a deliciously satisfying treat.
What to Serve with Easy No-Bake Chocolate Peanut Butter Bars
Indulging in these melt-in-your-mouth bars is only part of the fun; pairing them with delightful accompaniments can elevate your dessert experience!
-
Creamy Almond Milk: This velvety, nutty drink balances the rich chocolate flavors, making for a comforting pairing.
-
Vanilla Ice Cream: A scoop of creamy vanilla ice cream offers a delightful contrast and adds a cold, refreshing element to your bars.
-
Fresh Berries: Strawberries or raspberries bring a juicy burst of sweetness that beautifully complements the rich chocolate peanut butter.
-
Coffee: A cup of rich, aromatic coffee creates a warm, satisfying match and enhances the deep chocolate notes in the bars.
-
Toasted Coconut Flakes: Sprinkling these on top adds a chewy texture and subtle sweetness, enhancing the overall flavors of your dessert.
-
Chopped Nuts: Adding some crunchy almonds or walnuts provides an additional texture contrast and makes each bite more exciting!
-
Dairy-Free Chocolate Sauce: Drizzling this over serves as an added layer of decadence, perfectly harmonizing with the flavors of the peanut butter bars.
Make Ahead Options
These Easy No-Bake Chocolate Peanut Butter Bars are perfect for meal prep enthusiasts looking to save time on busy weeknights! You can prepare the base of the bars up to 24 hours in advance by mixing the oats, peanut butter, honey, and cocoa powder, and pressing it into the baking dish. Simply cover tightly with plastic wrap or foil and refrigerate until ready to add the chocolate topping. The chocolate can also be melted and poured over the base up to 3 days before serving; just make sure to store the bars in an airtight container in the fridge to maintain their chewy texture. When you’re ready to serve, slice the bars and enjoy the deliciousness—just as fresh and indulgent as when you first made them!
How to Store and Freeze No-Bake Chocolate Peanut Butter Bars
- Room Temperature: These bars are best enjoyed chilled, but can be left out for up to 2 hours if serving at room temperature.
- Fridge: Store the bars in an airtight container in the refrigerator for up to 1 week, ensuring they stay fresh and delicious.
- Freezer: For longer storage, freeze the bars in an airtight container for up to 3 months. Simply thaw in the fridge before serving.
- Reheating: If you prefer them warm, pop them in the microwave for a few seconds to soften slightly, enhancing the creamy texture of your chocolate peanut butter bars.
Expert Tips for No-Bake Chocolate Peanut Butter Bars
-
Press Firmly: Make sure to press the mixture firmly into the pan; loose bases can lead to crumbly bars when slicing.
-
Toast the Oats: For a richer flavor, consider toasting the oats in a dry pan for a few minutes before mixing—they will bring an extra depth to your no-bake chocolate peanut butter bars.
-
Keep Cool: Don’t skip the chilling time! Refrigerating your bars not only helps them set properly but also enhances the flavors and texture.
-
Sweetness Balance: Adjust the amount of honey or maple syrup according to your taste; start with less and add more if needed, ensuring a balanced sweetness.
-
Topping Choices: If chocolate isn’t your thing, try a drizzle of nut butter or a sprinkle of sea salt on top for a delicious twist!
BBQ Chicken Flatbread Variations
Feel free to let your creativity shine and tailor these flatbreads to your taste buds!
-
Spicy Kick: Add sliced jalapeños for a burst of heat. Consider drizzling a bit of sriracha or your favorite hot sauce for that extra kick. The meld of smoky BBQ and spicy peppers creates a tantalizing flavor experience.
-
Veggie Delight: Top with grilled bell peppers and red onions for a fresh twist. These vibrant veggies will not only add color but also a sweet crunch that complements the savory BBQ chicken perfectly.
-
Cheesy Goodness: Experiment with different cheeses. Try using feta or goat cheese for a tangy flavor or add mozzarella for that classic gooeyness. Layering multiple cheeses can create a delightful melty effect that pulls you in with every bite.
-
Herbed Up: Sprinkle freshly chopped herbs like cilantro or parsley before serving for a burst of freshness. The herbs will not only enhance the taste but also elevate your presentation with a touch of green.
-
Tortilla Swap: Use a whole wheat or spinach tortilla for a different flavor profile and a healthier option. These alternatives can add an intriguing taste and provide extra nutrients without sacrificing the deliciousness.
-
Nutty Crunch: Add a handful of toasted walnuts or pecans for a delightful crunch. The nuts will contribute a rich, earthy flavor that complements the sweetness of the BBQ sauce beautifully.
-
Sweet & Savory: Consider adding sliced fresh pineapple or peaches. Grilled fruit can bring a juicy sweetness that balances the tangy BBQ sauce, creating a unique twist that’s summer-ready.
For more delectable options, don’t miss my Healthy Southwest Chicken or check out the Cheesy Chicken Roll for another crowd-pleaser that’ll become a family favorite!
No-Bake Chocolate Peanut Butter Bars Recipe FAQs
What type of oats should I use for these bars?
For the best texture, I recommend using rolled oats. They provide a chewier consistency that enhances the overall enjoyment of the No-Bake Chocolate Peanut Butter Bars. If you only have quick oats, those will work in a pinch, but they may yield a slightly softer texture.
How should I store my No-Bake Chocolate Peanut Butter Bars?
To keep your delicious bars fresh, store them in an airtight container in the refrigerator for up to 1 week. This will ensure they retain their creamy texture and rich flavor. If you’re planning to keep them longer, I suggest freezing them!
Can I freeze these bars, and if so, how?
Absolutely! You can freeze your No-Bake Chocolate Peanut Butter Bars for up to 3 months. Here’s how: Once sliced, place the bars in a single layer in an airtight container or wrap them individually in plastic wrap before freezing. When you’re ready to enjoy, simply thaw the bars in the fridge overnight or at room temperature for a few hours.
What if my mixture is too crumbly?
If you find that the mixture is too crumbly and not holding together well, don’t worry! You can add a little splash of honey or maple syrup to help bind it. Mix it in gradually until you achieve a sticky consistency. Press it gently and firmly into the pan—this will give your bars a better structure when they set.
Are these bars suitable for people with allergies?
These bars are naturally gluten-free if made with certified gluten-free oats. However, they do contain peanuts. If you’re serving guests with nut allergies, you can substitute the peanut butter with sun butter or soy nut butter for a nut-free version. Always make sure to check labels for cross-contamination if allergies are a concern.

Delicious BBQ Chicken Flatbread for a Quick Weeknight Meal
Ingredients
Equipment
Method
- In a large mixing bowl, combine rolled oats, peanut butter, honey, and cocoa powder. Mix until combined and sticky.
- Line an 8x8-inch square baking dish with parchment paper. Press the oat mixture evenly into the dish.
- Chill in the refrigerator for at least 15 minutes until firm.
- Melt chocolate chips in a microwave-safe bowl in 30-second intervals until smooth. Pour over the chilled base.
- Chill for an additional 20-30 minutes until the chocolate is set.
- Lift out using parchment paper, slice into squares or rectangles, and serve.