Advertisement
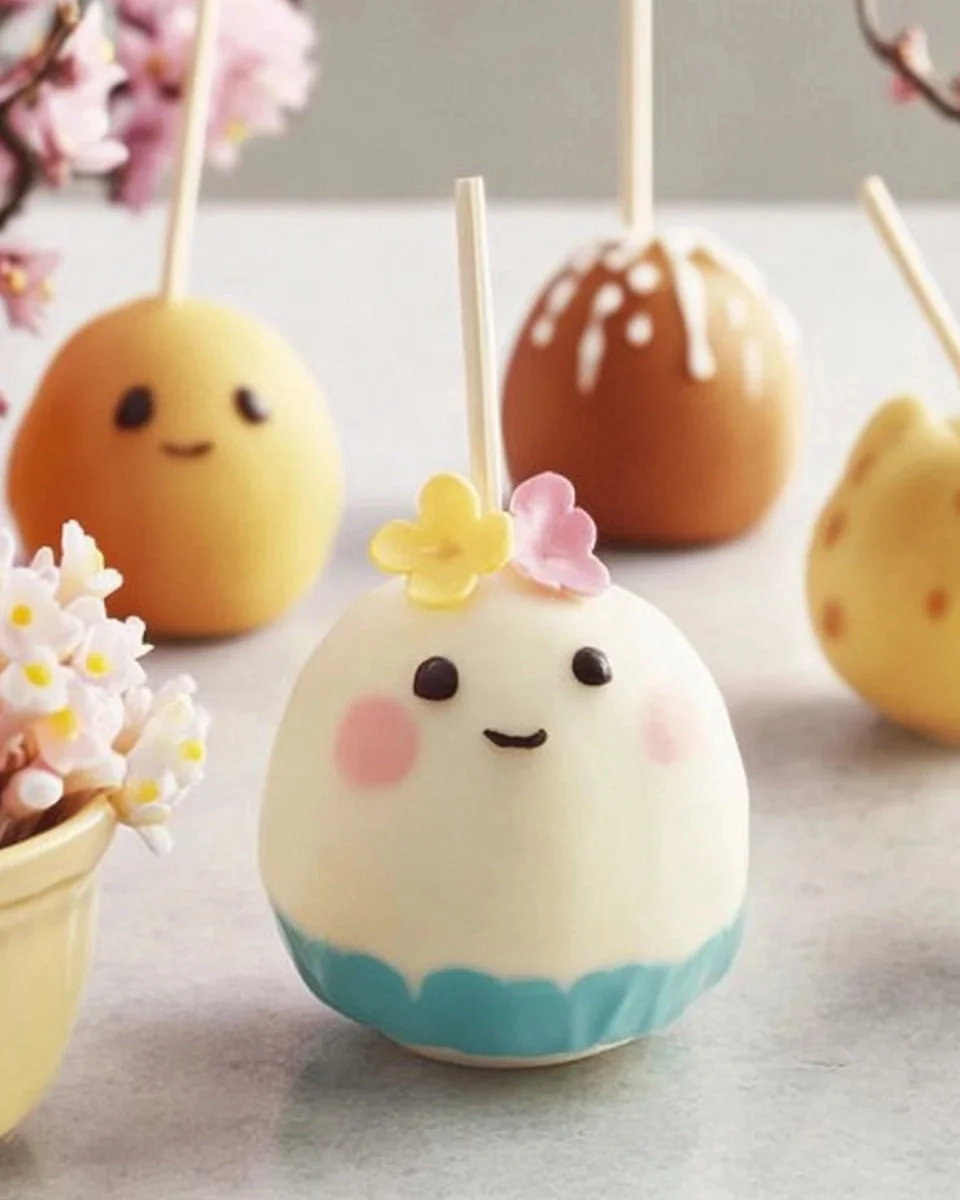
Easter cake pops are the perfect combination of creativity, sweetness, and festive joy. These bite-sized treats bring the fun of a traditional cake into an easy-to-eat, mess-free dessert that is perfect for Easter gatherings, spring parties, or simply as a delicious way to celebrate the season.
With their pastel-colored coatings, playful decorations, and rich vanilla cake center, Easter cake pops are as beautiful as they are delicious. Whether you’re making them for kids, gifting them in Easter baskets, or serving them as a dessert centerpiece, they are guaranteed to impress.
This article will dive into the history of cake pops, why they have become a staple at celebrations, the best techniques for making them, creative variations, health benefits, and answers to frequently asked questions.
The Evolution of Cake Pops: From Classic Cakes to Handheld Treats
Cake pops became a widely popular dessert trend in the early 2010s, thanks to their convenience, visual appeal, and endless customization options. The concept of crumbling cake, mixing it with frosting, shaping it into balls, and dipping it in chocolate took the dessert world by storm.
Advertisement
The origins of cake pops are rooted in the idea of minimizing food waste. Instead of throwing away cake scraps, bakers began repurposing them into a new and exciting treat. The idea quickly gained traction, and cake pops became a bakery staple, available in coffee shops, dessert boutiques, and even pre-packaged versions in grocery stores.
Easter cake pops take this trend to the next level by incorporating festive pastel colors, playful decorations, and fun themes like Easter eggs, bunny faces, and spring flowers.
Why Easter Cake Pops Are a Must-Try Dessert
1. A Delightful Treat for All Ages
These cake pops are loved by both kids and adults. Their bite-sized nature makes them easy to enjoy without needing a plate or fork.
2. Customizable for Any Celebration
Easter cake pops can be decorated with pastel sprinkles, edible glitter, or drizzled with different colors of chocolate to match any festive theme.
3. Easy to Make Ahead
Since cake pops can be made in advance, they are perfect for hosting. You can prepare them days ahead, making Easter celebrations stress-free.
4. A Great Activity for Families
Making cake pops is a fun baking project that the whole family can enjoy. Kids love rolling the cake mixture, dipping them in chocolate, and adding decorations.
5. A Unique and Elegant Dessert Option
Unlike traditional cakes or cupcakes, cake pops offer a more elegant presentation, making them perfect for Easter brunches, garden parties, or dessert buffets.
Easter Eggstravaganza Cake Pops
Ingredients:
- 1 box of vanilla cake mix
- Ingredients as per cake mix instructions (typically eggs, oil, and water)
- 1 cup vanilla frosting
- 12 ounces white chocolate chips or candy melts
- Assorted food coloring
- Sprinkles and decorative sugars
- Lollipop sticks
Directions:
- Bake the Cake: Prepare the vanilla cake according to the package instructions. Once baked, allow it to cool completely.
- Crumble the Cake: In a large bowl, crumble the cooled cake into fine crumbs.
- Mix with Frosting: Add the vanilla frosting to the cake crumbs and mix until the mixture holds together when pressed.
- Shape the Cake Balls: Roll the mixture into 1-inch balls and place them on a baking sheet lined with parchment paper. Insert a lollipop stick into each ball.
- Chill: Place the cake pops in the refrigerator for about 2 hours to firm up.
- Prepare the Coating: Melt the white chocolate chips or candy melts according to the package instructions. Divide the melted chocolate into separate bowls and add different food coloring to each to create various pastel shades.
- Dip the Cake Pops: Dip each cake pop into the colored chocolate, allowing any excess to drip off.
- Decorate: While the coating is still wet, decorate with sprinkles and decorative sugars as desired.
- Set: Place the cake pops upright in a styrofoam block or a cake pop stand to allow the coating to set completely.
Nutritional Information (per serving):
- Calories: Approximately 180
- Total Fat: 8g
- Saturated Fat: 4g
- Cholesterol: 20mg
- Sodium: 150mg
- Total Carbohydrates: 25g
- Sugars: 20g
- Protein: 2g
Note: Nutritional values are approximate and may vary based on specific ingredients used.
Pro Tips for Making Perfect Cake Pops
While cake pops are relatively easy to make, a few essential techniques will ensure they turn out flawless every time.
1. Achieve the Right Cake-to-Frosting Ratio
Adding too much frosting can make cake pops too soft and difficult to shape. A little goes a long way—start with a small amount and add more if needed.
2. Chill the Cake Balls Before Dipping
Refrigerating the cake balls for at least an hour ensures they hold their shape and don’t fall apart when dipped in chocolate.
3. Melt the Chocolate Properly
For a smooth coating, melt the chocolate or candy melts in short intervals in the microwave, stirring frequently to prevent burning.
4. Secure the Sticks
Dipping the lollipop stick into melted chocolate before inserting it into the cake ball helps it stay in place.
5. Allow Time for the Coating to Set
Place the dipped cake pops in a styrofoam block or cake pop stand to allow the chocolate to harden without smudging.
Creative Variations for Easter Cake Pops
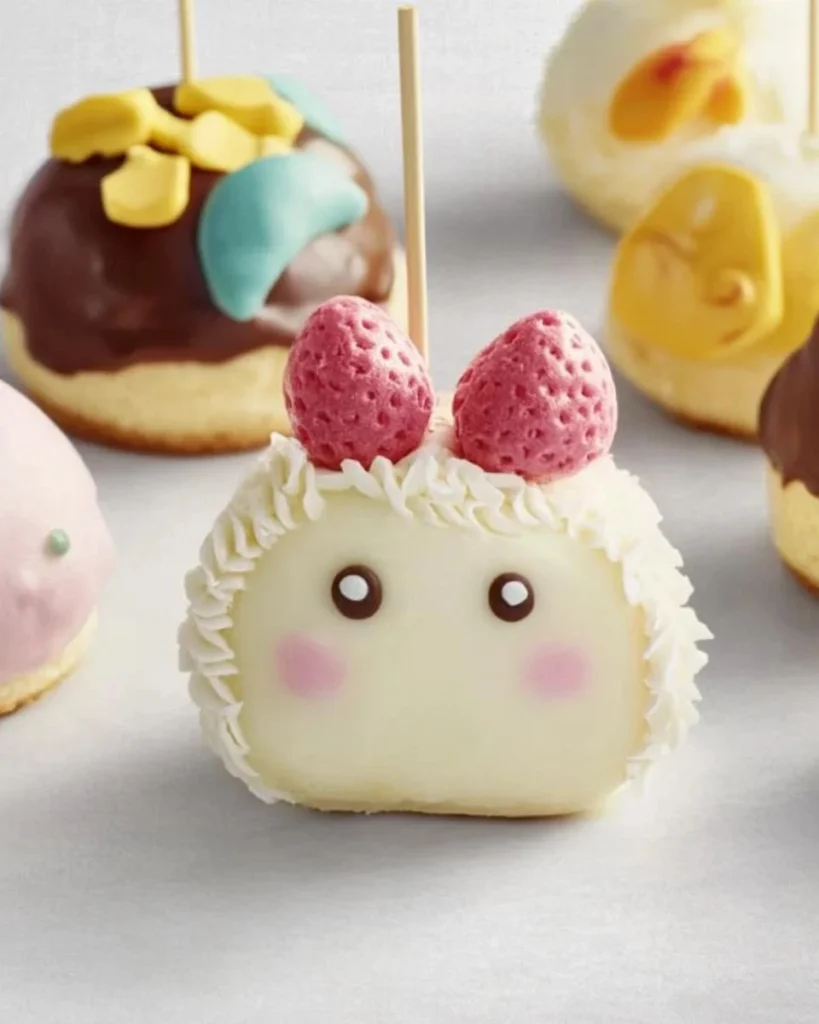
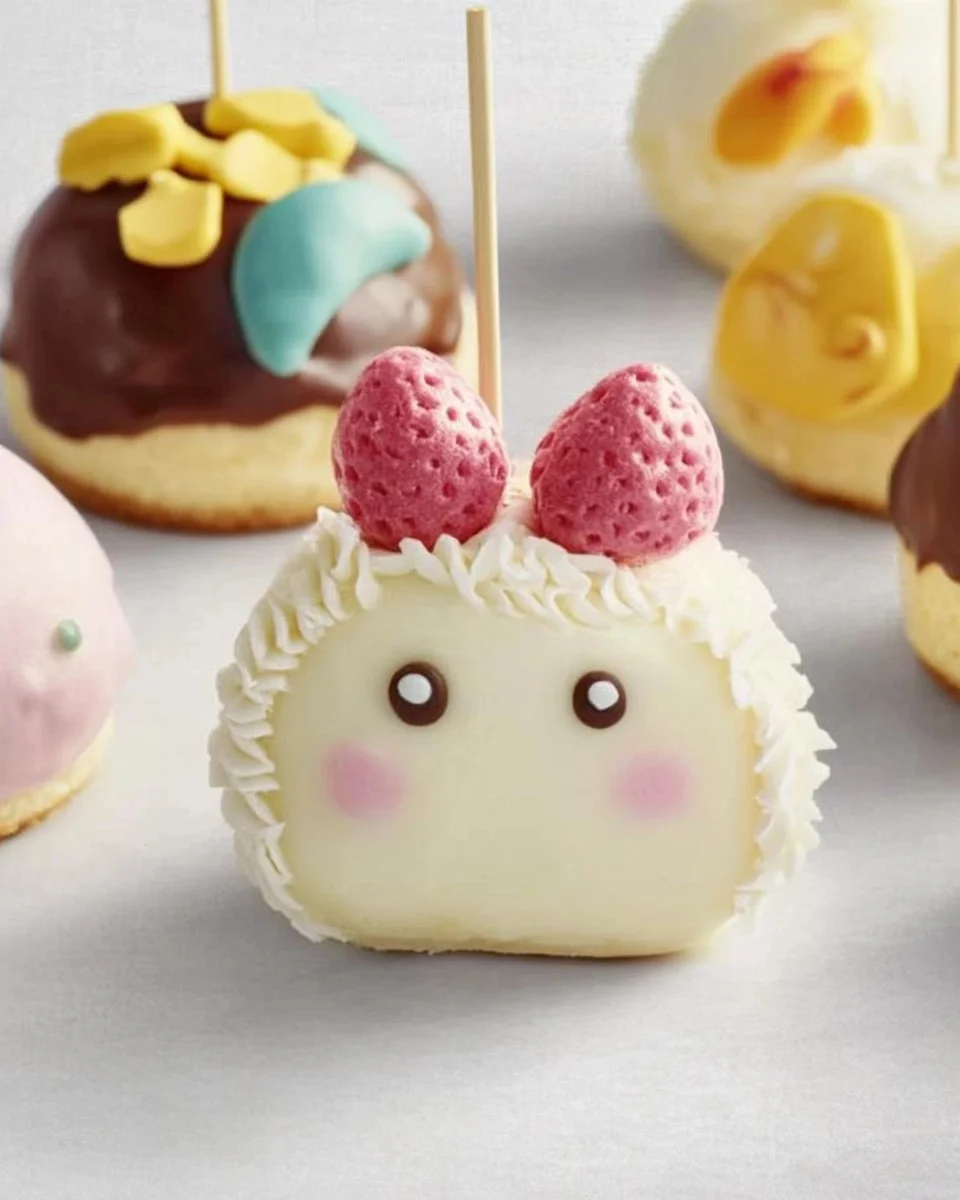
1. White Chocolate Bunny Cake Pops
- Shape the cake pops into small ovals instead of circles.
- Use white chocolate for dipping and add candy ears to create bunny faces.
2. Spring Flower Cake Pops
- Coat the cake pops in pastel-colored chocolate.
- Decorate with edible sugar flowers for a floral theme.
3. Speckled Easter Egg Cake Pops
- Dip the cake pops in pastel-colored chocolate.
- Use a fine paintbrush to splatter edible food coloring onto the surface for a speckled egg look.
4. Chocolate Nest Cake Pops
- Roll the cake pops in melted chocolate.
- Sprinkle shredded coconut or crushed pretzels on top to mimic a bird’s nest.
5. Filled Easter Cake Pops
- Hollow out the center and add a dollop of Nutella, caramel, or fruit preserves before rolling them into balls.
Health Benefits of Ingredients in Easter Cake Pops
While cake pops are undoubtedly an indulgence, some of their key ingredients offer nutritional benefits:
1. Dark Chocolate Contains Antioxidants
If you use dark chocolate for coating, you’re getting a dose of flavonoids, which help support heart health and reduce inflammation.
2. Eggs Provide Essential Protein
The eggs used in the cake mix contribute to protein intake, supporting muscle growth and repair.
3. Vanilla Extract Has Antimicrobial Properties
Natural vanilla extract contains antioxidants that can contribute to overall wellness.
Frequently Asked Questions (FAQs)
1. How Far in Advance Can I Make Cake Pops?
Cake pops can be made up to 5 days in advance and stored in the refrigerator. If you need to store them longer, you can freeze them for up to 2 months.
2. How Do I Keep Cake Pops from Cracking?
Cracks can form if the cake balls are too cold when dipped into warm chocolate. Let them sit at room temperature for 5 minutes before dipping to avoid sudden temperature changes.
3. What’s the Best Way to Store Cake Pops?
Store cake pops in an airtight container in the fridge. If freezing, wrap each cake pop in plastic wrap and place them in a freezer-safe bag.
4. Can I Use Different Cake Flavors?
Absolutely! While vanilla cake is common for Easter cake pops, you can use lemon, funfetti, red velvet, or even carrot cake for a unique twist.
5. How Do I Make Cake Pops Without a Stick?
Instead of lollipop sticks, you can place the coated cake balls in mini cupcake liners and serve them as cake truffles.
6. What’s the Best Chocolate for Dipping?
Candy melts or high-quality white, milk, or dark chocolate work best. If using regular chocolate, add a teaspoon of vegetable oil to create a smoother consistency.
Conclusion: A Fun and Delicious Easter Tradition
Easter cake pops are more than just a dessert—they’re a festive tradition that brings joy to any celebration. Their playful designs, delicious flavors, and easy-to-eat nature make them a standout treat for Easter brunches, parties, and family gatherings.
Whether you stick to a classic design or experiment with creative variations, cake pops allow you to express your creativity while making a treat that everyone will love. With simple techniques and a little patience, you can achieve bakery-quality results at home.
So this Easter, skip the traditional store-bought candy and surprise your loved ones with homemade cake pops. Not only will they taste amazing, but they will also add a special homemade touch to your celebration!
Looking for more festive dessert ideas? Stay tuned for more creative and delicious recipes to make every holiday special!
No-Bake Easter Bunny Cake Pops
Ingredients
Method
- Prepare the vanilla cake according to the package instructions and allow it to cool completely.
- In a large bowl, crumble the cake into fine crumbs.
- Add the vanilla frosting and mix until the texture is smooth and moldable.
- Roll the mixture into small balls and place them on a lined baking sheet.
- Insert a lollipop stick into each cake ball.
- Refrigerate for about 2 hours to help the cake pops firm up.
- Melt the white chocolate or candy melts in a microwave-safe bowl, stirring until smooth.
- Divide into smaller bowls and mix with food coloring to create pastel shades.
- Dip each cake pop into the melted chocolate, allowing excess to drip off.
- Add sprinkles or edible glitter while the coating is still wet.
- Place the cake pops upright in a stand or styrofoam block and allow them to set before serving.
Notes
- Store in an airtight container in the refrigerator for up to 5 days.
- Use candy melts instead of chocolate chips for a smoother coating.
- For a chocolatey twist, swap vanilla cake for chocolate or funfetti cake mix.
- Cake pops can be frozen for up to 2 months for future use.