
Advertisement
The kitchen was alive with laughter as we tried to navigate the latest health trend—homemade Gut Healing Gummies! Who knew that a delightful treat could also nurture our insides? These easy-to-make gummies not only satisfy your sweet tooth but also pack a punch of gut-friendly benefits. With just a few simple ingredients, you can craft vibrant, chewy snacks in any flavor you desire, from tangy cranberry to refreshing watermelon. They are perfect for busy days, as they require minimal prep and can be enjoyed on-the-go, making them the ideal healthy snack. Are you ready to transform your kitchen into a gummy wonderland? Let’s dive into this fun adventure!
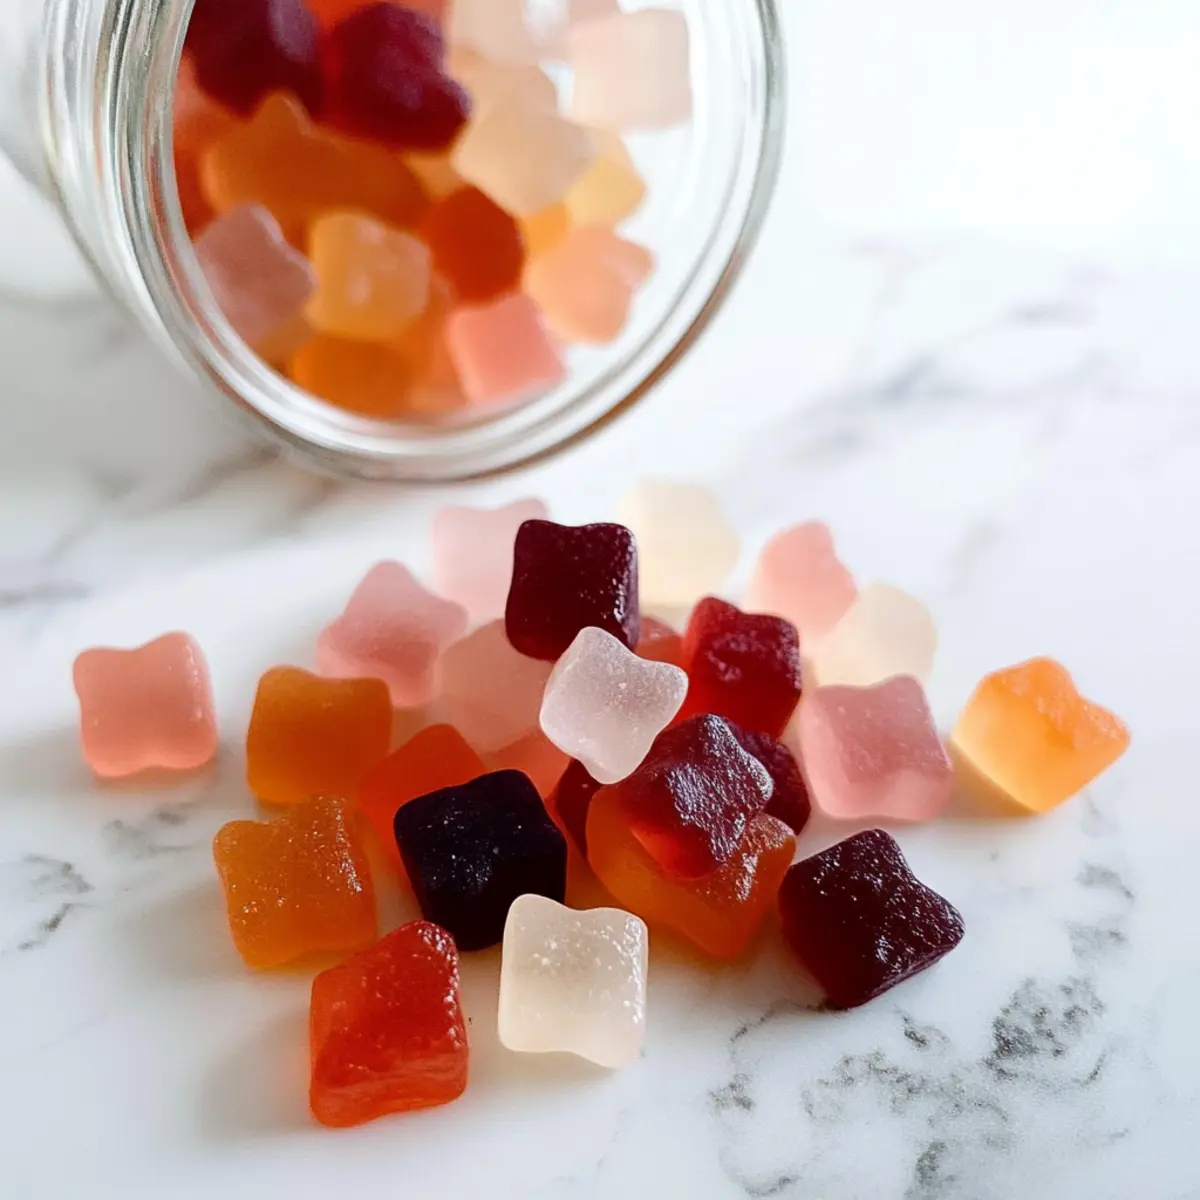
Why are Gut Healing Gummies a game-changer?
Tasty and Healthy: These gummies blend delicious flavors with gut-loving benefits, making them a fun way to support your digestive health.
Quick to Make: With just a few simple steps, you can whip up a batch of these cheerful treats in under 30 minutes!
Advertisement
Customizable Flavors: Choose from an array of juices like mango or watermelon to create your perfect snack, ensuring everyone can enjoy their own favorite flavor.
Snack-Savvy: These gummies are perfect for busy lifestyles, providing a portable, nutritious treat to enjoy on-the-go or between meals.
Crowd-Pleasing: Kids and adults alike will love these chewy delights, making them an enticing option for family gatherings or after-school snacks.
Gut Healing Gummies Ingredients
For the Gummies
• Coconut oil – A perfect choice for greasing the pan; feel free to swap it with any neutral oil if you prefer.
• Juice (4 cups, divided) – Choose any juice other than pineapple for optimal flavor; options like cranberry, watermelon, or mango add a delicious twist.
• Gelatin (8 tablespoons) – This is your main ingredient providing structure; opt for high-quality, pasture-raised gelatin for added health benefits, or use agar agar for a vegan alternative, keeping in mind it may not provide the same benefits.
Step‑by‑Step Instructions for Gut Healing Gummies
Step 1: Grease the Pan
Begin by preparing your workspace! Lightly grease an 8”x8” pan with coconut oil, ensuring a smooth coating that will make it easy to release the Gummies later. You’ll want the oil to create a slick surface, so take your time to cover the entire base evenly.
Step 2: Bloom the Gelatin
In a wide, clean bowl, sprinkle 8 tablespoons of high-quality gelatin over 3 cups of juice. Let it rest for about 3-5 minutes until the mixture thickens and forms a gel-like consistency. This blooming process is crucial for achieving the perfect texture for your Gut Healing Gummies.
Step 3: Heat the Juice
While the gelatin is blooming, pour the remaining 1 cup of juice into a saucepan and heat it over medium-low heat. Stir occasionally until the juice is warm but not boiling; you’re aiming for about 120°F. This warm juice will help dissolve the bloomed gelatin effectively.
Step 4: Combine the Mixtures
Once your juice is warm, carefully combine it with the gelatin mixture. Pour the warm juice into the bloomed gelatin bowl, stirring continuously for about 2-3 minutes until everything is fully dissolved. The mixture should now have a smooth, even consistency, perfect for making your Gut Healing Gummies!
Step 5: Pour and Set
Pour the combined mixture into your greased pan, spreading it evenly across the surface. Transfer the pan to the refrigerator and let it chill undisturbed for 4-5 hours, or until the gummies are set and firm to the touch. A good test is to see if they gently bounce back when you press the surface.
Step 6: Cut and Enjoy
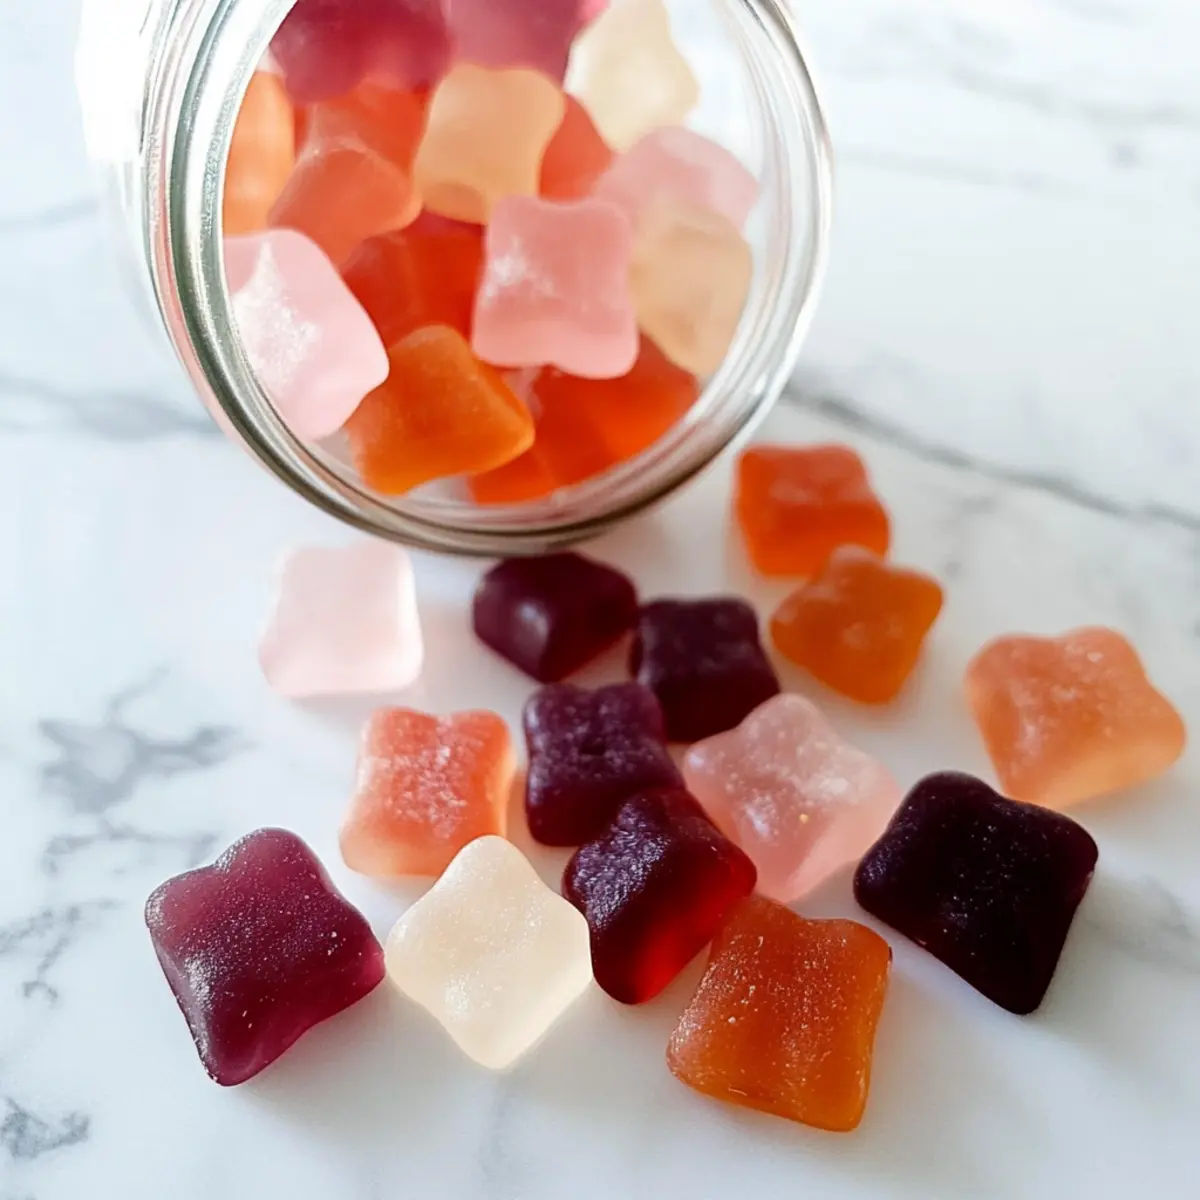
Once they are fully set, remove the pan from the refrigerator and turn it over onto a cutting board. Cut the gummies into squares or your desired shapes. These delightful Gut Healing Gummies can now be enjoyed as a healthy snack throughout the week! Store the leftovers in an airtight container in the fridge for up to a week.
Tips for the Best Gut Healing Gummies
-
Avoid Pineapple Juice: Pineapple contains bromelain which can prevent gelatin from setting properly. Stick to juices like cranberry or watermelon for best results.
-
Use Quality Gelatin: Opt for high-quality, pasture-raised gelatin to maximize health benefits in your Gut Healing Gummies. This ensures a better texture and clearer gummy.
-
Grease Generously: Make sure to coat the pan well with coconut oil or your chosen neutral oil. This will make it easier to remove the gummies once set.
-
Experiment with Flavors: Don’t be afraid to mix different juices to create unique flavor combinations, like a refreshing mango-strawberry blend.
-
Chill for Appropriate Time: Allow your gummies to set in the fridge for at least 4-5 hours. This ensures they achieve that perfect chewy texture everyone loves.
How to Store and Freeze Gut Healing Gummies
Fridge: Store your Gut Healing Gummies in an airtight container in the refrigerator for up to 1 week to keep them fresh and chewy.
Room Temperature: For best texture, enjoy these gummies cold straight from the fridge; they should not be left at room temperature for extended periods.
Freezer: While not recommended for freezing, if you must, keep in a sealed bag for up to 1 month. Thaw in the fridge before enjoying.
Reheating: There’s no need to reheat; simply take them out of the fridge and enjoy as a convenient, healthful snack.
What to Serve with Easy Gut Healing Gummies
Indulging in these vibrant gummies is just the beginning of a delightful wholesome feast that nourishes both body and soul.
-
Fresh Fruit Salad: A colorful medley of your favorite fruits adds a refreshing crunch, enhancing the nutritious appeal and bringing out the natural sweetness of the gummies. Perfect for brightening your snack time!
-
Greek Yogurt Parfait: Layer creamy Greek yogurt with granola and berries. This combo offers a creamy texture that contrasts beautifully with the chewy gummies and packs a gut-friendly probiotic punch.
-
Homemade Trail Mix: Combine nuts, seeds, and a sprinkle of dried fruit for a delightful crunch. This nourishing snack balances the gummies’ sweetness while providing healthy fats for sustained energy.
-
Smoothie Bowl: Blend up a vibrant smoothie and top it with fresh fruits, nuts, and coconut flakes. The creamy base pairs exquisitely with the chewy gummies, creating an inviting and fun treat.
-
Nut Butter Toast: Slather almond or peanut butter on whole-grain toast for a protein boost. The nutty richness complements the gummies, making for a satisfying and balanced snack.
-
Refreshing Herbal Tea: Sip on a calming herbal tea like chamomile or peppermint to wash down your gummies. Its soothing qualities enhance the overall experience and promote relaxation.
-
Dark Chocolate Squares: For a sweet indulgence, enjoy a few dark chocolate squares alongside the gummies. The rich, velvety texture brings depth and satisfies any chocolate cravings, all while being a healthier option!
-
Sparkling Water with a Twist: Refreshing and bubbly, flavored sparkling water can cleanse your palate beautifully. Infuse with a slice of lime or lemon for an extra zest that pairs nicely with the fruity flavors of your gummies.
Gut Healing Gummies Variations & Substitutions
Feel free to dive into some delightful alternatives, transforming these gummies into a personalized masterpiece that excites your taste buds!
-
Juice Swap:
Use your favorite fruit juices like guava or pomegranate to create unique blends. Each juice adds its own zing! -
Citrus Twist:
Add a splash of fresh lemon or lime juice for a zesty boost. The citrus adds brightness, making the gummies refreshingly tangy. -
Herbal Infusion:
Infuse your juice with fresh herbs like mint or basil for an unexpected flavor combination. This twist elevates the gummies to a gourmet experience. -
Sugar-Free Version:
Replace juice with unsweetened coconut water and add a sugar alternative like stevia. This keeps the treats sweet without the jitters! -
Superfood Add-In:
Enhance the health benefits by mixing in a tablespoon of chia seeds or spirulina. These tiny additions provide an extra nutritional punch! -
Texture Upgrade:
For a firmer bite, increase the gelatin to 10 tablespoons. This change creates an even chewier texture, perfect for gummy lovers! -
Vegan Delight:
Swap out gelatin for agar-agar to keep it plant-based. Though not the same as gelatin, it offers a delightful gummy texture! -
Spicy Kick:
For those who enjoy heat, add a pinch of cayenne pepper or a dash of ginger juice. This twist gives your gummies a surprising yet delightful kick.
These variations not only keep things exciting but can cater to various dietary preferences. If you’re looking to explore more healthy snacks, consider trying out some of my favorite keto-friendly recipes or discover how to make nutrient-packed protein balls that are fantastic for on-the-go!
Make Ahead Options
These Gut Healing Gummies are perfect for meal prep, making them a fantastic addition to your busy week! You can bloom the gelatin and mix it with juice up to 24 hours in advance, allowing it to sit in the fridge until you’re ready to finish the recipe. Just remember to cover the bowl to prevent any contamination and maintain the quality. When you’re ready to serve, simply heat the remaining juice, combine it with the bloomed mixture, pour it into the greased pan, and let it chill for 4-5 hours until set. With this prep strategy, you’ll have healthy and delicious snacks on hand, ready to enjoy anytime!
Gut Healing Gummies Recipe FAQs
How do I choose the right juice for my gummies?
Absolutely! When making Gut Healing Gummies, avoid any juices that contain pineapple, as bromelain can interfere with the gelatin setting. Instead, opt for delicious options like cranberry, watermelon, or mango—they add vibrant flavors and sweetness while supporting your gut health.
Can I store my gummies after making them?
Very! Store your Gut Healing Gummies in an airtight container in the refrigerator for up to 1 week. This keeps them fresh and chewy. For the best texture, enjoy them chilled straight from the fridge as they can lose their delightful chewiness if left at room temperature for too long.
Is it possible to freeze Gut Healing Gummies?
While I don’t recommend freezing these gummies due to texture changes, if necessary, you can store them in a sealed bag for up to 1 month. Thaw them in the refrigerator before enjoying. Just remember that they may not be quite as chewy after being frozen!
What can I do if my gummies are too soft or sticky?
If your Gut Healing Gummies turn out too soft, you might need to adjust your gelatin amount. For firmer gummies, add an extra tablespoon of gelatin next time. Ensure to allow enough time to chill in the fridge as well, ideally 4-5 hours. If they’re still sticky, they can benefit from more time in the fridge to set up properly.
Are these gummies safe for children and pets?
These Gut Healing Gummies are generally safe for children as they contain wholesome ingredients. However, be mindful of any allergies related to the specific fruit juices you choose. As for pets, it’s best to avoid giving them gummies, especially due to potential sweetener concerns that could be harmful.
What dietary benefits do these gummies provide?
Absolutely, they do! Gut Healing Gummies are filled with gut-friendly ingredients. The gelatin supports digestion and gut lining health, while the fruit juices provide natural vitamins and antioxidants. These make for a delightful, nutritious snack that aligns with a gut-health-focused lifestyle.
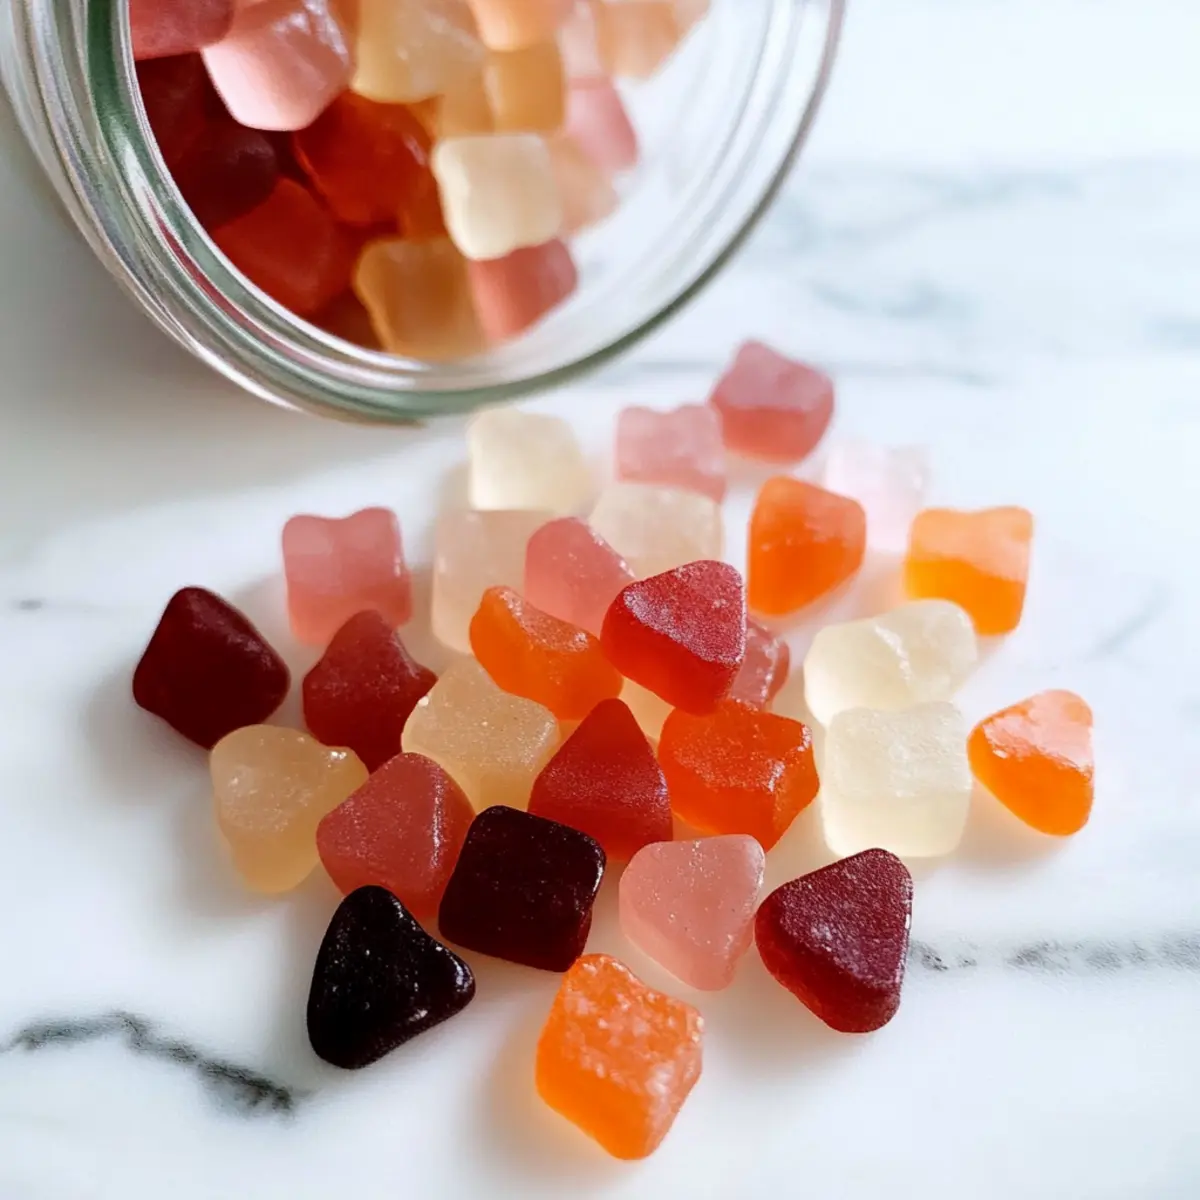
Refreshing Gut Healing Gummies for a Healthy You
Ingredients
Equipment
Method
- Grease an 8”x8” pan with coconut oil.
- Sprinkle 8 tablespoons of gelatin over 3 cups of juice and let it bloom for 3-5 minutes.
- Heat the remaining 1 cup of juice in a saucepan until warm but not boiling.
- Combine the warm juice with the bloomed gelatin, stirring continuously for 2-3 minutes.
- Pour the mixture into the greased pan and refrigerate for 4-5 hours.
- Once set, cut into squares and enjoy!