Advertisement
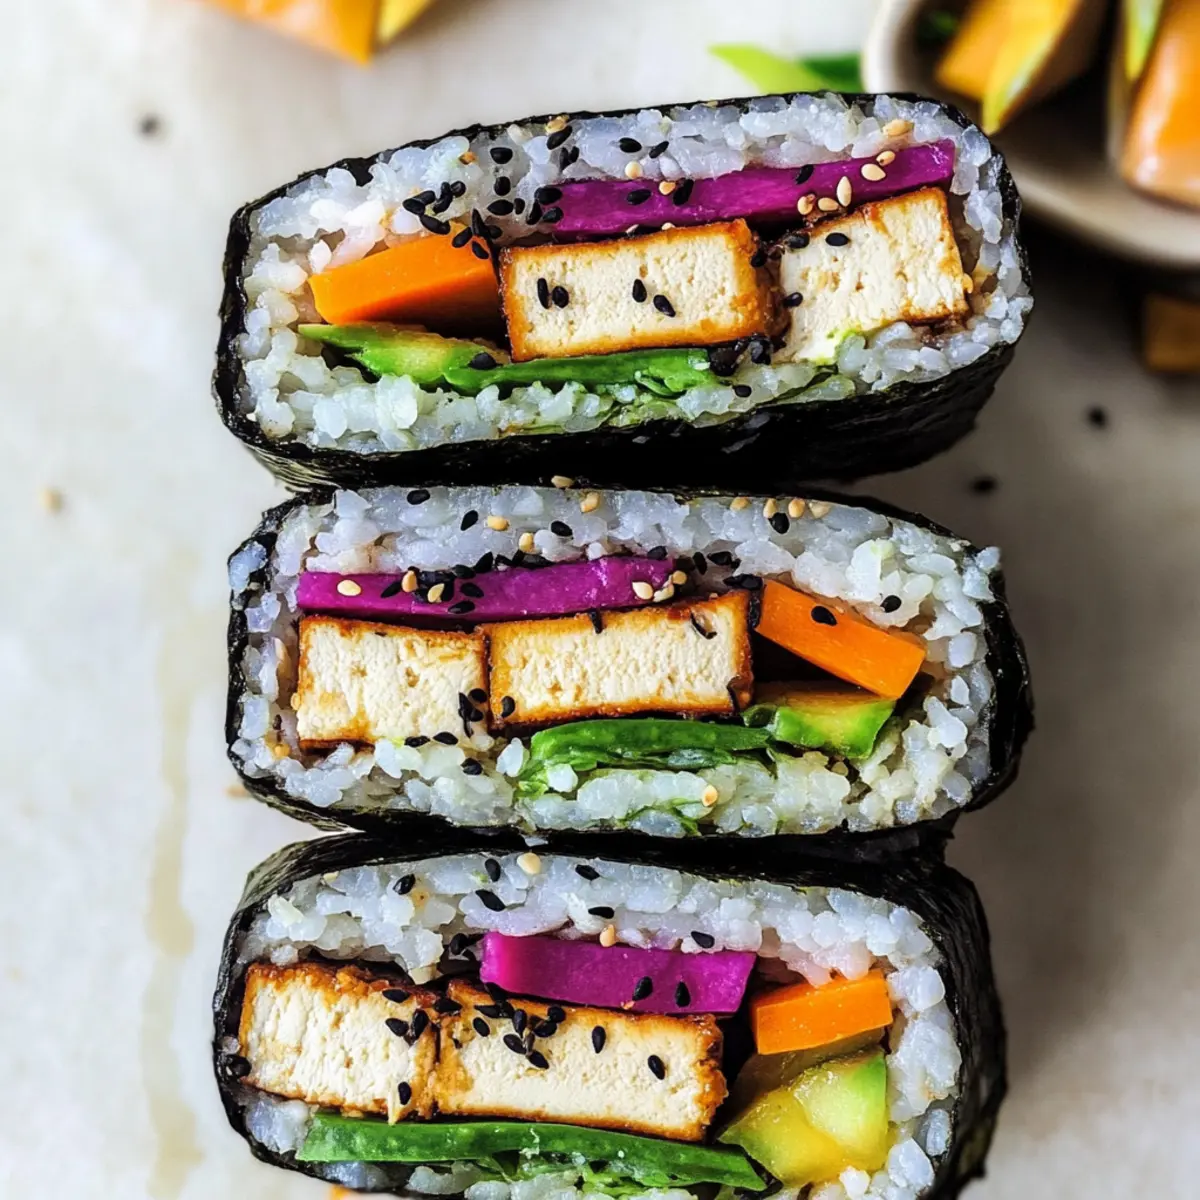
As I stood in the kitchen, the tantalizing aroma of sushi rice began to fill the air, whisking me away to sun-soaked streets of Tokyo where street vendors serve delectable snacks. Today, I’m excited to share my take on Onigirazu, a unique fusion of sushi and sandwiches that is as fun to make as it is to eat. This gluten-free sushi sandwich offers not just one, but two delicious filling options: crispy Tofu Katsu or sweet, creamy Sweet Potato, making it perfect for a healthy lunch or a quick snack. Not only is this recipe quick to whip up—ideal for those busy weekdays—but its travel-friendly design ensures every bite stays fresh and satisfying. Curious about how to wrap this up in a nori embrace? Let’s dive into the delightful world of Onigirazu together!
Why try making Onigirazu today?
Uniqueness: Onigirazu is a fun twist on traditional sushi, combining the flavors and textures of a sandwich with the captivating essence of sushi.
Quick and Easy: Perfect for busy cooks, this recipe can be made in under 30 minutes, allowing you to enjoy homemade goodness without the hassle.
Advertisement
Versatile Fillings: Choose between crispy Tofu Katsu or creamy Sweet Potato, or mix them up! You can even substitute fillings with your favorite ingredients for a personalized touch.
Travel-Friendly: These sushi sandwiches are ideal for packing in lunches or taking on road trips. They hold up well and taste delicious even after a few hours!
Crowd-Pleaser: Great for sharing, Onigirazu makes an impressive centerpiece for your next gathering. Serve it alongside a salad or some edamame for a complete meal! Dive into this delightful fusion and enjoy a nourishing dish that keeps you energized throughout the day. If you like sushi-inspired recipes, check out my post on Sushi Burritos for another fantastic option!
Onigirazu Ingredients
For the Sushi Rice
• Short-Grain Sushi Rice – Essential for authentic texture; provides the base of your Onigirazu.
• Rice Vinegar – Adds a tangy flavor to the rice; critical for a well-rounded taste.
For the Tofu Filling
• Firm Tofu – Core ingredient for the Tofu Katsu; press to remove excess moisture for flavor absorption.
• Breadcrumbs (Panko or Regular) – Coats the tofu for a crispy outer layer; gluten-free options are available.
• Soy Sauce – Enhances the tofu’s taste; consider tamari for a gluten-free alternative.
For the Sweet Potato Filling
• Sweet Potato – Offers a sweet and hearty filling; roast or mash for delicious results.
• Cinnamon – A pinch adds warmth and depth to the sweet potato; perfect to enhance the flavor.
For Assembly
• Nori Sheets – Wraps the fillings, contributing a subtle umami flavor; ensure they are fresh to avoid breakage.
• Quick Pickled Red Cabbage (optional) – Adds crunch and acidity; balances the richness of the fillings and can be swapped with other pickled vegetables.
Tips for Customization
• Alternative Fillings – Feel free to mix in roasted veggies or even quinoa for a unique twist on your Onigirazu!
• Dipping Sauce – Try a spicy Sriracha mayo for an extra kick; this will elevate your Onigirazu experience!
Let’s roll up these delectable flavors into our very own Onigirazu (sushi sandwich) and enjoy a meal that’s as vibrant as it is nourishing!
Step‑by‑Step Instructions for Onigirazu (sushi sandwich)
Step 1: Prepare Tofu or Sweet Potato Filling
Begin by pressing your firm tofu to remove excess moisture, which will enhance flavor absorption. Slice the tofu into thick slabs, then pan-fry in a non-stick skillet over medium heat for about 4-5 minutes per side until golden brown and crispy. Alternatively, for the sweet potato filling, roast diced sweet potatoes at 400°F (200°C) for 20-25 minutes until tender and lightly caramelized.
Step 2: Make Sushi Rice
While your filling is cooking, rinse 1 cup of short-grain sushi rice under cold water until the water runs clear to remove excess starch. Cook the rice according to package instructions, typically in a rice cooker or on the stovetop with 1 ¼ cups water. Once cooked, let it sit covered for 10 minutes before fluffing with a fork and mixing in 2 tablespoons of rice vinegar for added flavor.
Step 3: Assemble Onigirazu
Lay a nori sheet shiny side down on a clean, flat surface. Place a scoop of the seasoned sushi rice in the center of the nori, approximately one cup, spreading it out slightly. Next, add your choice of filling—either the crispy tofu or the roasted sweet potato—along with a sprinkling of quick pickled red cabbage for added crunch and tang, if desired.
Step 4: Fold and Wrap
To create your Onigirazu, fold the nori edges over the filling tightly, starting with the bottom edge first, then the sides, and finally the top, forming a secure pocket. Ensure everything is well-contained. For a cohesive wrap, press gently to help the nori adhere to the rice and fillings, avoiding any spills.
Step 5: Slice and Serve
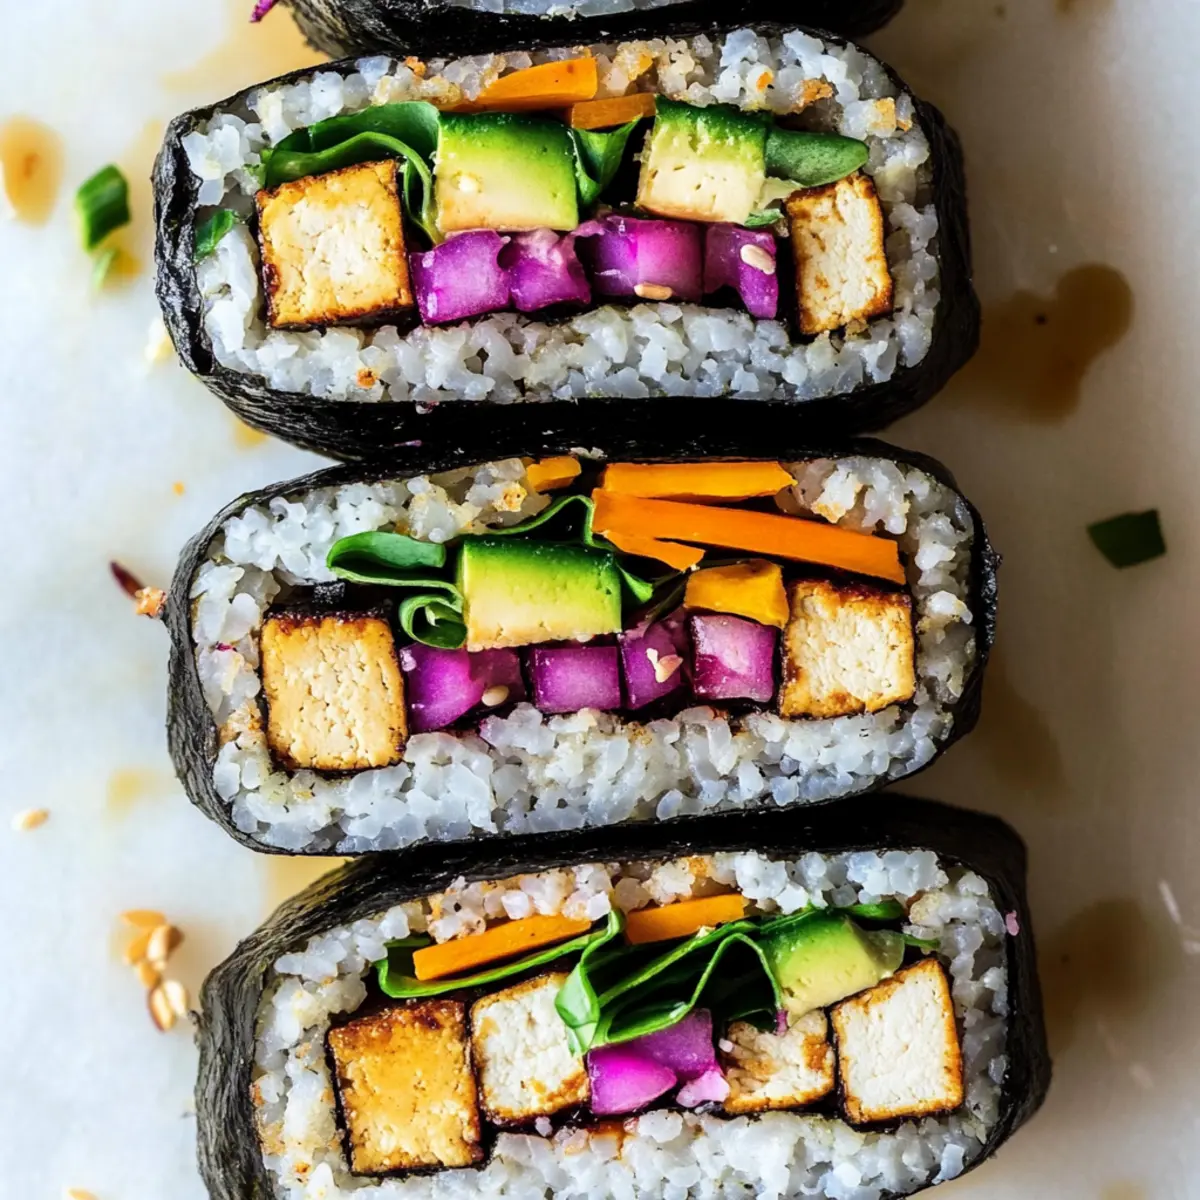
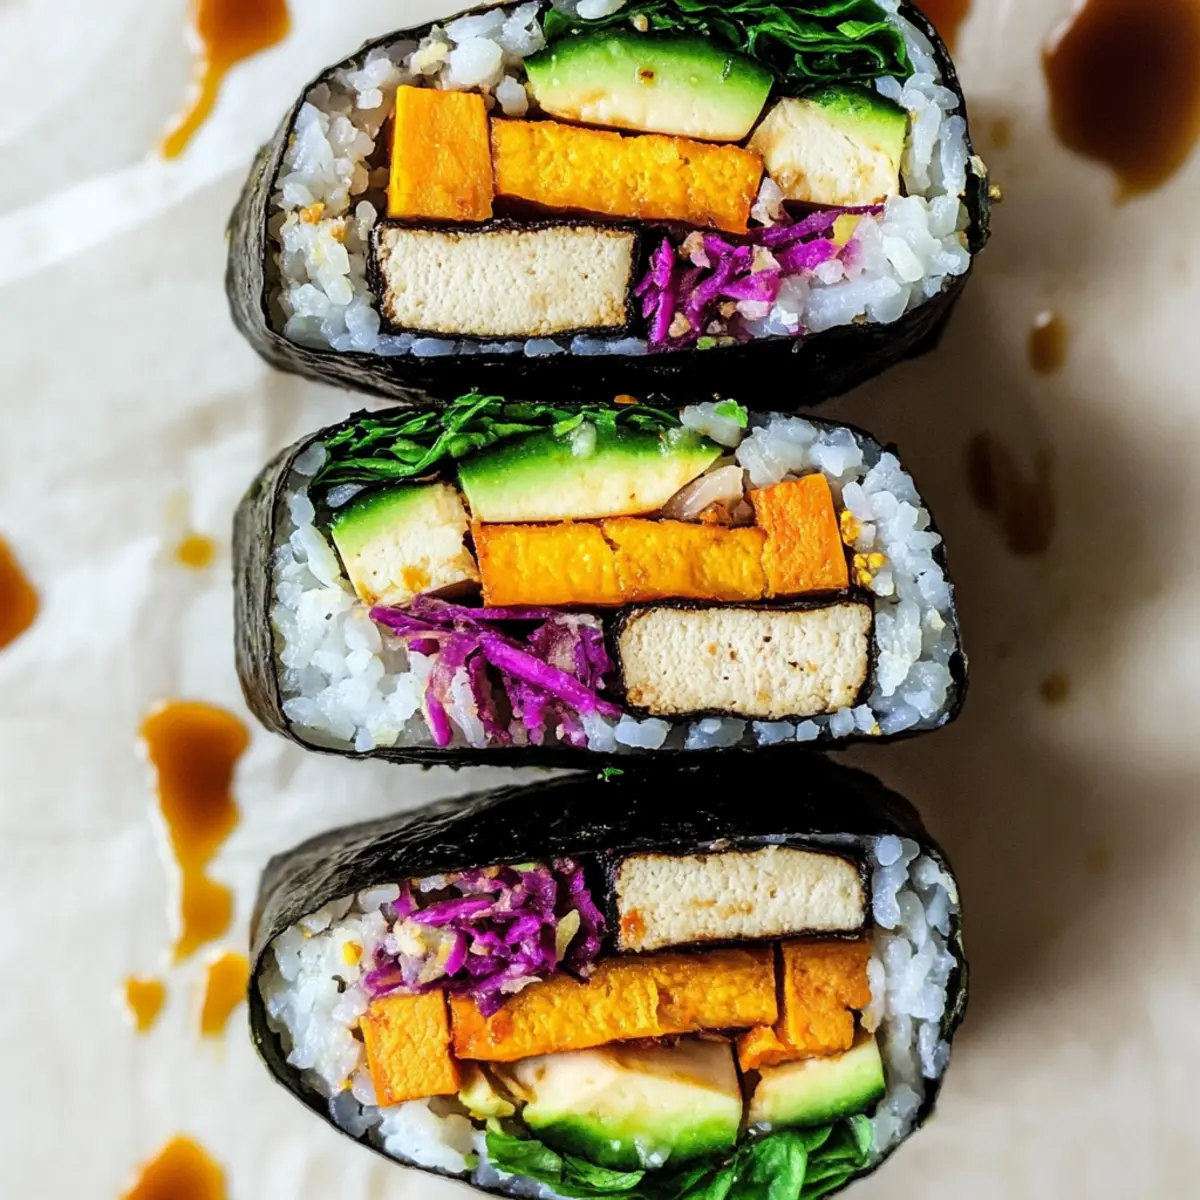
Once wrapped, use a sharp knife to slice your Onigirazu in half diagonally, showcasing the delicious filling inside. Serve immediately for the best texture, or pack it up for lunches or picnics. This scrumptious Onigirazu (sushi sandwich) is perfect for enjoying fresh, on-the-go, or at home with a side of edamame for a complete meal!

Expert Tips for Onigirazu
• Tofu Pressing: Make sure to press the tofu thoroughly to remove excess moisture; this enhances flavor absorption and ensures a crispy texture when cooked.
• Rice Vinegar Balance: Properly season your sushi rice with rice vinegar; underseasoning can result in bland rice. Taste and adjust during preparation for the best flavor.
• Nori Freshness: Always use fresh nori sheets to prevent breakage. Keep them dry until ready to assemble your Onigirazu for a perfect wrap.
• Custom Fillings: Don’t hesitate to get creative! Mix in your favorite roasted vegetables or swap in quinoa for a protein boost. This customization keeps your Onigirazu exciting and unique.
• Serving Warm: Enjoy your Onigirazu fresh or slightly warm for the best texture; if packing for later, wrap tightly to maintain moisture without becoming soggy.
What to Serve with Onigirazu (sushi sandwich)
Elevate your onigirazu experience by adding some delightful sides that balance flavors and textures perfectly.
-
Edamame: These tender, protein-packed pods add a satisfying crunch and come sprinkled with sea salt, enhancing your meal’s overall enjoyment.
-
Crisp Salad: A fresh green salad with a light vinaigrette offers a refreshing contrast, complementing the heartiness of your rolls. Add some shredded carrots or cucumber for extra crunch!
-
Miso Soup: This warm, savory soup brings umami flavor to your meal, providing a comforting balance to the bright, fresh ingredients in your onigirazu.
-
Pickled Vegetables: Quick pickled veggies add a delightful zing, enhancing the overall flavor profile and adding a burst of acidity to every bite!
-
Sliced Avocado: Creamy avocado slices bring their rich, buttery texture to the party, creating a luxurious mouthfeel alongside the sushi sandwich. It’s a staple for a reason!
-
Special Sauce: Whip up a spicy Sriracha mayo or a tangy ponzu dipping sauce to drizzle on your onigirazu, offering a flavor boost and the perfect finishing touch to this delightful meal.
Storage Tips for Onigirazu
Fridge: Store leftover Onigirazu in an airtight container for up to 1 day. This will keep the rice and fillings fresh while preventing the nori from getting too soggy.
Freezer: For longer storage, freeze unwrapped Onigirazu for up to 1 month. When ready to enjoy, let it thaw in the fridge overnight, then wrap it in nori just before serving.
Reheating: To reheat, microwave on a microwave-safe plate for about 30 seconds, ensuring not to overheat. Enjoy while slightly warm for the best texture and flavor!
Make-Ahead Tip: Onigirazu can be assembled a day in advance for meal prep, but it’s best enjoyed within 24 hours for optimal freshness.
Onigirazu (sushi sandwich) Variations
Feel free to get creative with your Onigirazu and transform it into something uniquely yours with these delightful swaps and additions!
-
Dairy-Free: Opt for a coconut-based yogurt spread instead of mayo for a creamy texture without dairy.
This adds a slight tropical hint while keeping it light and fresh! -
Spicy Kick: Mix Sriracha into the rice or use a spicy chili sauce as a filling for those who crave heat.
It’s a fun way to jazz up your Onigirazu and give it that extra zing! -
Crunchy Texture: Swap in crispy fried onions or crushed seaweed snacks for a delightful crunch that contrasts the softness of the rice.
The added texture elevates each bite and makes it even more enjoyable! -
Flavor Boost: Incorporate miso paste into your tofu marinade for a deeper umami flavor that will tantalize your taste buds.
You’ll be amazed at how this simple addition transforms your Onigirazu into something extraordinary! -
Grain Swap: Use quinoa instead of sushi rice for a protein-packed alternative that’s equally delicious.
Quinoa’s nutty flavor brings a unique twist and adds a hearty element to your creation. -
Veggie Variety: Include thinly sliced cucumber or bell peppers for a fresh, crisp bite, adding color and nutrients to your Onigirazu.
These veggies not only enhance the flavor but also make it visually appealing! -
Sweet Twist: Try a layer of mashed avocado or a drizzle of agave syrup over the sweet potato filling for added creaminess and sweetness.
It’s a delightful contrast that will leave you wanting more! -
Herb Infusion: Fresh herbs like cilantro or basil can elevate your Onigirazu to another level, bringing bright flavors.
Don’t hesitate to sprinkle them in for that herby freshness!
Experimenting with these variations will surely bring a personal touch to your Onigirazu. Don’t forget to check out my delicious recipe for Sushi Burritos for more sushi-inspired fun!
Make Ahead Options
These Onigirazu (sushi sandwiches) are a fantastic option for meal prep enthusiasts! You can prepare the sushi rice and fillings up to 24 hours in advance. Start by cooking the rice and letting it cool completely; store it in an airtight container in the refrigerator. For the fillings, cook your tofu or roasted sweet potato, then allow them to cool before placing in separate containers. When you’re ready to enjoy, simply assemble your Onigirazu by laying a nori sheet down, adding the rice, followed by your prepped filling, and folding tightly. This allows for quick, delicious homemade meals that fit perfectly into your busy schedule, ensuring each bite is just as tasty as when freshly made!
Onigirazu (sushi sandwich) Recipe FAQs
What type of sushi rice should I use for Onigirazu?
For the best texture, I recommend using short-grain sushi rice, which gives that authentic bite. If you prefer a healthier option, you can substitute with brown rice, although it will alter the texture slightly.
How should I store leftover Onigirazu?
Store any leftover Onigirazu in an airtight container in the fridge for up to 1 day. This helps keep the rice and fillings fresh, but be mindful that the nori may become soft over time. Enjoy them as soon as possible for the best experience!
Can I freeze Onigirazu?
Absolutely! You can freeze unwrapped Onigirazu for up to 1 month. To do this, lay the assembled sushi sandwiches flat on a baking sheet to freeze for a couple of hours. Once frozen, wrap them individually in plastic wrap and place them in a freezer bag. When you’re ready to enjoy, thaw them in the fridge overnight and wrap in nori just before serving for that fresh taste.
What if my Tofu becomes soggy when cooked?
To avoid soggy tofu, make sure to press it thoroughly to remove excess moisture before cooking. After pressing, slice it into thick slabs and pan-fry until golden brown, ensuring a crispy edge. If you find it soggy after cooking, try frying it a bit longer to crisp up.
Are there any dietary considerations for Onigirazu?
Yes! Onigirazu is gluten-free if you use tamari instead of soy sauce and ensure that your breadcrumbs are gluten-free. Additionally, it’s vegetarian, so feel free to customize your fillings with other vegetables or proteins you enjoy. Always check ingredient labels if you have allergies to ensure safety.
What’s the best way to ensure my Nori stays crisp?
Keep the nori sheets dry and airtight until you’re ready to assemble your Onigirazu. If making ahead, assemble the sandwich without the nori and wrap it tightly in plastic wrap or an airtight container, adding the nori just before eating to maintain that delightful crispiness.
Onigirazu Sushi Sandwich: Quick, Delicious & Gluten-Free!
Ingredients
Equipment
Method
- Press the firm tofu to remove excess moisture, slice into thick slabs and pan-fry for 4-5 minutes per side.
- Rinse sushi rice under cold water until clear. Cook with 1 ¼ cups water, let sit covered for 10 minutes, then mix in rice vinegar.
- Lay a nori sheet shiny side down, place a scoop of sushi rice in the center, and add your choice of filling along with pickled cabbage.
- Fold the nori edges over the filling tightly, press gently to help the nori adhere.
- Slice the Onigirazu in half diagonally and serve immediately.