Advertisement
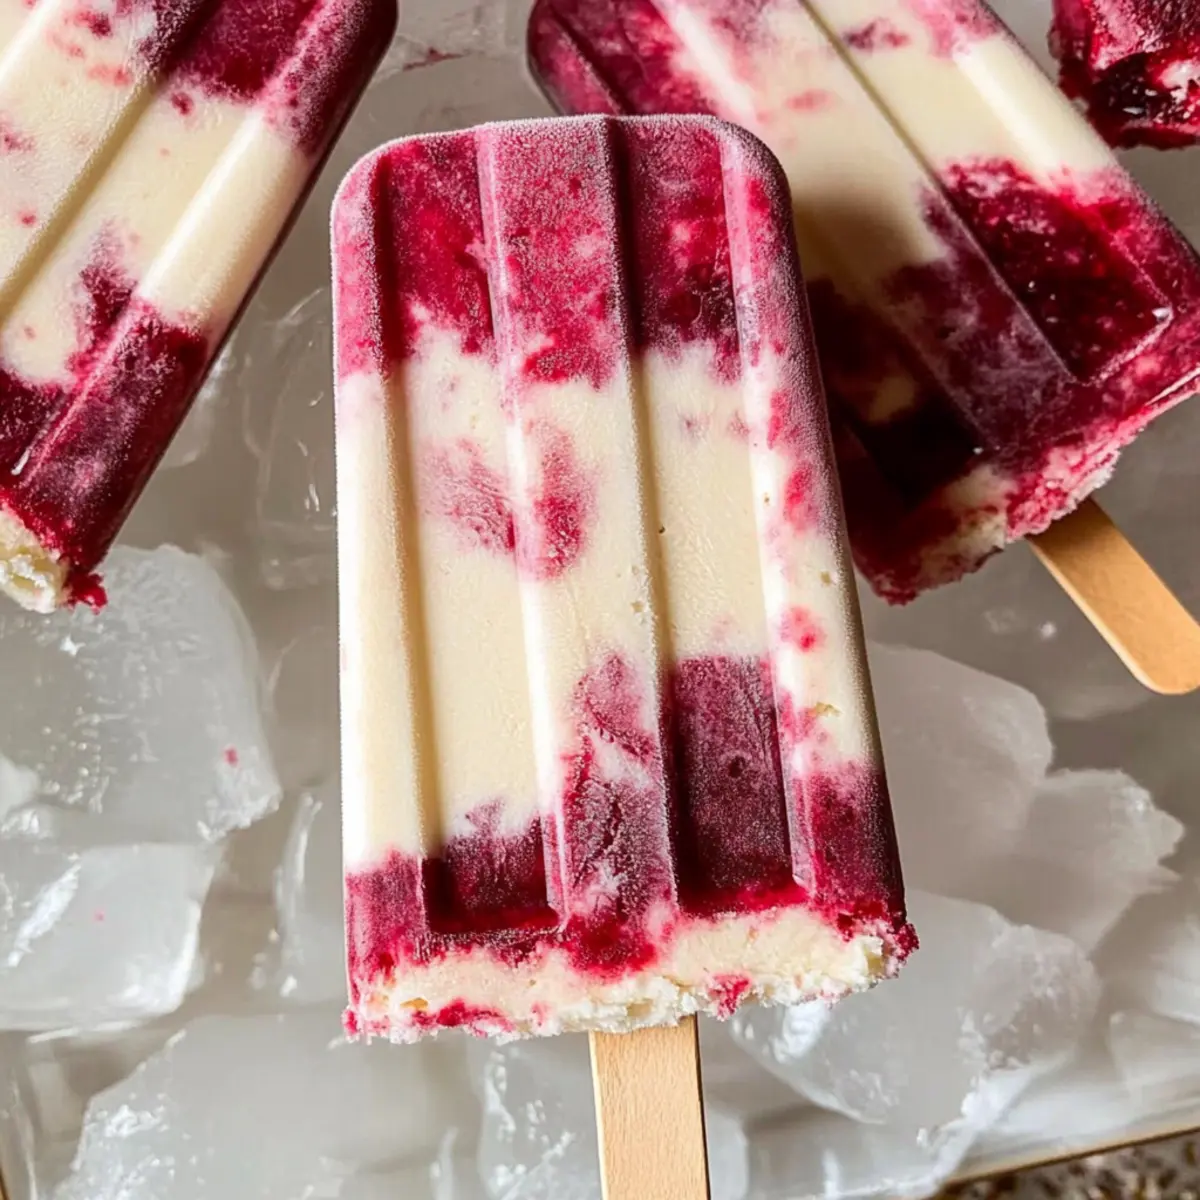
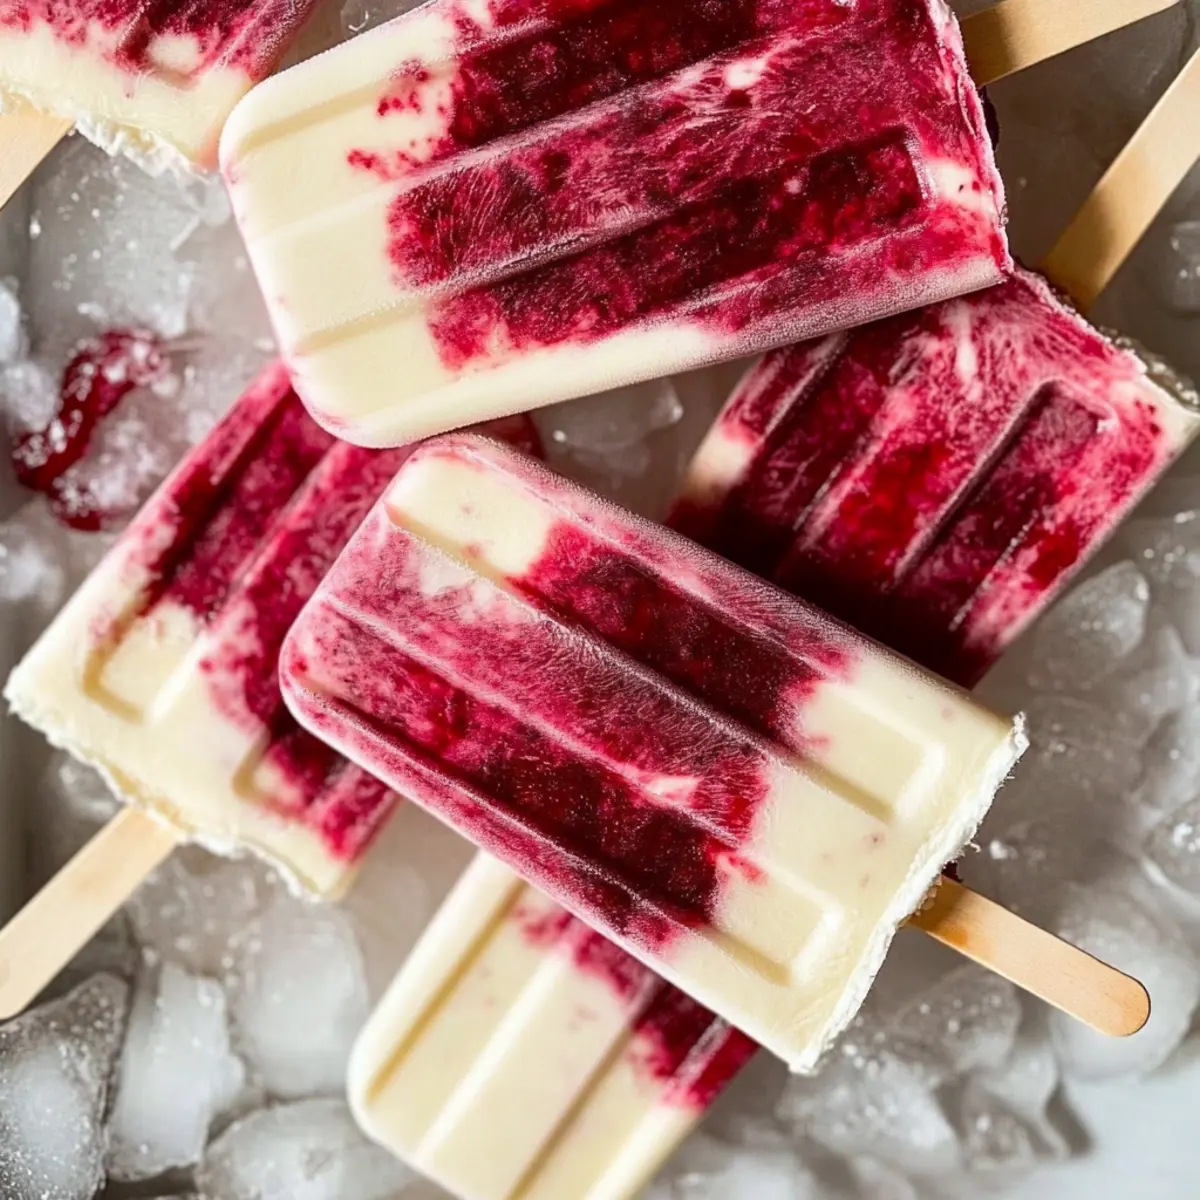
There’s something truly magical about the first bite of a creamy, fruity popsicle on a hot summer day. Our Cherry Creamsicles combine the nostalgic flavors of cherry and vanilla, delivering a refreshing treat that won’t derail your health goals. They’re not just quick and easy to whip up; these gluten-free delights offer a delightful alternative to store-bought snacks, free from refined sugars and artificial ingredients. Perfect for families or anyone looking for a wholesome dessert, these creamsicles can easily be made dairy-free for those with dietary preferences. Who knew a simple blend of real food could transport you back to carefree summer days? Let’s dive into this deliciously nostalgic recipe!
Why Try These Cherry Creamsicles?
Refreshing Twist: Embrace the vibrant flavors of cherry and creamy vanilla in these delightful popsicles that redefine summer treats!
Easy Preparation: With just a few simple ingredients, you’ll be crafting these wholesome popsicles in no time.
Advertisement
Health-Conscious Choice: Enjoy a guilt-free dessert that’s free from refined sugar—perfect for those conscious about their diet.
Customizable Fun: Feel free to experiment; swap cherries for other fruits, or try our vegan version using coconut cream for a delicious twist!
Kid-Friendly Treat: They’re not only healthy but also kids love them, making snack time an enjoyable experience for the whole family!
Plus, if you’re looking for more fruity inspiration, check out our Cherry Danish Pastries for a delightful brunch option!
Cherry Creamsicle Ingredients
• Dive into the vibrant world of Cherry Creamsicles with these simple, wholesome ingredients!
For the Popsicle Base
- Cherries – Fresh or frozen, they provide irresistible natural sweetness and flavor.
- Coconut Water or Filtered Water – Serves as the perfect liquid base; choose coconut water for a tropical touch.
- Raw Cream or Organic Whipping Cream – Adds a luscious creaminess; use coconut cream for a dairy-free alternative.
- Organic Vanilla Extract – Infuses a warm aroma that enhances the overall flavor.
- Raw Honey – A natural sweetener; adjust the amount based on the cherries’ sweetness for a perfectly balanced treat.
Get ready to indulge in these Cherry Creamsicles—your taste buds will thank you!
Step‑by‑Step Instructions for Cherry Creamsicles
Step 1: Chill Your Mixing Bowl
Begin by placing a mixing bowl in the refrigerator for about 15–20 minutes. This extra chill will help when whipping the cream later, ensuring it reaches that delightful fluffy texture. As the bowl cools, it prepares the perfect environment for making your Cherry Creamsicles.
Step 2: Prepare the Cherries
If you’re using frozen cherries, take them out and let them thaw for approximately 10 minutes. This step allows them to soften, making it easier for the next step. If using fresh cherries, be sure they’re washed and pitted, ready to create that tasty puree for your popsicles.
Step 3: Blend the Cherry Mixture
In a blender, combine the thawed cherries with coconut water until well pureed, which should take about 30 seconds. You want a smooth consistency, so keep blending until no chunks remain. Once done, set the cherry mixture aside and admire its vibrant color—it’s sure to be a showstopper in your Cherry Creamsicles.
Step 4: Whip the Cream
Retrieve your chilled mixing bowl and pour in the raw cream or dairy-free coconut cream. Add the organic vanilla extract and raw honey before whipping everything together using a hand mixer or whisk. Continue until the mixture becomes thick and fluffy, usually about 2–3 minutes; this creamy base will make your Cherry Creamsicles indulgent.
Step 5: Layer the Mixtures
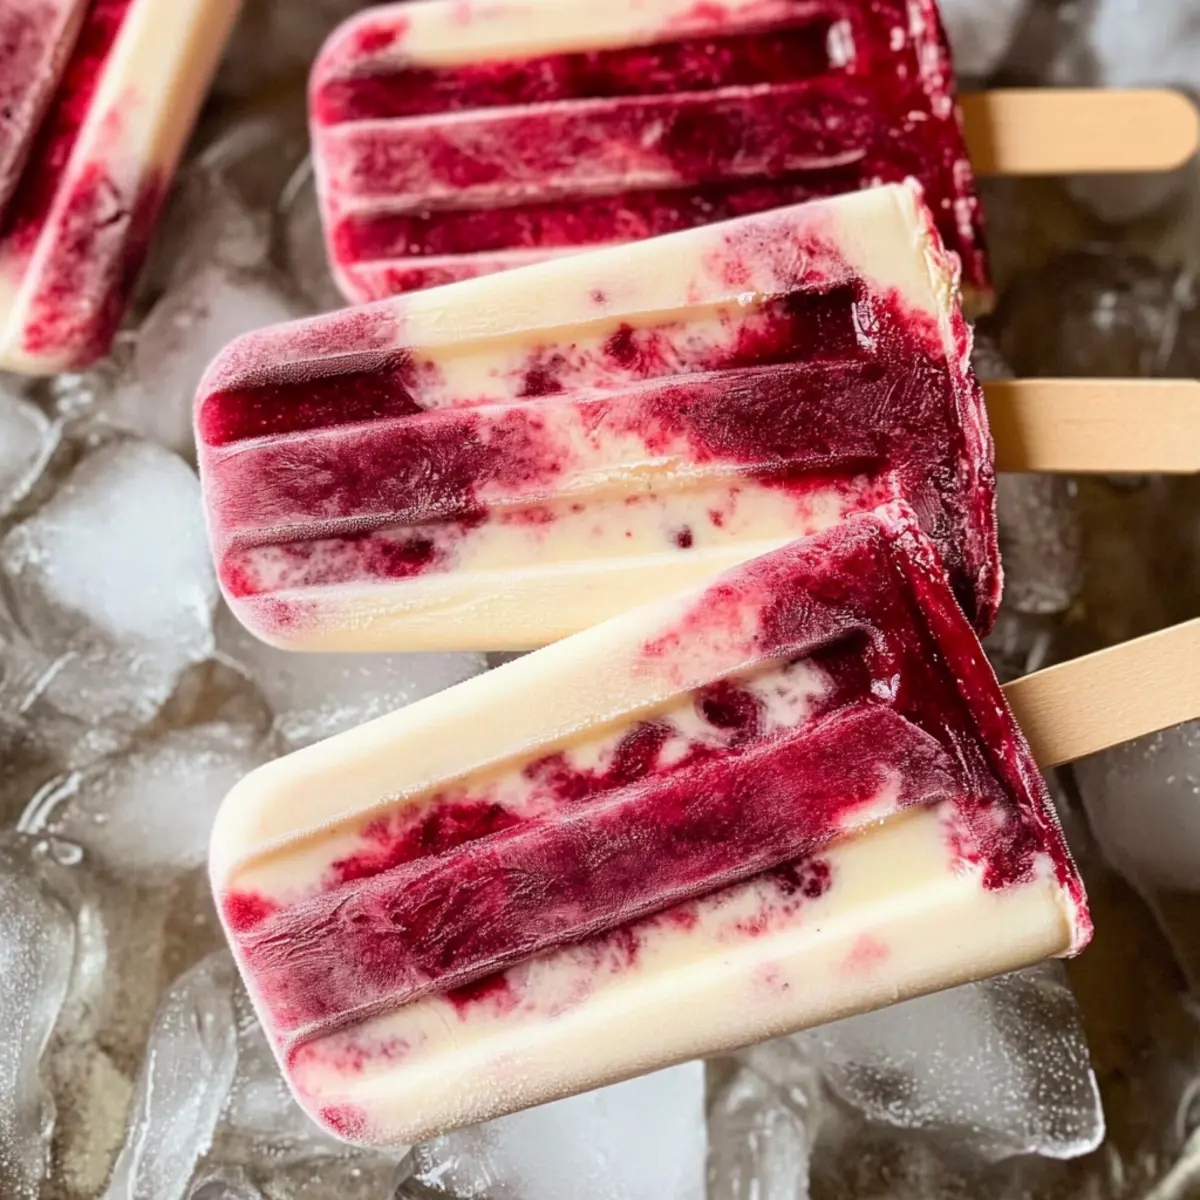
Grab your popsicle molds and start the layering process. Spoon a layer of the whipped cream into each mold, followed by a layer of the cherry puree. Alternate these layers until the molds are filled, creating a beautiful marbled effect that will entice everyone when they see your delectable Cherry Creamsicles.
Step 6: Freeze the Popsicles
Transfer your filled popsicle molds to the freezer and let them freeze for at least 6–8 hours, or preferably overnight for the best results. Ensure they are set completely to achieve a perfectly solid treat. Be sure to resist the temptation to sneak a taste until they’re fully frozen.
Step 7: Release and Serve
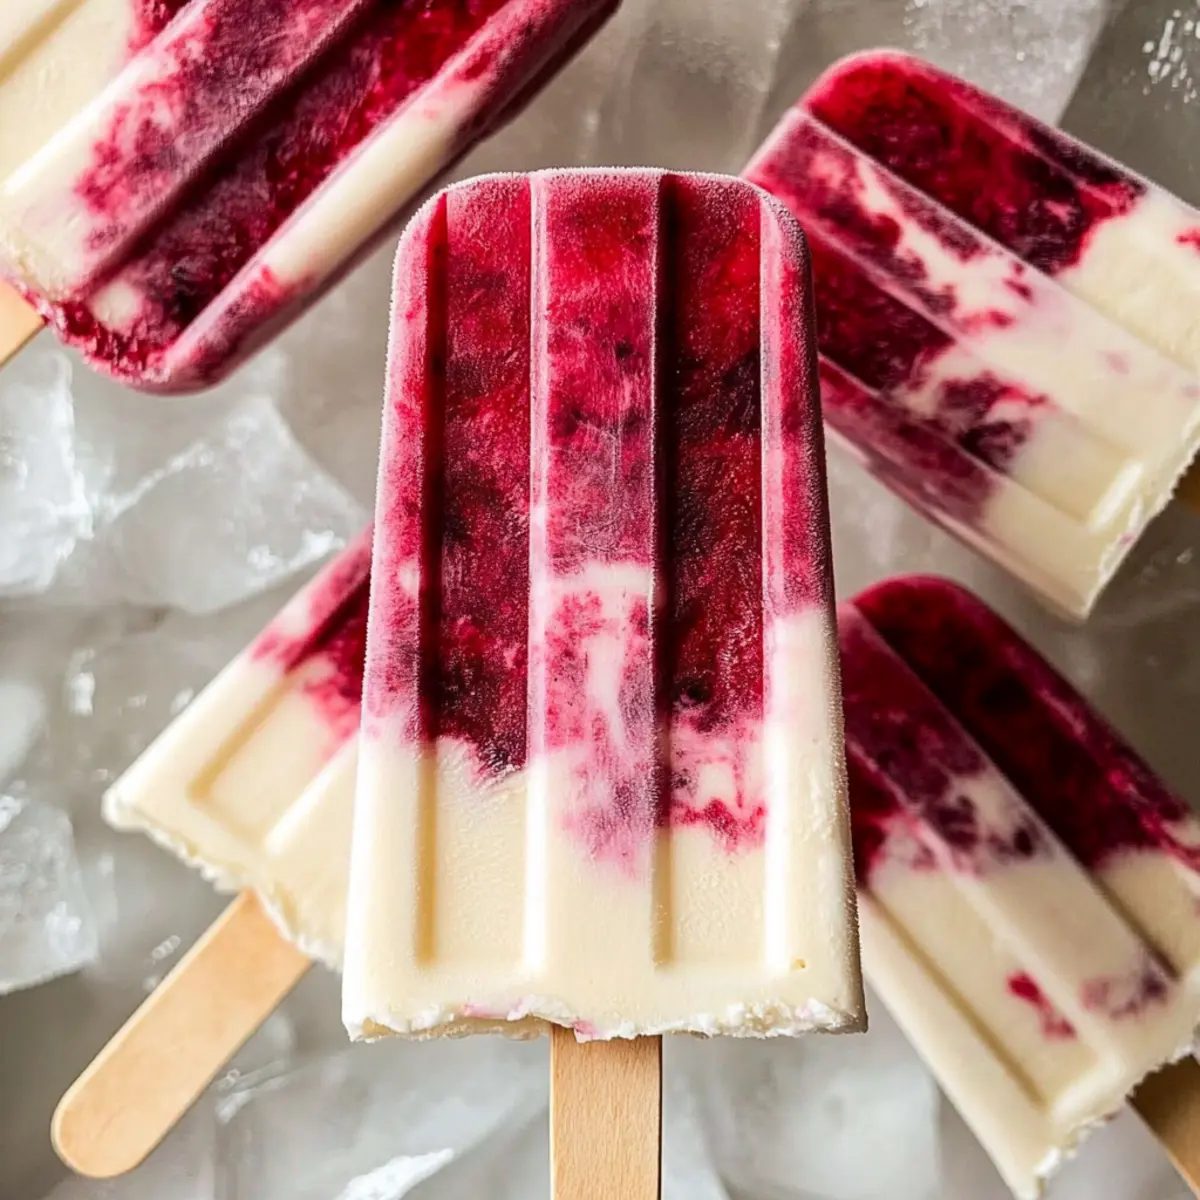
When you’re ready to enjoy your Cherry Creamsicles, remove the molds from the freezer. To easily release the popsicles, run warm water over the outside of the molds for about 30 seconds. Gently pull them out, and you’ll find creamy, fruity popsicles that are ready to cool you down on a hot summer day!
Cherry Creamsicles Variations & Substitutions
Feel free to make these delightful popsicles your own with some creative tweaks and substitutions!
- Dairy-Free: Substitute raw cream with full-fat coconut cream for a rich, creamy consistency without the dairy.
- Sweetener Swap: Use maple syrup instead of raw honey for a vegan-friendly option that adds a unique caramel-like flavor.
- Berry Burst: Mix in strawberries or blueberries to the cherry mixture for a vibrant twist and added color.
- Tropical Vibes: Swap cherries for mango or pineapple for a refreshing tropical twist that will transport you to the beach.
- Nutty Delight: Add a spoonful of almond butter to the whipped cream for a nutty flavor that complements the sweetness beautifully.
- Chocolate Drizzle: After freezing, dip your popsicles in melted dark chocolate and sprinkle with crushed nuts for an indulgent treat.
- Extra Creamy: Blend a banana into the cherry mixture for added creaminess and natural sweetness that kids will love.
- Spicy Kick: Add a pinch of cayenne pepper or chili powder to the cherry mix for an unexpected heat that awakens the flavors!
Remember, the magic of cooking comes from experimenting! And if you’re looking for more sweet cherry recipes, don’t miss out on our Moist Chocolate Cherry Cake for a truly decadent dessert!
Expert Tips for Cherry Creamsicles
-
Keep It Cold: Ensure all components, especially the cream, are very cold for the best possible whipping results—this enhances the texture of your Cherry Creamsicles.
-
Choosing the Right Cherries: Use organic cherries for the most vibrant flavor. Fresh cherries often yield a tastier popsicle than frozen, but thawed frozen cherries work well too.
-
Substituting Cream: If you’re making a dairy-free version, opt for full-fat coconut cream instead of dairy cream. This will maintain the creamy texture without losing flavor.
-
Layering Technique: When layering the cherry puree and whipped cream, alternate carefully to get a beautiful marbled effect, which enhances both appearance and taste of your Cherry Creamsicles.
-
Sweetness Adjustment: Since cherry sweetness can vary, adjust the amount of raw honey based on your taste preference or the natural sweetness of the cherries you use.
-
Storage Tips: Store any leftover popsicles in an airtight container to maintain their texture and flavor. For the best quality, consume them within a few weeks.
What to Serve with Cherry Creamsicles
There’s nothing quite like enjoying a refreshing pop after a summer meal, especially when complemented by delightful side dishes and drinks.
-
Crispy Fresh Salad: A light, crunchy salad with mixed greens and a zesty vinaigrette offers a bright contrast to the creamy sweetness of the popsicles. It cleanses the palate and keeps the meal light.
-
Grilled Chicken Skewers: Juicy, herb-marinated chicken skewers bring a savory element that pairs wonderfully with the fruity treats. The charred flavors enhance the summer vibe.
-
Fruit Platter: An assortment of seasonal fruits, like berries and melons, not only complements the cherry flavor but also adds vibrant colors to your table. This pairing keeps things fresh and delicious.
-
Nut Butter Cookies: Serve alongside some nut butter cookies for a fabulous texture contrast. The earthy flavors of the cookies balance the sweetness of the creamsicles, making for a satisfying treat!
-
Lemonade or Iced Tea: Refresh with a glass of homemade lemonade or iced tea enhanced with fresh herbs. Both drinks have the perfect balance of sweetness and acidity to go with your Cherry Creamsicles.
-
Chocolate Dipped Pretzels: Crunchy, salty pretzels dipped in dark chocolate create a dreamy contrast to the popsicles. The rich chocolate elevates the dessert experience for everyone involved.
-
Frozen Yogurt Parfait: For a slightly more indulgent yet healthy dessert, a frozen yogurt parfait layered with fresh fruit echoes the creamy richness of the popsicles, making it a delightful finish to a summer meal.
These pairings will create a delightful dining experience that complements the refreshing Cherry Creamsicles beautifully!
Storage Tips for Cherry Creamsicles
Freezer: Keep your Cherry Creamsicles in an airtight container or in their molds tightly covered to prevent freezer burn; they will stay fresh for up to 2 weeks.
Thawing: When ready to enjoy, simply run warm water over the outside of the molds for about 30 seconds to release the popsicles without damaging their structure.
Storing Leftovers: If you have any extra popsicles, ensure they’re stored in an airtight container in the freezer to maintain their creamy texture and flavor.
Serving Recommendation: For the best experience, consume your Cherry Creamsicles within a week of making them to enjoy their freshest and most vibrant taste!
Make Ahead Options
These Cherry Creamsicles are a fantastic choice for meal prep, allowing you to enjoy a quick, healthy treat any day of the week! You can prepare the cherry puree and the whipped cream base up to 24 hours in advance—just blend the cherries and refrigerate the mixture in an airtight container, while the whipped cream can be kept chilled in the mixing bowl (covered) until you’re ready to use it. When you’re ready to create your creamsicles, simply layer the prepared mixtures into the molds and freeze. For the best texture, ensure everything remains well chilled before assembly, so you’ll savor those creamy, fruity delights, just as delicious as if made fresh!
Cherry Creamsicles Recipe FAQs
How do I choose the right cherries for my Cherry Creamsicles?
Absolutely! For the best flavor, opt for fresh, organic cherries that are vibrant and firm, with no dark spots or blemishes. If using frozen cherries, make sure they are thawed and organic to maintain that delightful sweetness.
How should I store my Cherry Creamsicles to keep them fresh?
To preserve the quality, keep your Cherry Creamsicles in an airtight container or cover the molds tightly to prevent freezer burn. They will remain fresh for up to 2 weeks, but I recommend enjoying them within a week for the best taste!
Can I freeze leftover Cherry Creamsicles?
Very! If you have any remaining popsicles, ensure they are stored in an airtight container in the freezer. They are best consumed within 2 weeks for optimal flavor and texture, as they may start to lose their creaminess over time.
What should I do if my popsicles are hard to release from the molds?
If you find it challenging to remove your Cherry Creamsicles from the molds, run warm water over the outside of the molds for about 30 seconds. This gentle heat helps loosen the icy treat, making it easier to release without damaging them.
Are Cherry Creamsicles suitable for people with dairy allergies?
Absolutely! For a dairy-free version, simply substitute raw cream or organic whipping cream with full-fat coconut cream. This will keep the creamy texture while ensuring everyone can enjoy these delicious treats!
How can I modify the sweetness in my Cherry Creamsicles?
The sweetness of cherries can vary, so start with 1-2 tablespoons of raw honey and adjust based on your taste preference. If your cherries are particularly sweet, you might not need as much honey. This way, you can customize your Cherry Creamsicles to perfection!
Cherry Creamsicles: Creamy, Healthy Treats for Summer Fun
Ingredients
Equipment
Method
- Chill your mixing bowl in the refrigerator for 15–20 minutes.
- Prepare the cherries: if frozen, let them thaw for 10 minutes; if fresh, wash and pit them.
- Blend cherries with coconut water until well pureed.
- Whip raw cream or coconut cream with vanilla extract and honey until thick and fluffy.
- Layer whipped cream and cherry puree in popsicle molds.
- Freeze for at least 6–8 hours, preferably overnight.
- Run warm water over the molds for 30 seconds to release the popsicles.