Advertisement
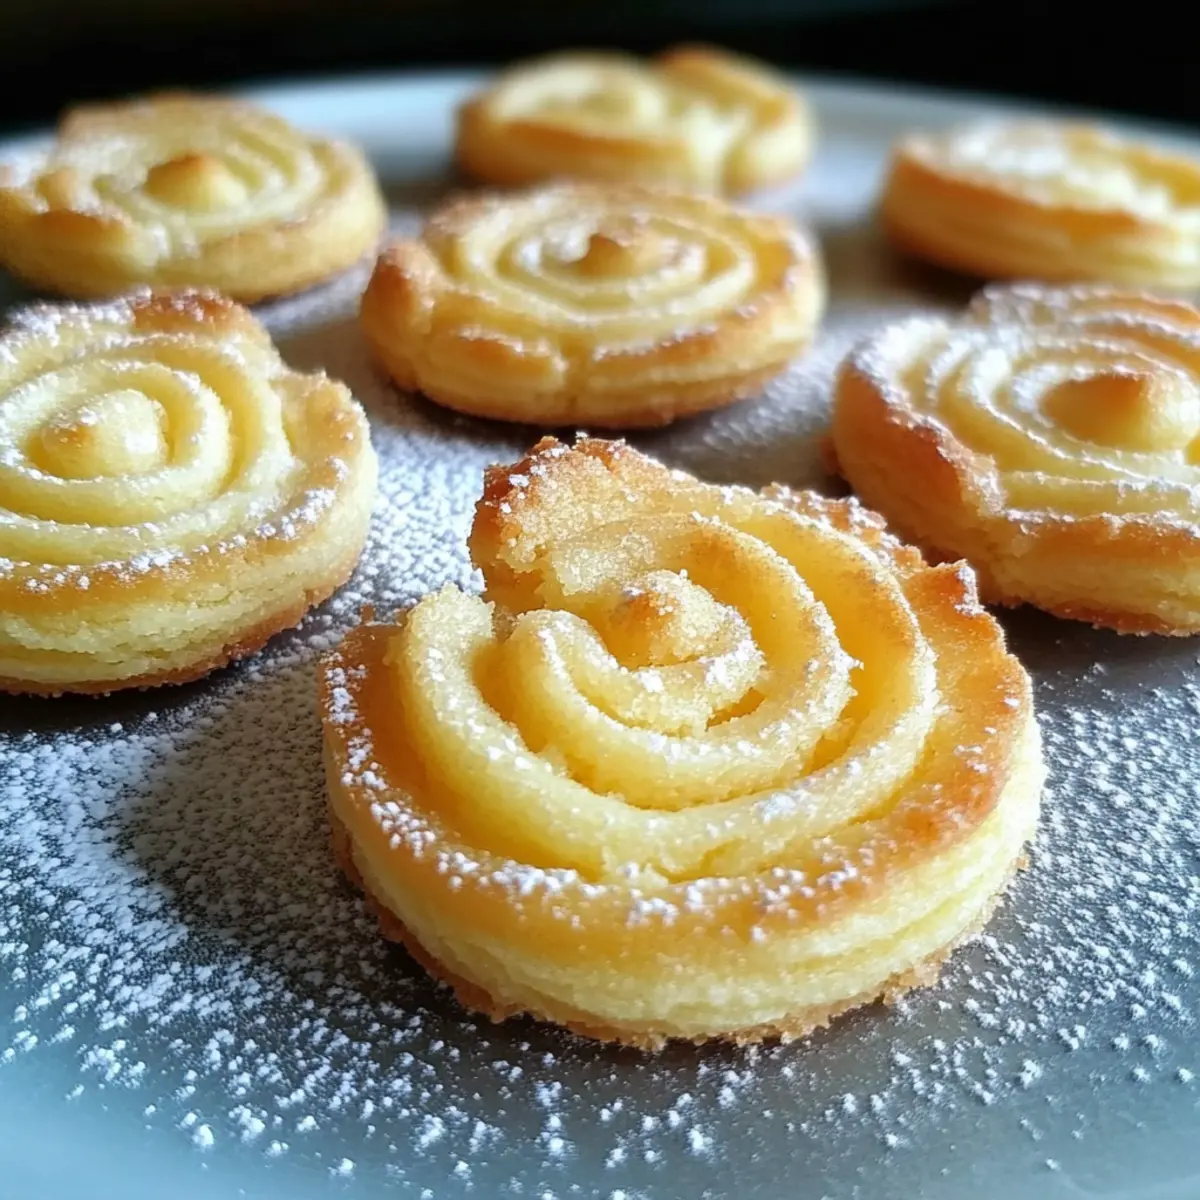
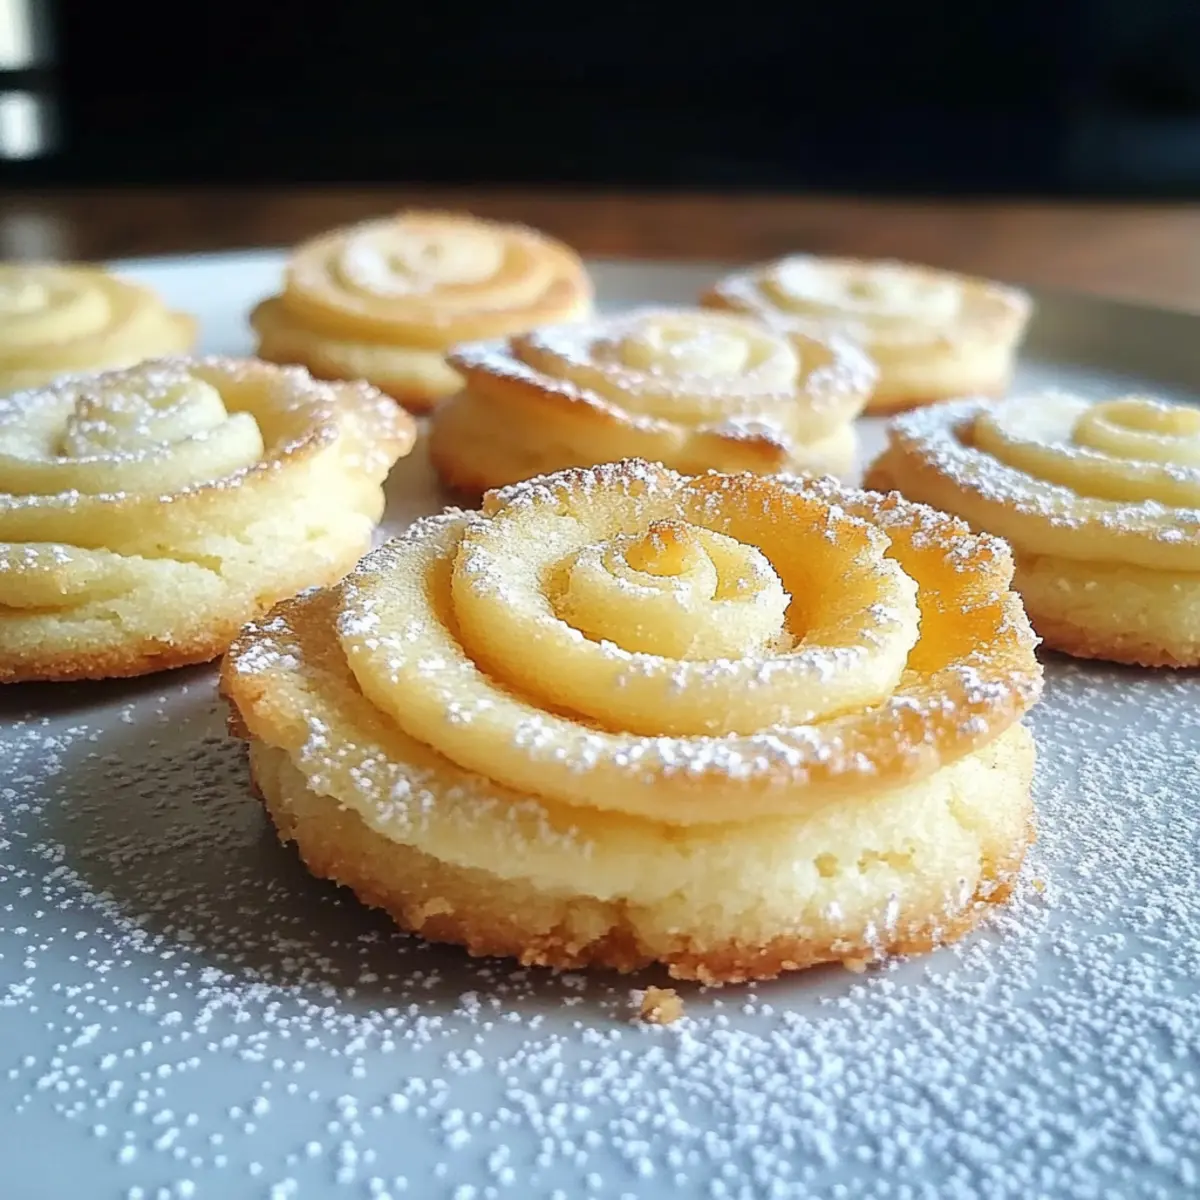
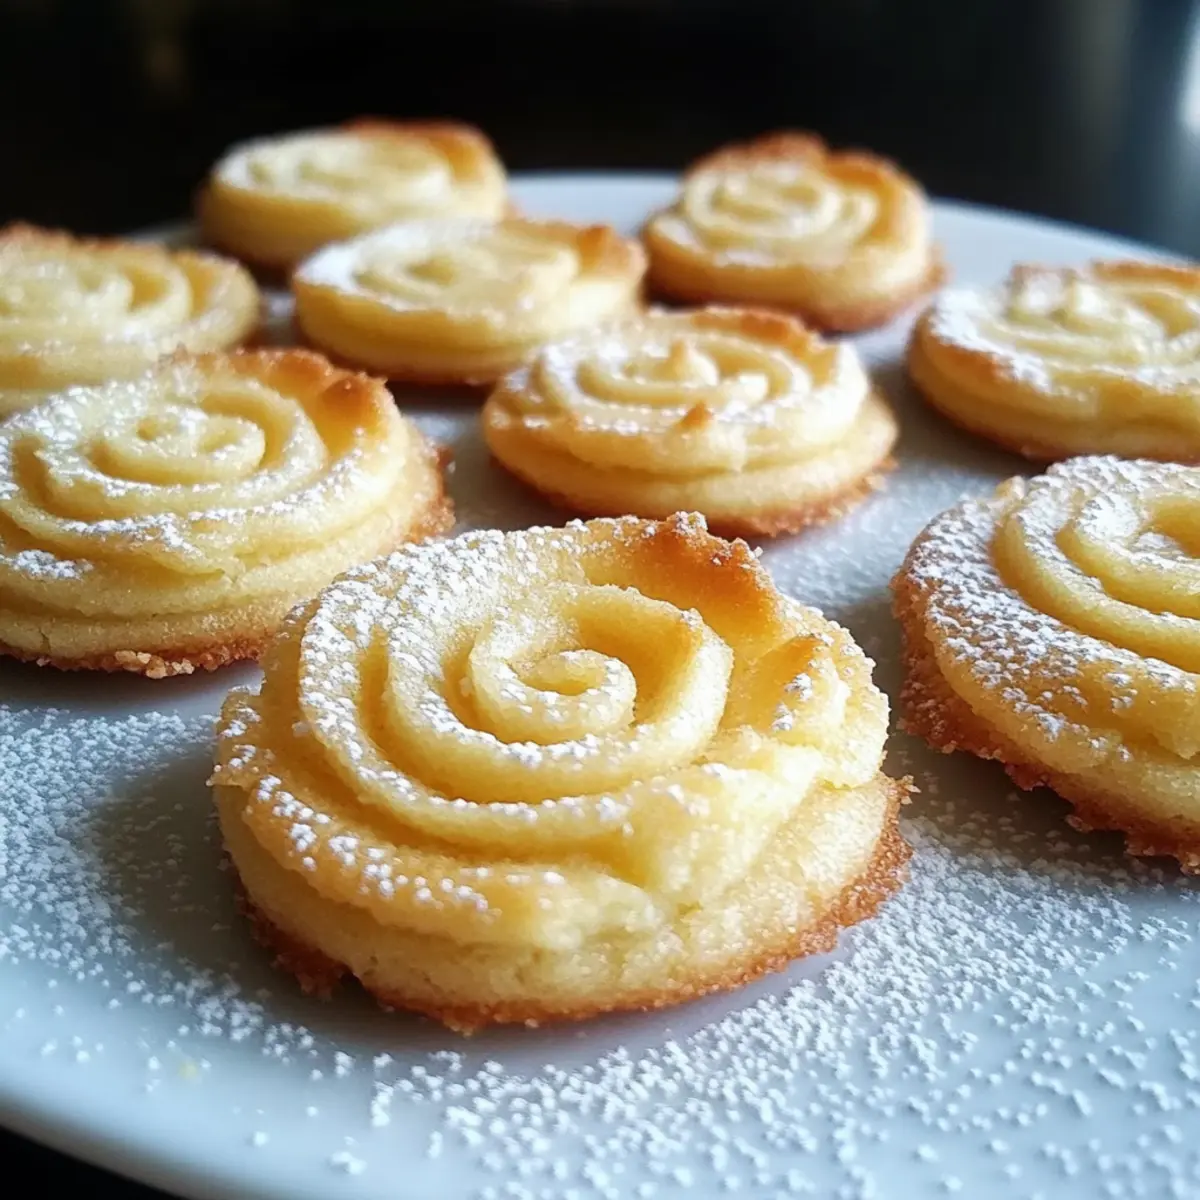
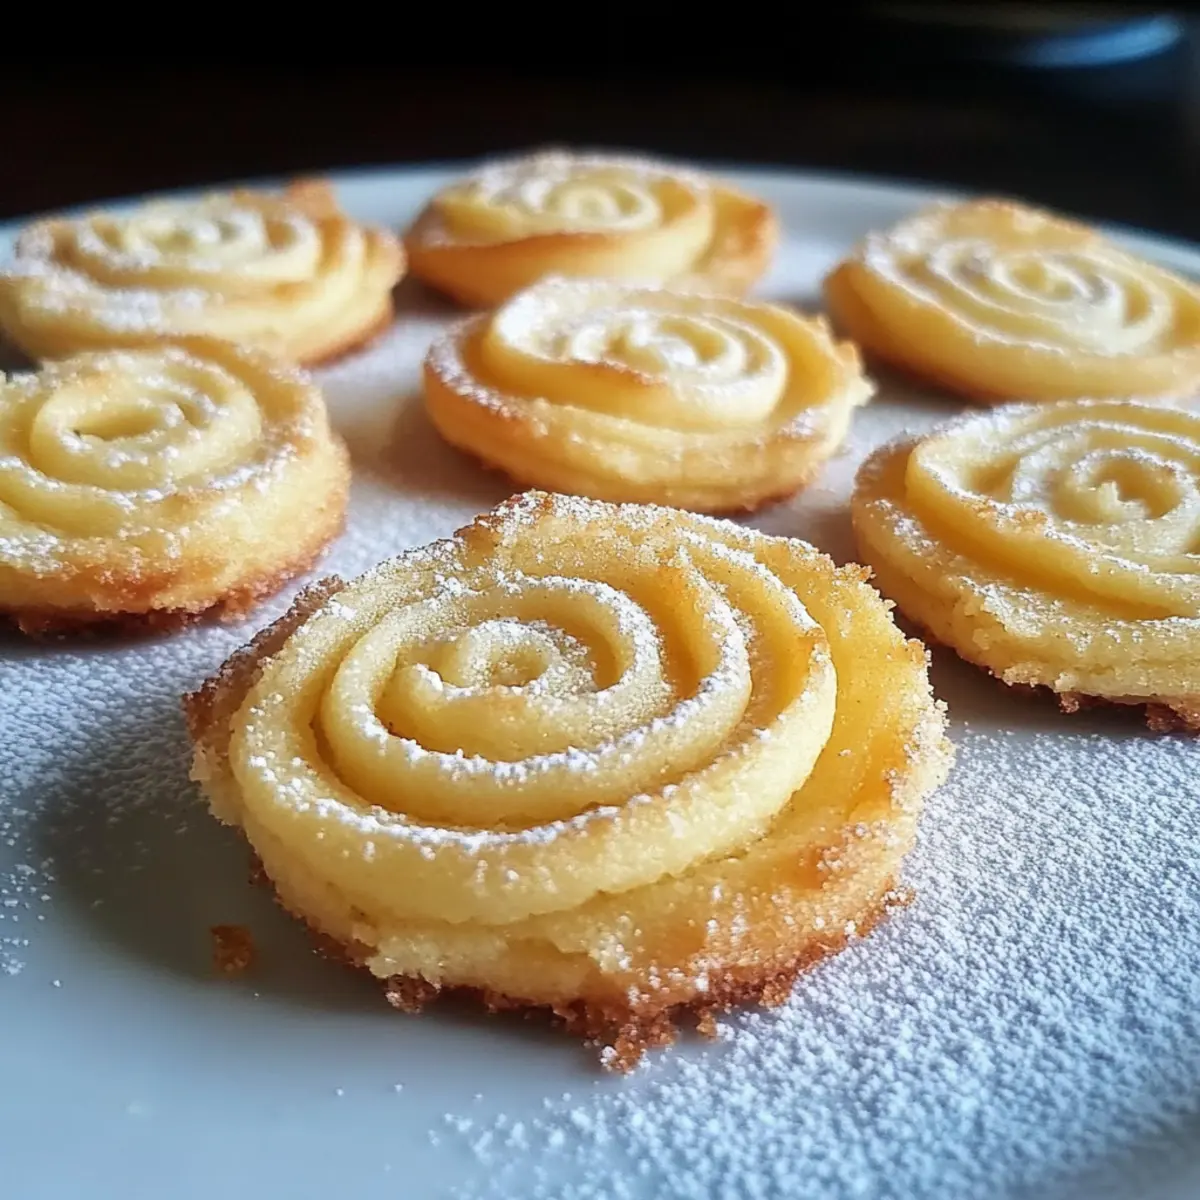
As I sifted through a box of assorted cookies, I stumbled upon a delightful secret: Danish Butter Cookies. These little gems, with their light, crisp texture, have a way of transforming any ordinary moment into a sweet celebration. With just four simple ingredients, this recipe for 4-Ingredient Danish Butter Cookies is not only quick to whip up but offers a melt-in-your-mouth experience that beckons you to indulge. Whether you’re brewing a cup of tea or gathering friends for a cozy evening, these cookies effortlessly become the star of the show. Plus, there’s a gluten-free option that ensures everyone can join in on the deliciousness. Are you ready to bake some blissful treats that will have your taste buds dancing?
Why are These Cookies So Irresistible?
Simplicity, with only four basic ingredients, makes these Danish Butter Cookies a breeze to bake at home. Melt-in-your-mouth texture ensures each bite is a delightful experience that elevates any occasion. Versatility shines through with variations like coconut or chocolate options, appealing to all tastes. Perfect for any time, they pair beautifully with your favorite tea or coffee, while gluten-free options mean everyone can indulge without worry. Experience the joy of baking a delicious treat that’s as fun to make as it is to share!
Danish Butter Cookies Ingredients
For the Cookie Base
• Butter – Ensure it’s at room temperature for easy creaming and a soft texture.
• Powdered Sugar – This ingredient adds sweetness while helping create that delicate, melt-in-your-mouth quality in the cookies.
• Vanilla Extract – Enhances the rich flavor, making every bite aromatic and delightful.
• Cake Flour or All-Purpose Flour – Cake flour yields a more tender cookie; all-purpose flour is a good substitute if needed.
Advertisement
Optional Add-ins
• Cocoa Powder – Add one tablespoon for a delicious chocolate twist without altering the flour ratio.
• Finely Grated Coconut – Incorporate for a tropical touch and extra chewiness in your Danish Butter Cookies.
• Ground Almonds – Mix in finely ground almonds for a nutty flavor that complements the buttery base wonderfully.
Dive into the world of homemade goodness with these Danish Butter Cookies, where each ingredient plays a crucial role in creating a delectable treat!
Step‑by‑Step Instructions for 4-Ingredient Danish Butter Cookies
Step 1: Prep Butter
Start by taking out your butter at least one hour before baking to allow it to reach room temperature, ensuring it’s soft yet not melted. This is a crucial step for making your Danish Butter Cookies light and fluffy. Place it in a mixing bowl along with your powdered sugar to achieve that perfect creamy texture.
Step 2: Cream Mixture
Using an electric mixer, beat the softened butter and powdered sugar together for about 5–8 minutes. Watch for the mixture to turn light and fluffy, indicating it’s well-creamed. The airy texture will contribute to the melt-in-your-mouth quality that makes these Danish Butter Cookies so delightful.
Step 3: Incorporate Flour
Gradually sift in your flour, whether you chose cake flour or all-purpose flour, folding it gently into the creamed mixture using a spatula. Continue to mix until fully combined and the dough comes together without being overly stiff. This process creates the right consistency for piping, ensuring beautifully shaped cookies.
Step 4: Shape the Dough
Once the dough is fully incorporated, roll it into a log shape. Next, transfer the dough into a piping bag fitted with a 1M open star tip. This step is essential for achieving those classic Danish Butter Cookies shapes, allowing them to hold their form while baking and providing a visually appealing finish.
Step 5: Pipe Cookies
Begin piping the dough onto a baking sheet lined with parchment paper or a silicone mat, forming your desired shapes. Aim for uniform sizes to ensure even baking and a beautiful presentation. You’ll appreciate how the piping creates lovely designs that hint at the melt-in-your-mouth goodness inside.
Step 6: Chill
After piping, refrigerate the cookies for about 30 minutes. This step helps solidify the dough and retains the piped shape during baking. The chilling process is crucial in ensuring your Danish Butter Cookies come out perfectly formed and maintain a delicate texture.
Step 7: Bake
Preheat your oven to 300°F (150°C). Bake the chilled cookies for about 15 minutes or until the edges turn golden brown. This gentle baking temperature ensures that your Danish Butter Cookies will be crisp and light, leading to a melt-in-your-mouth experience that you’ll adore.
Step 8: Cool
Once baked, let the cookies cool on the baking sheet for about 10 minutes. This allows them to set and makes transferring to an airtight container easier. After cooling, move your Danish Butter Cookies to the container to maintain their delightful texture and flavor, ready for enjoying.
Danish Butter Cookies Variations & Substitutions
Feel free to get creative and make these Danish Butter Cookies your own with these delightful twists!
- Gluten-Free: Substitute the flour with a gluten-free blend to make these cookies suitable for gluten sensitivity. You won’t miss the original version!
- Coconut Delight: Add ½ cup of finely grated coconut to the dough for a tropical flavor that will transport your taste buds. It creates a lovely chewy texture that contrasts beautifully with the crisp edges.
- Chocolate Bliss: Incorporate 1 tablespoon of cocoa powder into the flour before mixing to turn your cookies into decadent chocolate treats. This small adjustment adds a rich depth without compromising the dough’s integrity.
- Nutty Almonds: Mix in ⅓ cup of ground almonds for a nutty flavor profile that elevates these cookies. The almonds add a lovely crunch that pairs perfectly with the buttery base.
- Matcha Magic: For a unique flavor, add 1 tablespoon of matcha powder to the flour mixture. The vibrant green color and earthy taste create a stunning visual and a delightful twist to your cookies.
- Cinnamon Spice: Sprinkle in a teaspoon of ground cinnamon for a warm, spiced note that complements the vanilla beautifully. This simple addition warms up the classic flavor, making these cookies perfect for cozy gatherings.
- Marshmallow Topping: Once baked and cooled, dip the center of the cookies in melted chocolate and sprinkle with mini marshmallows for an indulgent twist. For those who love an extra textural contrast, this variation is a must-try!
- Pretzel Crunch: Crumble some pretzel pieces on top of each cookie before baking for a salty-sweet combination that’s utterly irresistible. The crunch adds a fun surprise and pairs beautifully with the soft, buttery cookie.
For more delightful ideas, consider trying my Raspberry Danish Sweet or indulge in some comforting Marshmallow Swirl Cookies. Each recipe offers a unique twist that showcases the joy of homemade treats!
What to Serve with 4-Ingredient Danish Butter Cookies
These delightful cookies make any gathering feel special and are perfect for creating memorable moments with friends and family.
-
Rich Hot Chocolate: The creamy texture of hot chocolate perfectly complements the light, crisp cookies, creating a sweet and indulgent pairing.
-
Fresh Berries: Juicy strawberries or raspberries add a burst of freshness, balancing the buttery sweetness of the cookies beautifully.
-
Classic Vanilla Ice Cream: The smooth, cold ice cream offers a delightful contrast to the warm, melt-in-your-mouth cookies, ensuring a scrumptious experience.
-
Aromatic Coffee: A cup of freshly brewed coffee enhances the cookies’ buttery flavor, making it an ideal way to kick-start your day or unwind in the evening.
-
Golden Tea: Pair your cookies with a fragrant cup of Earl Grey or chamomile tea, as the floral notes elevate that sweet, buttery taste.
-
Coconut Cream Dip: Whip up a quick coconut cream dip for an exotic touch, enhancing the cookies’ flavors and providing a delightful texture contrast.
-
Chocolate Drizzle: For added flair, drizzle melted chocolate over the cookies creating a crescendo of flavors that takes this simple treat to a decadent level.
Let these serving suggestions transform your Danish Butter Cookies into a full-on treat that everyone will enjoy!
Make Ahead Options
These Danish Butter Cookies are an absolute gem for meal prep enthusiasts! You can mix the cookie dough and refrigerate it for up to 24 hours before piping and baking. Just store the dough in an airtight container to maintain its delicate texture and prevent it from drying out. Alternatively, you can pipe the cookies and chill them in the fridge on a baking sheet for up to 3 days. When you’re ready to indulge, simply bake them straight from the refrigerator for about 15 minutes, and they’ll come out just as delicious and crisp. Prepping ahead means you can enjoy these melt-in-your-mouth cookies with minimal effort on busy days!
Expert Tips for Danish Butter Cookies
• Room Temperature Butter: Ensure your butter is soft but not melted to achieve the right fluffiness for your Danish Butter Cookies.
• Use a Silicone Mat: For best results, pipe the cookies onto a silicone mat instead of a greased sheet to prevent spreading and achieve uniform shapes.
• Add Warm Milk if Needed: If the dough is too stiff to pipe, add one tablespoon of warm milk to adjust the consistency without compromising the integrity of your cookies.
• Chill Before Baking: Don’t skip the chilling step! This helps maintain the piped shape and gives your cookies a delicate texture after baking.
• Check Baking Time: Baking at a lower temperature ensures light, crisp cookies; monitor closely to prevent over-baking as oven temperatures can vary.
Storage Tips for Danish Butter Cookies
Room Temperature: Store cookies in an airtight container at room temperature for up to 7-10 days to maintain their delightful crispness and freshness.
Fridge: If you live in a warm climate, consider storing them in the fridge for up to 2 weeks. Just be sure to bring them back to room temperature before serving for optimal texture.
Freezer: To preserve their melt-in-your-mouth quality, freeze baked cookies in an airtight container for up to 3 months. Thaw at room temperature before enjoying.
Unbaked Dough: For even more convenience, freeze the unbaked piped dough for up to 1 month. Simply bake directly from frozen, adding a couple of extra minutes to the baking time for perfectly fluffy Danish Butter Cookies.
Danish Butter Cookies Recipe FAQs
How do I choose the right butter for Danish Butter Cookies?
Absolutely! For the best results, select unsalted butter that’s at room temperature. It should be soft to the touch but not melted. This allows for better creaming with the powdered sugar, leading to a light and fluffy cookie texture.
How should I store my Danish Butter Cookies?
For optimal freshness, store your Danish Butter Cookies in an airtight container at room temperature for up to 7-10 days. If your climate is warm, you might prefer the fridge, where they can last about two weeks. Just remember to bring them back to room temperature before serving to enjoy their delightful texture.
Can I freeze Danish Butter Cookies, and how?
Very! You can freeze your baked Danish Butter Cookies in an airtight container for up to 3 months. For freezing unbaked piped dough, place it in a zip-top bag, ensuring you remove as much air as possible. It can be frozen for up to 1 month. When ready to bake, just pop them in the oven straight from the freezer, adding a couple of extra minutes to the baking time for the perfect fluffy texture!
What should I do if my dough is too stiff to pipe?
No worries! If you find your dough too stiff, simply add a tablespoon of warm milk to achieve the desired consistency. Mix well until smooth before transferring to the piping bag. This little step can make a big difference in shaping those lovely cookies.
Are there any dietary considerations for Danish Butter Cookies?
Absolutely! This recipe is naturally egg-free, making it a suitable option for those with egg allergies. If you’re looking for a gluten-free version, simply substitute the all-purpose flour with a gluten-free blend designed for baking. Always check the labels of any add-ins to ensure they meet your dietary needs.
Melt-in-Your-Mouth Danish Butter Cookies in 4 Simple Steps
Ingredients
Equipment
Method
- Step 1: Prep Butter - Take butter out to reach room temperature.
- Step 2: Cream Mixture - Beat butter and powdered sugar until light and fluffy.
- Step 3: Incorporate Flour - Gradually fold flour into the creamed mixture.
- Step 4: Shape the Dough - Roll into log shape and place in piping bag.
- Step 5: Pipe Cookies - Pipe onto a lined baking sheet.
- Step 6: Chill - Refrigerate cookies for about 30 minutes.
- Step 7: Bake - Preheat oven to 300°F (150°C) and bake for 15 minutes.
- Step 8: Cool - Let cookies cool for 10 minutes on the baking sheet.