Advertisement
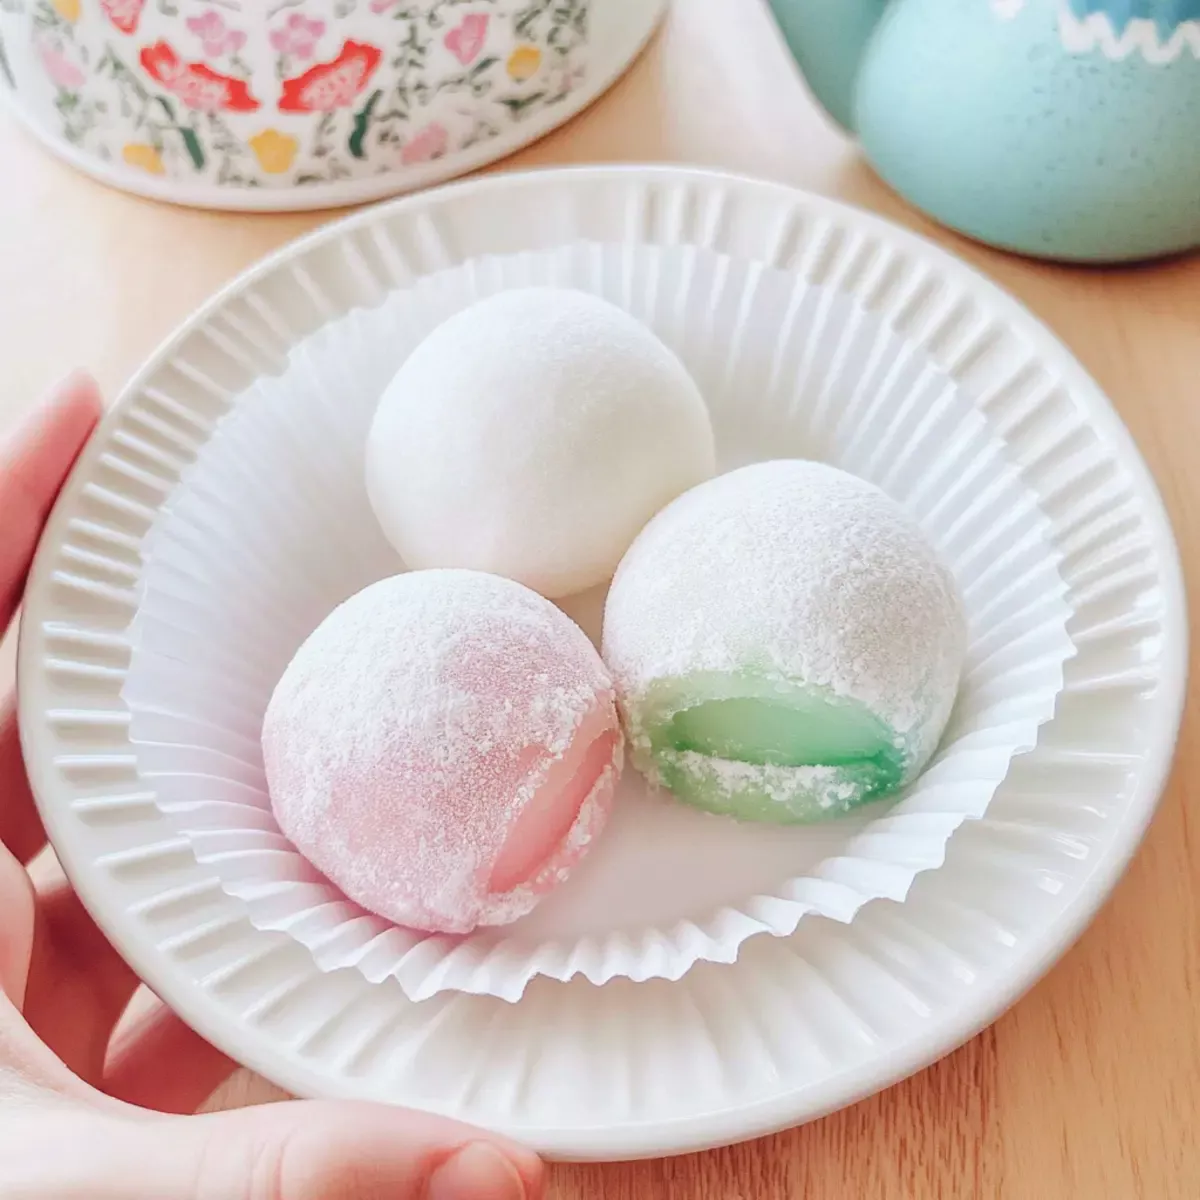
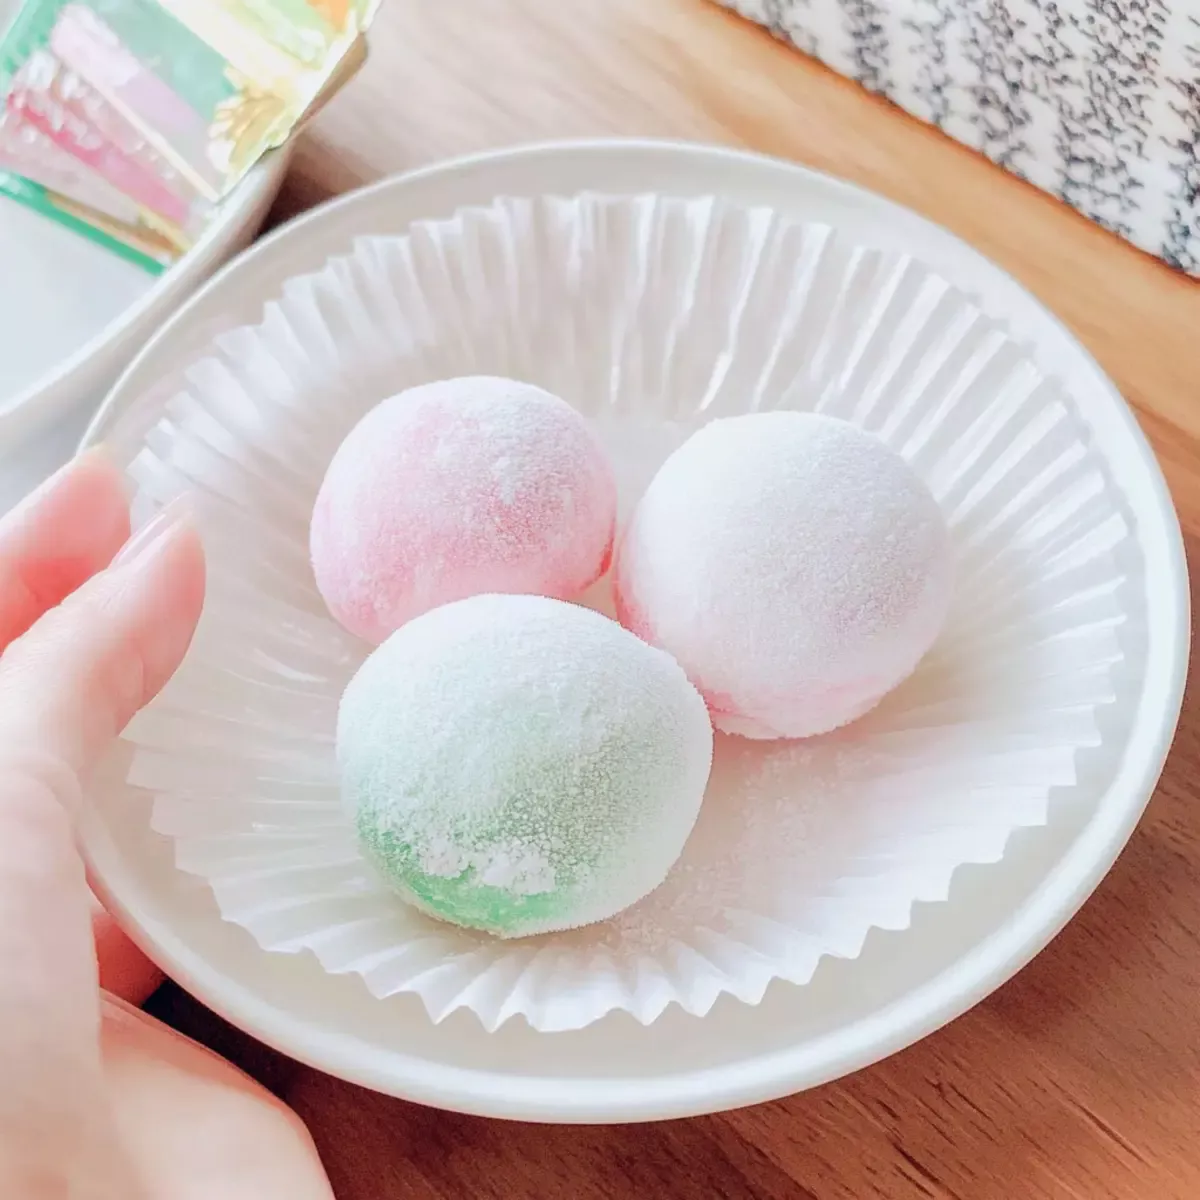
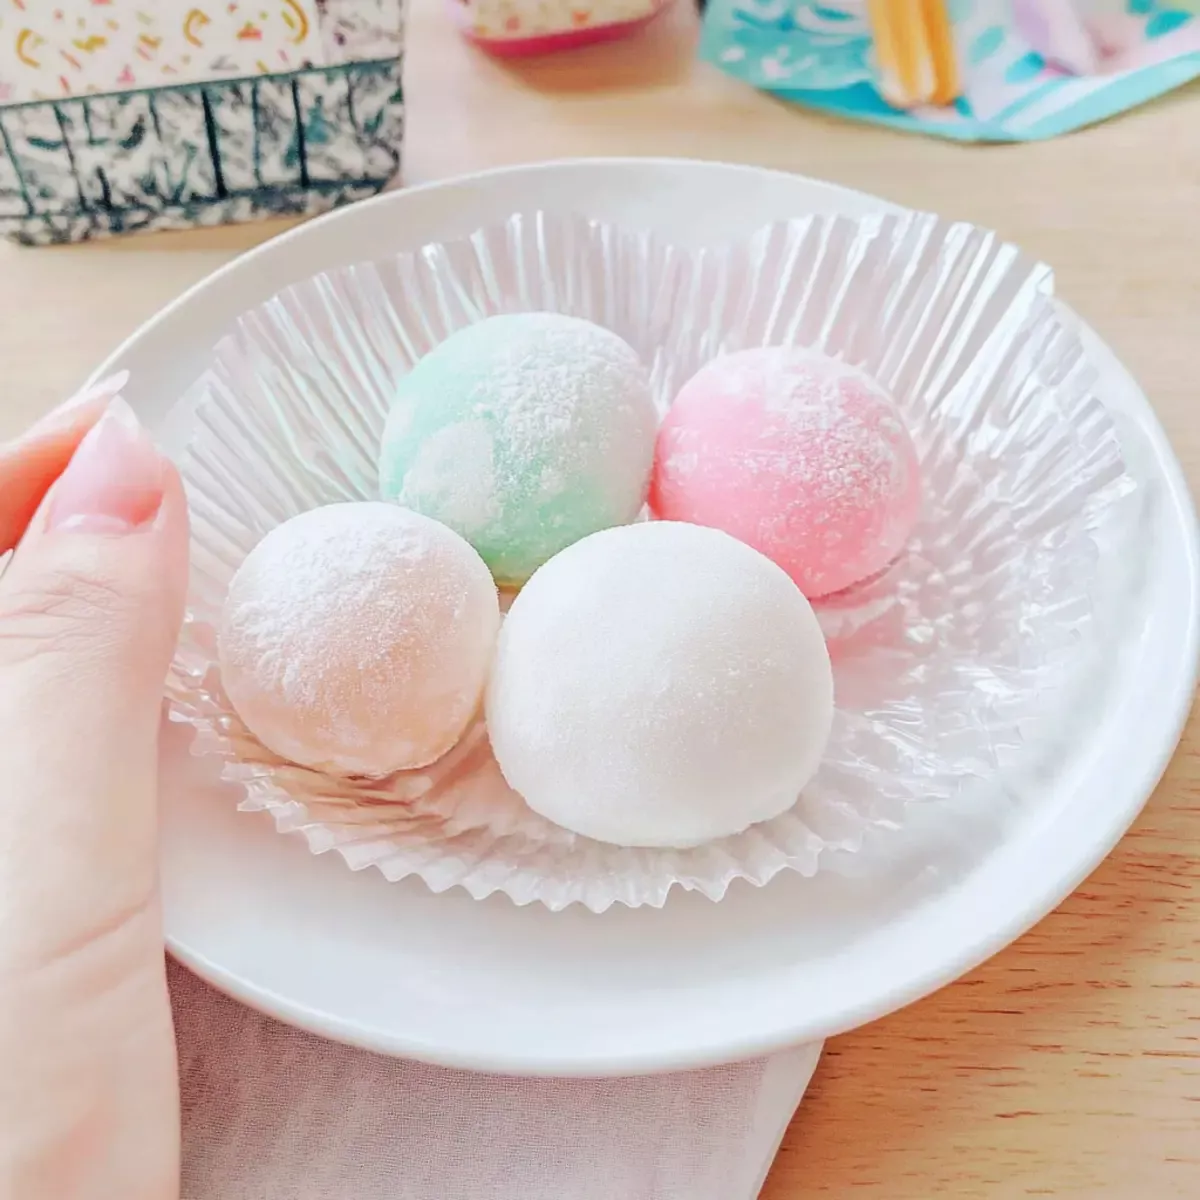
The cheerful sound of ice cream scoops hitting bowls brings me back to summer days spent crafting sweet memories. Today, I’m thrilled to share my recipe for homemade mochi ice cream—a delightful treat that combines soft, stretchy mochi with the creamy goodness of your favorite ice cream flavor. This customizable dessert not only satisfies those sweet cravings but is also gluten-free and a fantastic way to beat the heat on warm afternoons. Creating mochi ice cream at home is easier than you might think, and with simple ingredients, you can whip up a batch of these chewy delights to keep your freezer stocked. Ready to impress your friends and spice up your dessert repertoire? Let’s jump into the world of mochi ice cream and find out just how fun and versatile this treat can be!
Why is Mochi Ice Cream So Amazing?
Unique flavors await! With this recipe, you can customize your mochi ice cream with any ice cream flavor you desire, making it perfect for every taste. Gluten-free bliss: Enjoy a sweet treat without the gluten guilt. Fun to make: Involving friends or family can transform this into a delightful group activity. Store and serve easily: Keep a stash in your freezer for spontaneous cravings or summer get-togethers. Plus, if you enjoy cream-based desserts, you might want to try Cream Cheese Chicken for dinner to balance your sweet tooth with savory delights!
Mochi Ice Cream Ingredients
• Make your mochi ice cream masterpiece with these simple components!
Advertisement
For the Mochi Dough
- Glutinous Rice Flour (Sweet Rice Flour) – Essential for that delightful chewy texture, ensuring you use sweet rice flour yields the best results.
- Milk – Provides moisture for a smooth dough; substitute with water if you’re looking for a lighter version.
- Granulated Sugar – Sweetens the dough perfectly; feel free to adjust to your taste.
- Food Coloring (Optional) – Add a dash of color to your mochi for a fun, visually appealing treat.
For the Ice Cream Filling
- Ice Cream – Choose any flavor you love to personalize your mochi ice cream experience; the sky’s the limit!
For Dusting
- Cornstarch – Dust this on your workspace to prevent the mochi from sticking during preparation.
Step‑by‑Step Instructions for Mochi Ice Cream
Step 1: Prepare Ice Cream Balls
Start by scooping 2-3 tablespoons of your favorite ice cream into cupcake liners, shaping them into small balls. Place them in the freezer for at least 2 hours, or ideally overnight, until they are firm and easy to handle. This step is essential for a perfectly chilled center in your mochi ice cream.
Step 2: Mix Mochi Dough
In a microwaveable bowl, combine glutinous rice flour, granulated sugar, and milk, stirring to eliminate lumps. Cover the bowl with a microwave-safe lid or plastic wrap and heat in the microwave for 1 minute. Afterward, stir the mixture and microwave for an additional 30 seconds to 1 minute until it becomes thick and slightly translucent, indicating it’s ready.
Step 3: Knead Dough
Dust a clean work surface generously with cornstarch to prevent sticking. Carefully transfer the hot mochi dough onto the surface, allowing it to cool slightly. Once it’s manageable but warm, knead the dough for about 5 minutes until it becomes smooth and elastic. This step is crucial for achieving that delightful chewy texture in your mochi ice cream.
Step 4: Roll Out Dough
Once the dough is kneaded, use a rolling pin to flatten it to about 1/4 inch in thickness. Dust both the dough and your rolling pin with more cornstarch to prevent sticking. Next, use a cookie cutter to cut out circles from the flattened dough, prepping them for wrapping around the ice cream balls.
Step 5: Wrap Ice Cream
Take a mochi circle and place it over one of your frozen ice cream balls. Gently pull up the edges of the mochi dough and pinch them together to seal the ice cream inside thoroughly. This ensures that your mochi ice cream will have a deliciously chewy outer layer that holds the creamy filling securely within—place each wrapped piece seam-side down in cupcake liners.
Step 6: Freeze Again
After wrapping all your ice cream balls, return the mochi ice cream to the freezer for at least 1 hour. This final chill helps the mochi set firmly around the ice cream, making it easier to enjoy later. You’ll want to wait until the mochi is firm and ready before diving into this delightful homemade treat.
How to Store and Freeze Mochi Ice Cream
Freezer: Store your mochi ice cream in an airtight container in the freezer for up to 3 months to maintain its deliciousness and prevent freezer burn.
Thawing: When you’re ready to indulge, remove the mochi ice cream from the freezer and let it sit at room temperature for about 5-10 minutes. This softens the mochi for a delightful texture.
Perfect Texture: For the best experience, allow your mochi ice cream to thaw slightly before serving; it ensures that the chewy outer layer complements the creamy filling beautifully.
Avoid Sticking: If you’re stacking mochi ice cream layers in a container, consider placing parchment paper between them to prevent sticking while stored in the freezer.
Make Ahead Options
Mochi Ice Cream is perfect for busy home cooks who want to save time during the week! You can prepare the ice cream balls up to 24 hours in advance by scooping them into cupcake liners and freezing them overnight. Additionally, the mochi dough can be made up to 3 days ahead and stored in an airtight container in the refrigerator. When you’re ready to assemble, simply roll out the chilled dough, wrap it around the ice cream balls, and freeze the assembled mochi again for at least 1 hour before serving. To ensure the best texture, make sure the dough remains well-dusted with cornstarch during preparation to prevent sticking. With these make ahead options for Mochi Ice Cream, you’ll be able to enjoy a delightful dessert with minimal effort on busy days!
Expert Tips for Making Mochi Ice Cream
-
Proper Dough Kneading: Ensure to knead the mochi dough thoroughly for about 5 minutes until smooth and elastic; this gives you the perfect chewy texture for your mochi ice cream.
-
Cool Before Wrapping: Allow the mochi dough to cool slightly before wrapping it around the ice cream to prevent melting. A warm dough can compromise the entire dessert.
-
Use Cornstarch Generously: Dust your surfaces and rolling pin with cornstarch to prevent sticking; failing to do so can result in frustrating messes while preparing your delicious mochi ice cream.
-
Seal it Well: Make sure to pinch the edges of the mochi tightly around the ice cream to avoid any leaks. A tight seal ensures every bite is a delightful surprise.
-
Experiment with Flavors: Don’t hesitate to mix and match ice cream flavors and unique fillings like fresh fruit or red bean paste to create your own signature mochi ice cream.
What to Serve with Homemade Mochi Ice Cream?
Treat your taste buds to a delightful culinary adventure with the perfect pairings for this chewy summer favorite!
-
Fresh Berries: A fruity side like strawberries or raspberries adds a vibrant touch and contrast to the creamy mochi. Their natural sweetness balances the dessert beautifully.
-
Matcha Green Tea: The earthy flavor of matcha tea provides a wonderful contrast to the sweetness of mochi ice cream. Sip it warm for a calming experience or serve it chilled for a refreshing treat.
-
Sweet Red Bean Paste: This traditional accompaniment adds an authentic Japanese flavor to your mochi experience, deepening the overall taste and enriching the sweetness. A dollop on the side invites exploration!
-
Coconut Sorbet: For an extra tropical kick, serve coconut sorbet alongside. Its light texture and subtle sweetness harmonize with the chewy mochi, creating a blissful summer dessert duo.
-
Chocolate Sauce Drizzle: A warm drizzle of chocolate sauce over your mochi elevates the entire dessert experience with an indulgent touch. It adds richness and decadence that everyone will adore.
-
Fruit Salad: A refreshing mix of seasonal fruits brightens the palate, providing a delicious, light contrast to the mochi ice cream. It’s a fantastic way to add a crisp texture.
-
Sparkling Water with Lime: To cleanse your palate and keep things refreshing, a bubbly glass of sparkling water with lime is a crisp complement. It elevates not just the flavors but also the entire summer experience.
Indulge in these delightful pairings that will transport you straight to summer joy!
Mochi Ice Cream Variations & Substitutions
Explore the endless possibilities of flavors and textures when customizing your mochi ice cream!
-
Flavor Explosion: Experiment with different ice cream flavors such as green tea, ube, or even cookie dough for a fun twist. The variety is truly endless and delicious!
-
Add Ins: Consistently elevate your mochi by adding fresh fruit pieces or nuts into the ice cream filling. This adds an exciting crunch and burst of flavor with every bite.
-
Dairy-Free Delight: Swap regular ice cream for coconut, almond, or soy-based alternatives to create a creamy, dairy-free treat. The coconut flavor pairs especially well with the mochi’s delicate sweetness.
-
Sweetness Adjustments: For a healthier option, substitute granulated sugar with honey or agave syrup in the mochi dough. This will impart a lovely sweetness without the processed sugars.
-
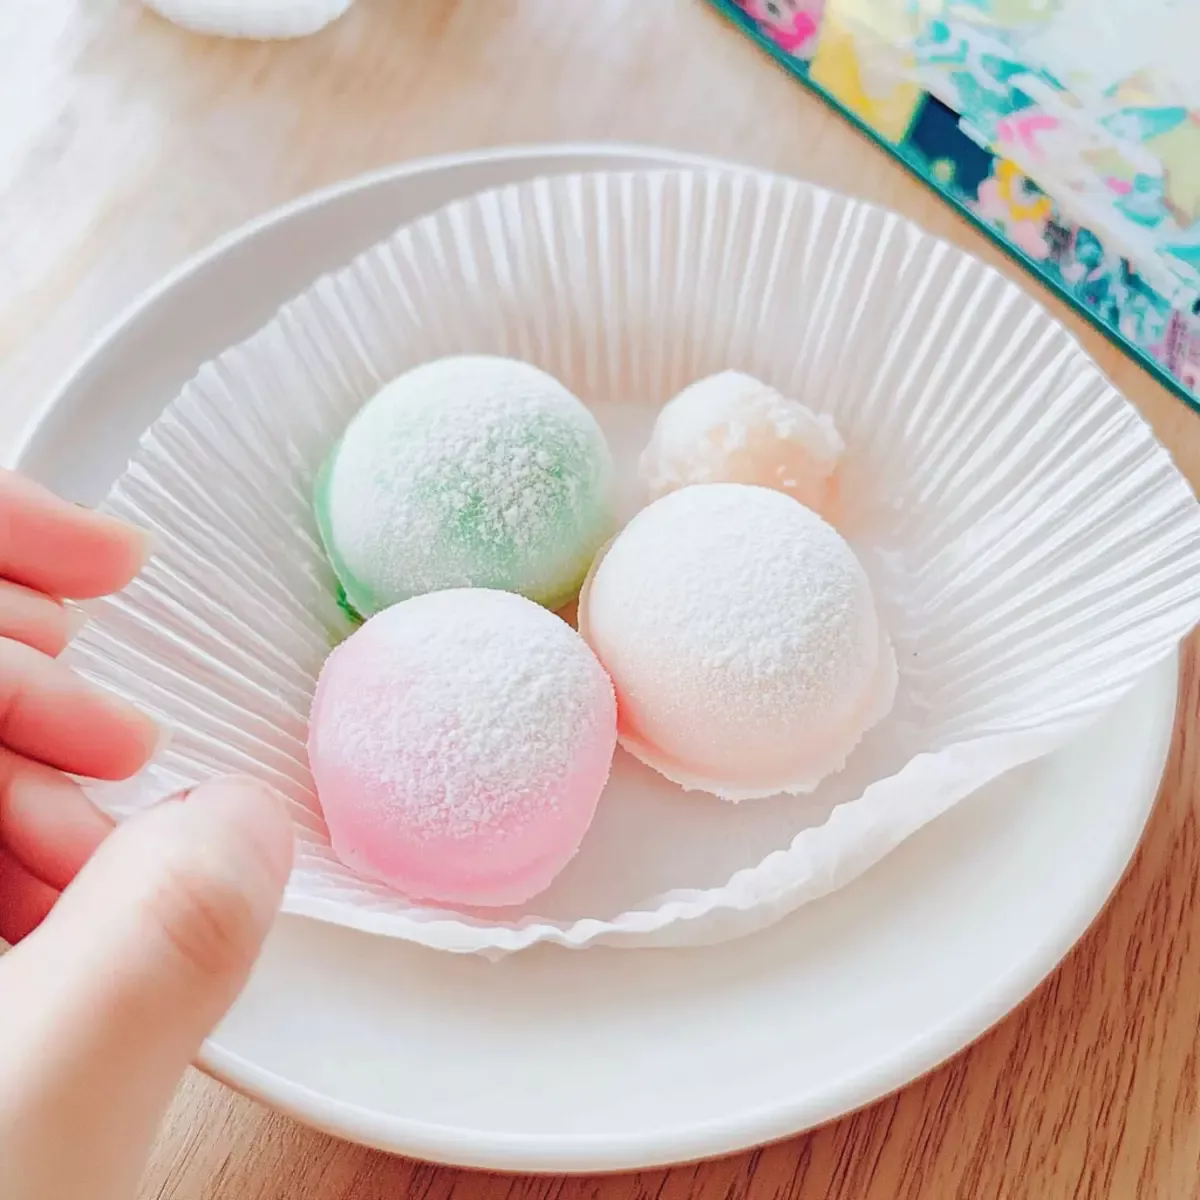
Colorful Creations: Add natural food coloring or finely crushed fruit powders to the mochi dough to create vibrant-colored treats; think beet powder for pink or matcha for green! These colorful mochi are sure to impress guests.
-
Heated Up: Want to spice things up? Consider adding a hint of cayenne or ginger to your ice cream flavor for a surprise kick. Balancing sweet and spicy can create an exciting flavor profile!
-
Layering Textures: Try rolling the mochi in crushed nuts, shredded coconut, or even sprinkles after wrapping them around the ice cream. This will provide delightful texture contrast that enhances each bite.
-
Gourmet Fillings: For a gourmet touch, use flavors like salted caramel or hazelnut chocolate spread as ice cream fillings, and create a more upscale dessert vibe. Each mouthful becomes an indulgent experience!
Your mochi adventure awaits! And if you’re in the mood to explore other delightful desserts, how about trying these Orange Creamsicle Mini treats or some heavenly Pistachio Cream Stuffed cookies for your next baking session? The options are limitless!
Mochi Ice Cream Recipe FAQs
What kind of rice flour is best for making mochi?
Using glutinous rice flour, also known as sweet rice flour, is essential for achieving that delightful chewy texture in your mochi ice cream. Regular rice flour won’t provide the same stretchiness and consistency, so make sure you pick the right one!
How long can I store mochi ice cream in the freezer?
You can keep your mochi ice cream in an airtight container in the freezer for up to 3 months. Just remember to let them thaw for 5-10 minutes at room temperature before serving for the best texture.
Can I freeze mochi ice cream?
Absolutely! Once wrapped, place the mochi ice cream in the freezer for at least 1 hour to ensure they set correctly. You can freeze them for a longer period as mentioned above, making them a perfect treat to have on hand!
What should I do if my mochi dough is too sticky?
If your dough feels sticky, don’t worry! Lightly dust your work surface and hands with cornstarch. If it’s still too tacky, you can knead in a bit more cornstarch, but be careful not to overdo it, as that can alter the texture. Always ensure your workspace is well-dusted for easier handling.
Is mochi ice cream suitable for gluten-free diets?
Yes! Mochi ice cream is gluten-free as long as you use certified gluten-free glutinous rice flour. This makes it a perfect treat for friends and family who are avoiding gluten, so feel free to share the love without worries!
Can I use dairy-free options for this recipe?
Definitely! You can substitute regular milk with any dairy-free milk like almond, soy, or coconut milk, and choose a non-dairy ice cream for the filling. This way, everyone can enjoy your delicious mochi ice cream, regardless of dietary preferences!
Deliciously Customizable Mochi Ice Cream for Summer Bliss
Ingredients
Equipment
Method
- Start by scooping 2-3 tablespoons of your favorite ice cream into cupcake liners, shaping them into small balls. Place them in the freezer for at least 2 hours, or ideally overnight, until they are firm and easy to handle.
- In a microwaveable bowl, combine glutinous rice flour, granulated sugar, and milk, stirring to eliminate lumps. Cover the bowl and heat in the microwave for 1 minute.
- Stir the mixture and microwave for an additional 30 seconds to 1 minute until it becomes thick and slightly translucent.
- Dust a clean work surface with cornstarch. Transfer the hot mochi dough onto the surface, allow it to cool slightly, then knead for about 5 minutes until smooth and elastic.
- Use a rolling pin to roll out the dough to about 1/4 inch thick. Cut out circles with a cookie cutter.
- Place a mochi circle over one of your frozen ice cream balls and pinch the edges together to seal the ice cream inside.
- Place each wrapped piece seam-side down in cupcake liners and return to the freezer for at least 1 hour.