Advertisement
As I stirred the vibrant ingredients for my Zesty Chicken Enchilada Pasta Salad, the aroma of taco seasoning and tangy lime filled the kitchen, transporting me to sun-soaked summers. This dish is not just a salad; it’s a delightful fusion that captures the essence of traditional enchiladas while offering the light, refreshing appeal of pasta salad. Perfect for those sweltering days, it comes together in a flash, making dinner a breeze or a standout potluck option. The creamy enchilada sauce brings a satisfying touch that even the pickiest eaters in your family will adore. Are you ready to dive into a colorful medley that bursts with flavor?
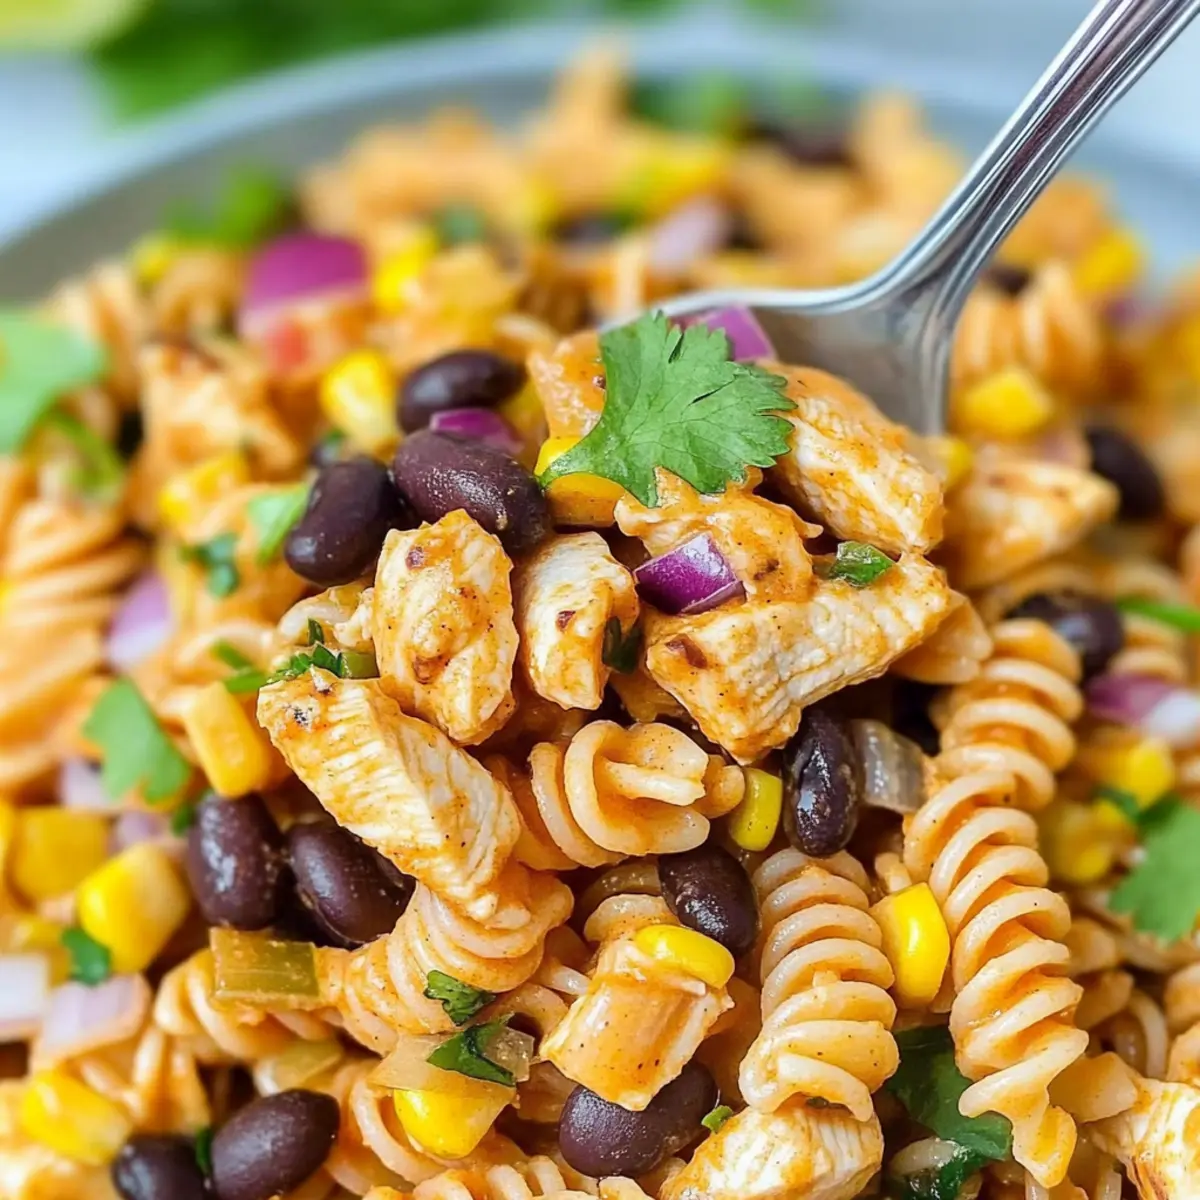
Why is this pasta salad a must-try?
Flavor Explosion: The creamy enchilada sauce mingles seamlessly with the zesty ingredients, creating a bowlful of bold, mouthwatering flavors.
Customizable: Ditch the jalapeños for a milder taste or swap out chicken for shrimp or tofu to cater to your family’s preferences.
Advertisement
Quick Prep: This salad comes together in under 30 minutes, perfect for busy weeknights or spontaneous gatherings.
Crowd-Pleaser: Its colorful presentation and vibrant flavors guarantee it will be a hit at potlucks or family dinners. Serve as a refreshing side or main course, just like my Cream Cheese Chicken for dinner tonight!
Nutritious Option: Packed with protein and fiber from chicken and black beans, this dish allows you to indulge without guilt while keeping the meal balanced.
Chicken Enchilada Pasta Salad Ingredients
For the Salad
- Chicken Breasts – Main protein; can substitute with shredded rotisserie chicken for quicker prep.
- Taco Seasoning – Adds spice and flavor; feel free to use store-bought or homemade for customization.
- Cooking Oil (Olive Oil) – Used for cooking the chicken; avocado oil or vegetable oil can work well too.
- Red Enchilada Sauce – Provides the signature flavor; Trader Joe’s version is great, but any brand or homemade will do!
- Sour Cream – Adds creaminess; Greek yogurt is a healthier substitute if desired.
- Lime Juice – Offers acidity and brightness; fresh lime is ideal, but bottled works in a pinch.
- Pasta (16 oz) – Base of the salad; rotini is commonly used, but any preferred pasta shape is suitable.
- Black Beans – Adds protein and fiber; rinse canned beans for the best texture, or swap with kidney beans if preferred.
- Yellow Corn – Adds sweetness and texture; use frozen or canned corn, making sure to drain it.
- Red Onion – Brings crunch and flavor; substitute with green onions for a milder taste if preferred.
- Jalapeño – Adds heat; omit for a milder dish or replace with bell peppers for color.
- Chopped Olives (Optional) – Briny flavor addition; feel free to exclude based on preference.
- Chopped Cilantro – For garnish and freshness; parsley can be used instead if cilantro isn’t your thing.
For the Dressing
- Creamy Enchilada Sauce – Mix of red enchilada sauce and sour cream for a rich, flavorful coat on your Chicken Enchilada Pasta Salad.
Step‑by‑Step Instructions for Chicken Enchilada Pasta Salad
Step 1: Prepare the Chicken
Begin by patting dry your chicken breasts with paper towels, ensuring they’re moisture-free. Sprinkle taco seasoning generously over both sides of the chicken. Heat a non-stick skillet over medium-high heat and drizzle in a couple of tablespoons of olive oil. Once shimmering, place the chicken in the skillet and cook for about 5-7 minutes per side until golden brown and the internal temperature reaches 165°F.
Step 2: Cool and Chop the Chicken
After cooking, transfer the golden-brown chicken to a cutting board and let it rest for about 10 minutes. This resting time helps retain moisture. Once cooled, chop the chicken into ½-inch cubes, creating tender morsels perfect for your Chicken Enchilada Pasta Salad.
Step 3: Whisk the Dressing
In a large mixing bowl, combine red enchilada sauce, sour cream, and lime juice. Using a whisk, blend these ingredients together until the mixture is smooth and creamy. This dressing will coat your pasta salad beautifully and infuse it with zesty flavor, creating that delightful fusion base.
Step 4: Combine the Ingredients
To the dressing, add the chopped chicken, cooked pasta, drained black beans, corn, red onion, jalapeño (if using), and olives (if desired). Gently toss all the ingredients until they are thoroughly combined and coated with the vibrant dressing, ensuring every bite of your Chicken Enchilada Pasta Salad is bursting with flavor.
Step 5: Garnish and Chill
Once well-mixed, sprinkle the chopped cilantro over the top of your salad for a fresh touch. Cover the bowl with plastic wrap or transfer the mixture to an airtight container. Refrigerate the Chicken Enchilada Pasta Salad for at least one hour to allow the flavors to meld together, creating a refreshing dish perfect for any occasion.
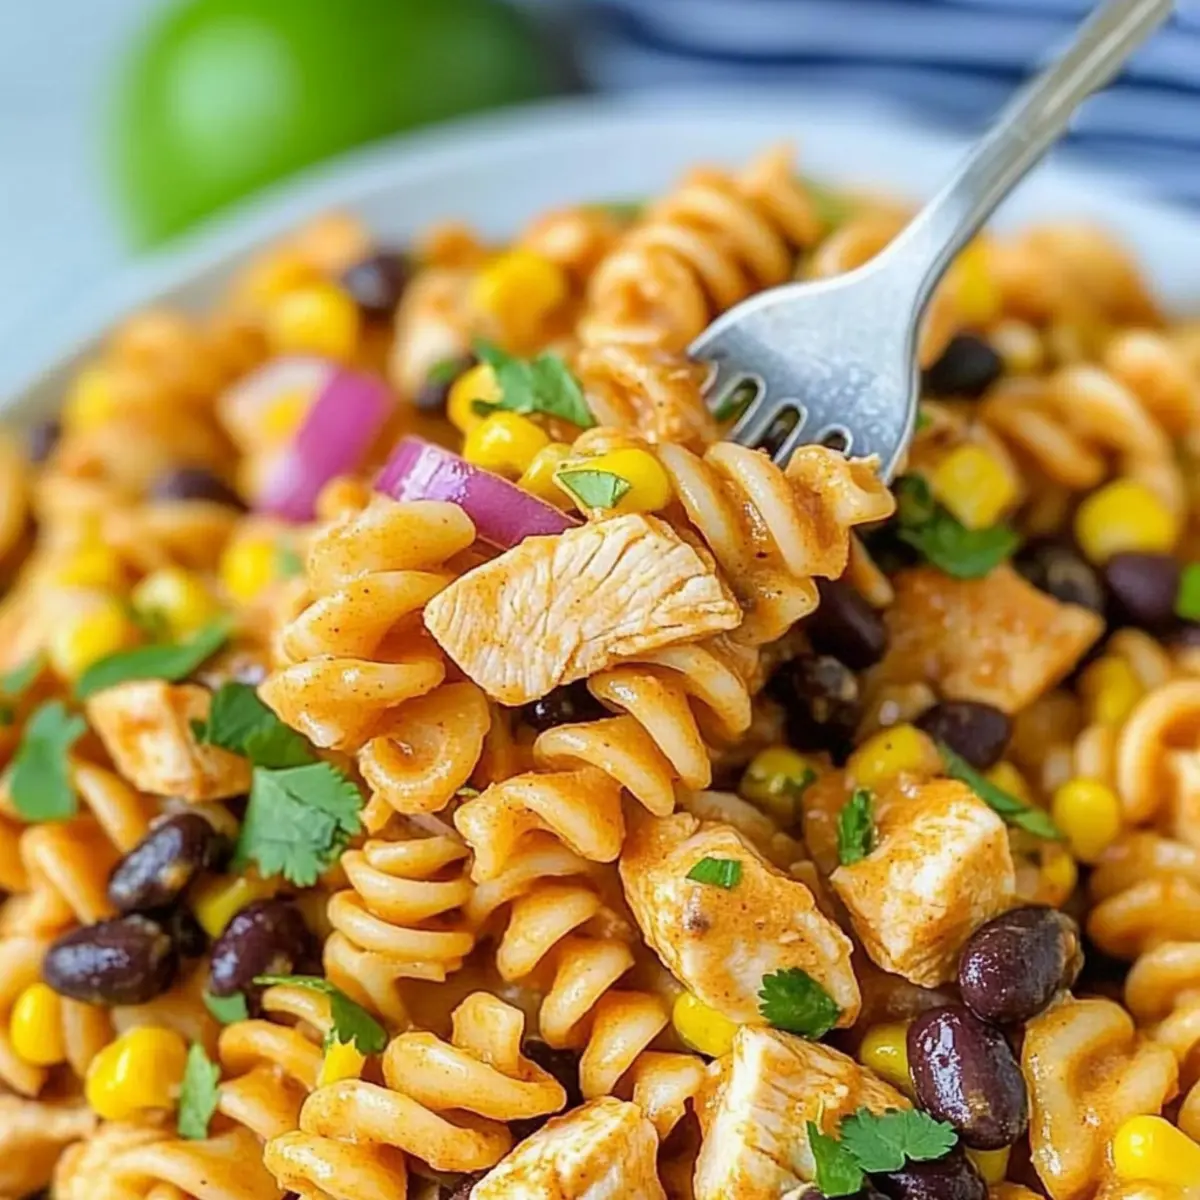
Chicken Enchilada Pasta Salad Variations
Feel free to get creative and personalize your salad to suit your taste and dietary needs!
- Vegetarian Option: Swap chicken for cooked shrimp or diced tofu for a delicious vegetarian version that’s still packed with protein.
- Extra Veggies: Add colorful bell peppers or juicy cherry tomatoes for a boost of nutrition and vibrant hues, making every bite more delightful.
- Pasta Choice: Change it up by using any pasta shape you enjoy—penne or fusilli work beautifully in this dish too.
- Creamy Twist: Replace sour cream with Greek yogurt for a tangy, lighter dressing that retains the creamy texture you love.
- Spicy Kick: Boost heat by incorporating more jalapeños or a dash of your favorite hot sauce. Spice it up as you desire!
- Fragrant Herb Swap: If you’re not a fan of cilantro, use fresh parsley or even basil for a different herbal note. Each brings its unique flair.
- Bean Alternatives: Experiment with chickpeas instead of black beans for a unique flavor and extra protein that will fill you up!
- Zesty Flavor: Add a splash of orange juice or some zest to enhance the brightness of the lime juice; it brings a refreshing citrus aroma.
Looking for more scrumptious chicken recipes? Check out my delicious Oven Baked Chicken or try a flavorful Healthy Southwest Chicken for a twist!
What to Serve With Zesty Chicken Enchilada Pasta Salad
Elevate your meal by pairing it with delicious sides that complement colors and textures, creating a feast your family will love.
- Creamy Guacamole: This rich avocado dip adds a luscious texture, perfect for scooping and enhancing the salad’s zesty flavors.
- Chips and Salsa: Crunchy tortilla chips with fresh, tangy salsa provide a satisfying contrast, perfect for munching alongside your pasta salad.
- Fresh Garden Salad: A mix of greens and vibrant veggies adds a refreshing crunch, balancing the creamy goodness of the pasta salad beautifully.
- Grilled Corn on the Cob: Sweet, smoky corn cobs bring a summery vibe; their natural sweetness pairs wonderfully with the salad’s flavors.
- Queso Dip: Creamy and cheesy, this savory dip complements the spiciness while adding an indulgent element to your meal.
- Limeade or Mango Agua Fresca: Refreshing drinks like tangy limeade or sweet mango agua frescas provide a refreshing palate cleanser and enhance the festive atmosphere.
- Churros with Chocolate Sauce: For a sweet finish, these warm, cinnamon-sugar-coated treats offer just the right amount of sweetness after the savory meal.
- Fajita-Style Grilled Vegetables: Colorful bell peppers and onions, lightly grilled, bring a charred flavor that pairs beautifully with the pasta salad’s zesty profile.
- Sliced Avocado: Simple yet elegant, slices of creamy avocado atop the salad give a delightful freshness that complements every bite.
How to Store and Freeze Chicken Enchilada Pasta Salad
Fridge: Store the Chicken Enchilada Pasta Salad in an airtight container in the refrigerator for up to 3 days. It keeps its flavor and texture well when stored properly.
Make-Ahead Tips: If you’re planning to serve it later, consider mixing the dressing with the salad ingredients just before serving to prevent it from becoming soggy over time.
Freezer: For long-term storage, you can freeze the Chicken Enchilada Pasta Salad without the dressing for up to 2 months. Thaw it in the fridge overnight before serving.
Reheating: If you prefer it warm, gently reheat individual portions in the microwave, but be mindful of the creamy dressing as it may not hold the same texture after freezing.
Make Ahead Options
These Zesty Chicken Enchilada Pasta Salad components are perfect for meal prep, allowing you to streamline your busy weeknights! You can prepare the chicken and dressing up to 24 hours in advance; simply cook the chicken and whisk together the enchilada sauce, sour cream, and lime juice. Store both in airtight containers in the refrigerator. For optimal quality, combine the cooked pasta, black beans, corn, and veggies only when you’re ready to serve, ideally within 3 days of prepping. This ensures that your pasta salad maintains its freshness and crunch. Just mix everything together, garnish with cilantro, and you’ll have a delicious and satisfying meal with minimal effort!
Expert Tips for Chicken Enchilada Pasta Salad
-
Pasta Perfection: Always salt the pasta water generously; it enhances the noodles’ flavor and prevents them from tasting bland.
-
Zesty Dressing: Use fresh lime juice for the best taste; adjust the acidity to suit your family’s preference for a zippy experience.
-
Spiciness Control: If desired, elevate spiciness with more jalapeños or a dash of hot sauce, but remember to balance heat for picky eaters.
-
Creamy Consistency: Mix the dressing ingredients thoroughly before adding the other components to ensure a creamy texture in your Chicken Enchilada Pasta Salad.
-
Chill Out: Let the salad rest in the fridge for at least an hour before serving; this allows flavors to meld beautifully for maximum enjoyment.
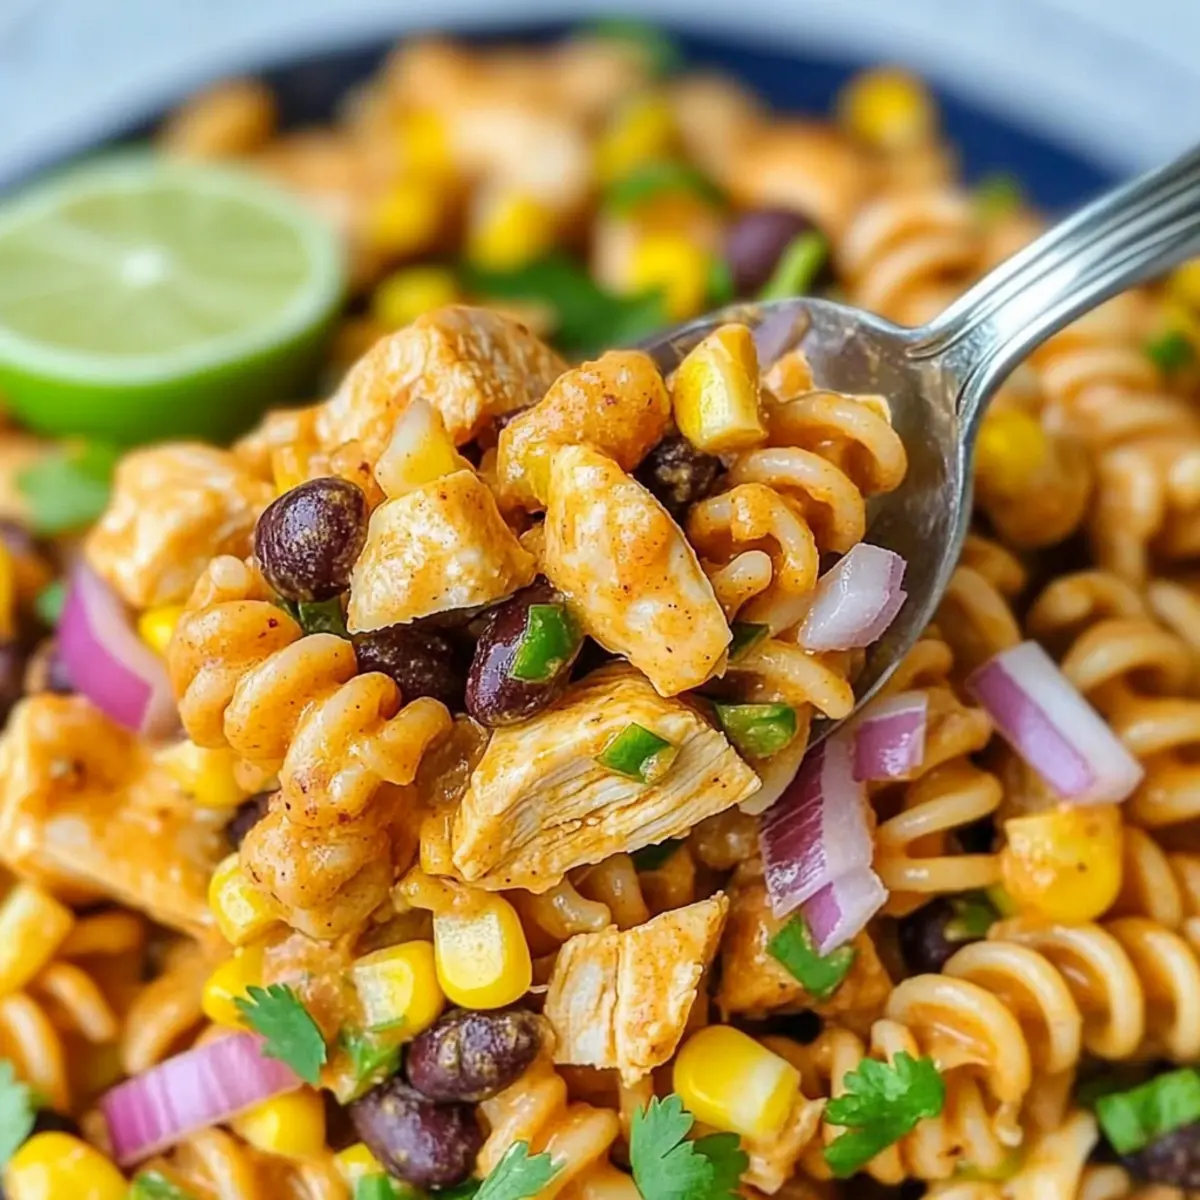
Chicken Enchilada Pasta Salad Recipe FAQs
What should I look for when selecting chicken?
Absolutely! Fresh chicken breasts should be pink with no dark spots or a foul odor. If you’re short on time, using shredded rotisserie chicken is a fantastic shortcut and will save you some prep time.
How long can I store the Chicken Enchilada Pasta Salad in the fridge?
You can store the Chicken Enchilada Pasta Salad in an airtight container in the refrigerator for up to 3 days. To maintain its flavor and texture, mix in the dressing just before serving if you’ve prepared it ahead of time.
Can I freeze Chicken Enchilada Pasta Salad?
Yes! For freezing, I recommend omitting the dressing and freezing the salad ingredients in an airtight container for up to 2 months. When you’re ready to serve, thaw it overnight in the refrigerator. You can then mix in the dressing fresh.
What if my pasta becomes mushy?
To avoid mushy pasta, make sure to cook it al dente, meaning it should still have a slight bite to it. Rinse it with cold water once drained to stop the cooking process, then toss it gently with the dressing and other ingredients.
Is this pasta salad suitable for my vegetarian friend?
Very! You can easily make the Chicken Enchilada Pasta Salad vegetarian by swapping the chicken with pan-seared tofu or sautéed veggies like bell peppers or zucchini. Also, ensure to use a vegetarian-friendly enchilada sauce and substitute the sour cream with a dairy-free alternative if needed.
Can I make this salad spicy?
Absolutely! If you want to amp up the heat, consider adding more jalapeños, or even a splash of hot sauce to your dressing. Just remember, you can always start with a little and add more until it’s at your desired spice level!
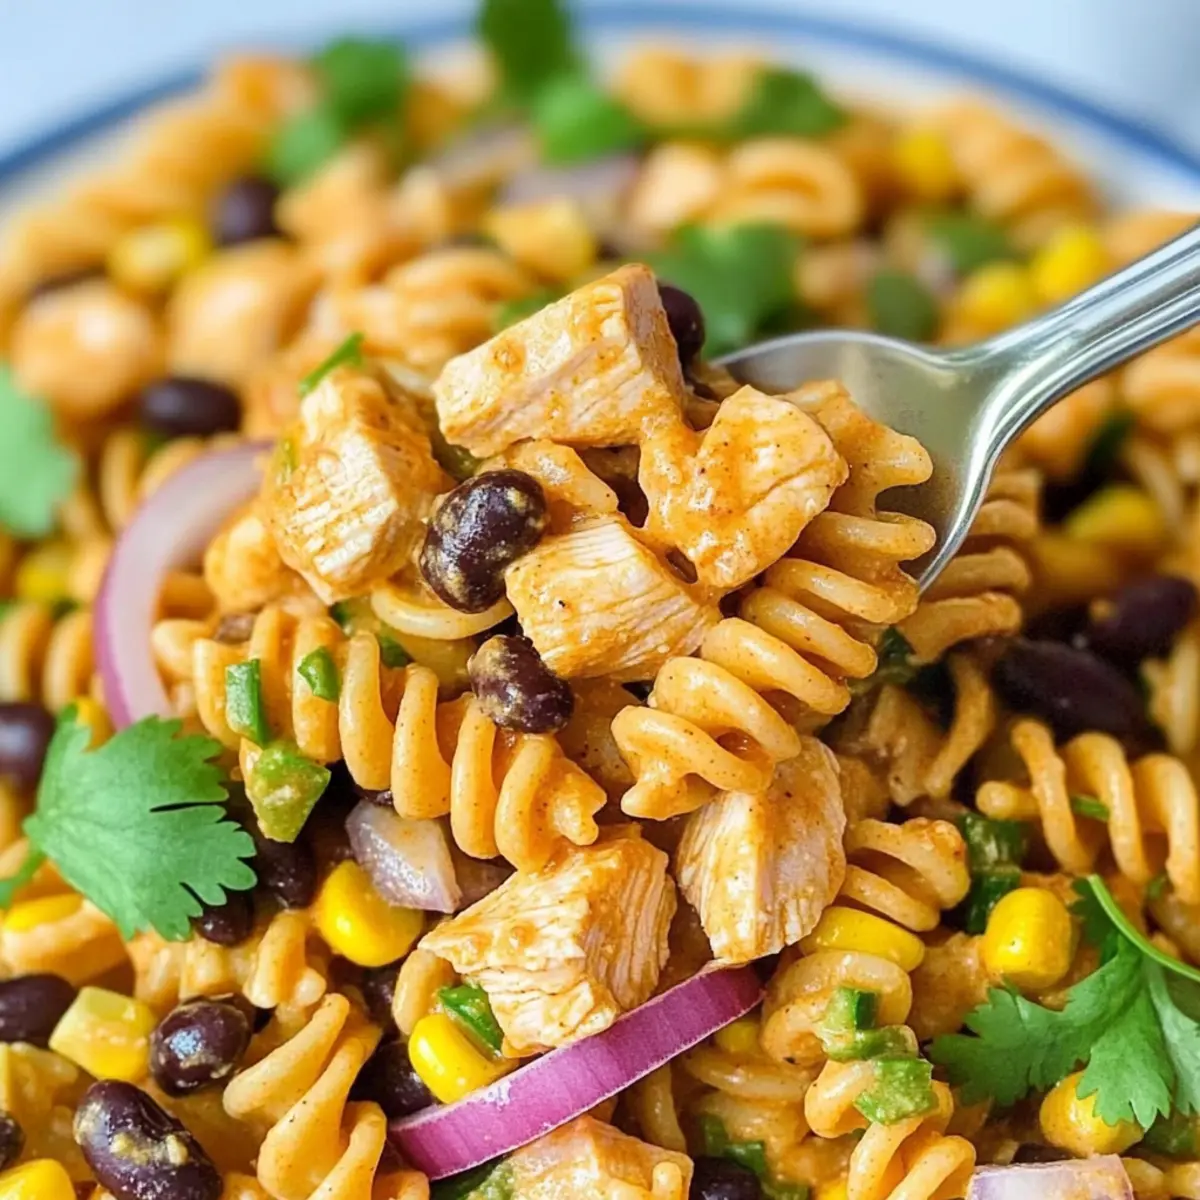
Delicious Chicken Enchilada Pasta Salad for Family Fun Nights
Ingredients
Equipment
Method
- Pat dry the chicken breasts and sprinkle taco seasoning over both sides. Heat olive oil in a non-stick skillet over medium-high heat, then cook the chicken for 5-7 minutes per side until golden and cooked through.
- Transfer the cooked chicken to a cutting board and let it rest for 10 minutes. Chop into ½-inch cubes.
- In a large mixing bowl, whisk together red enchilada sauce, sour cream, and lime juice until smooth.
- Add the chopped chicken, cooked pasta, black beans, corn, red onion, jalapeño, and olives to the dressing. Toss to combine thoroughly.
- Sprinkle with chopped cilantro and refrigerate for at least one hour before serving.