Advertisement
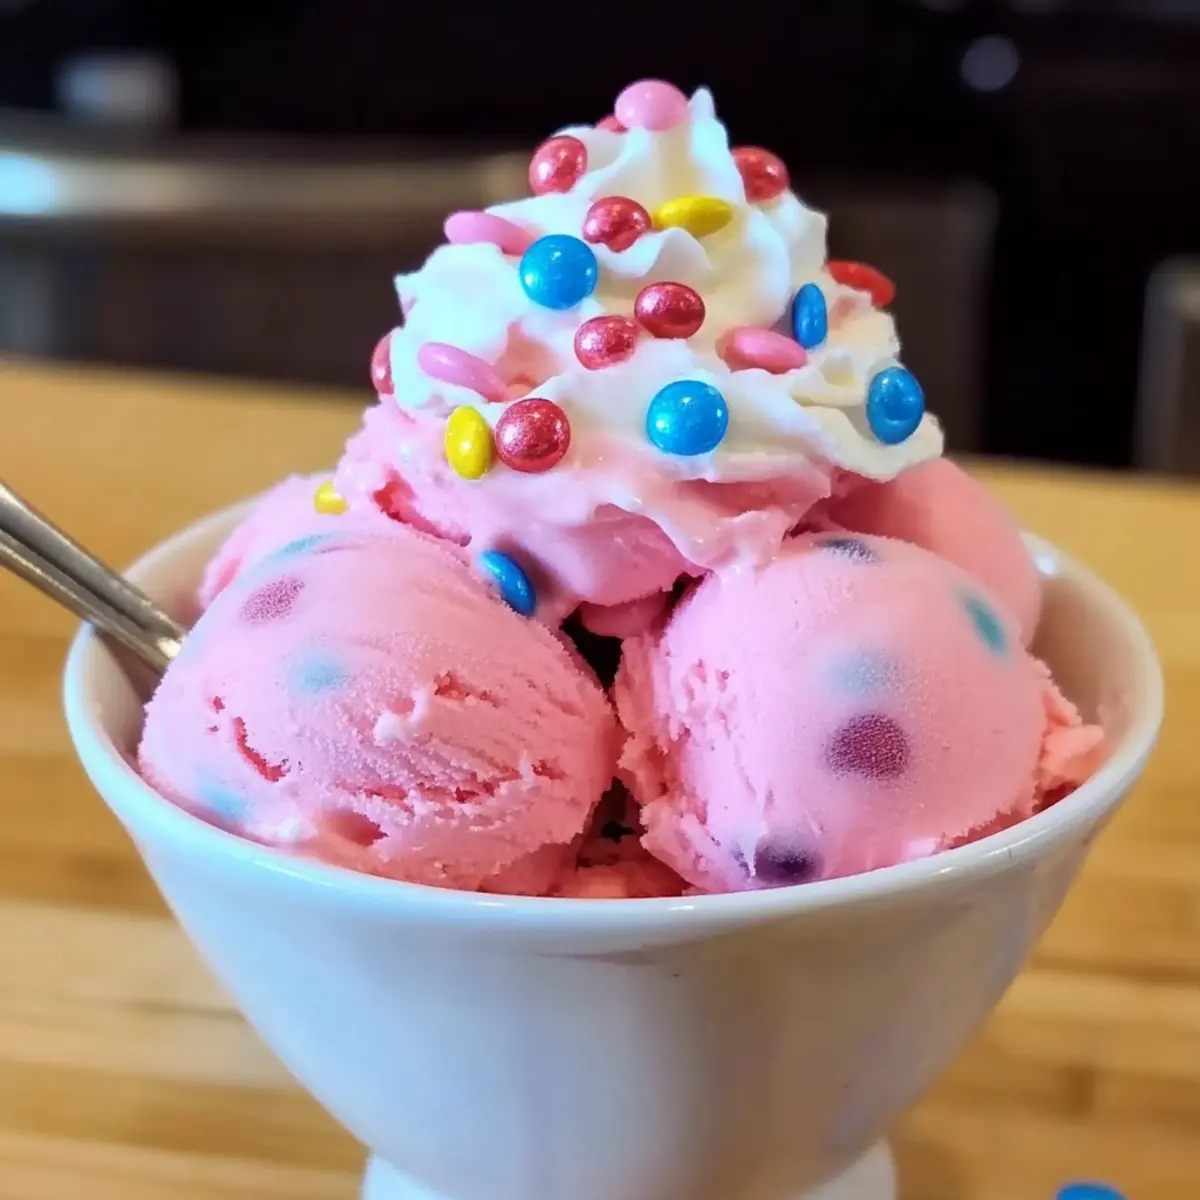
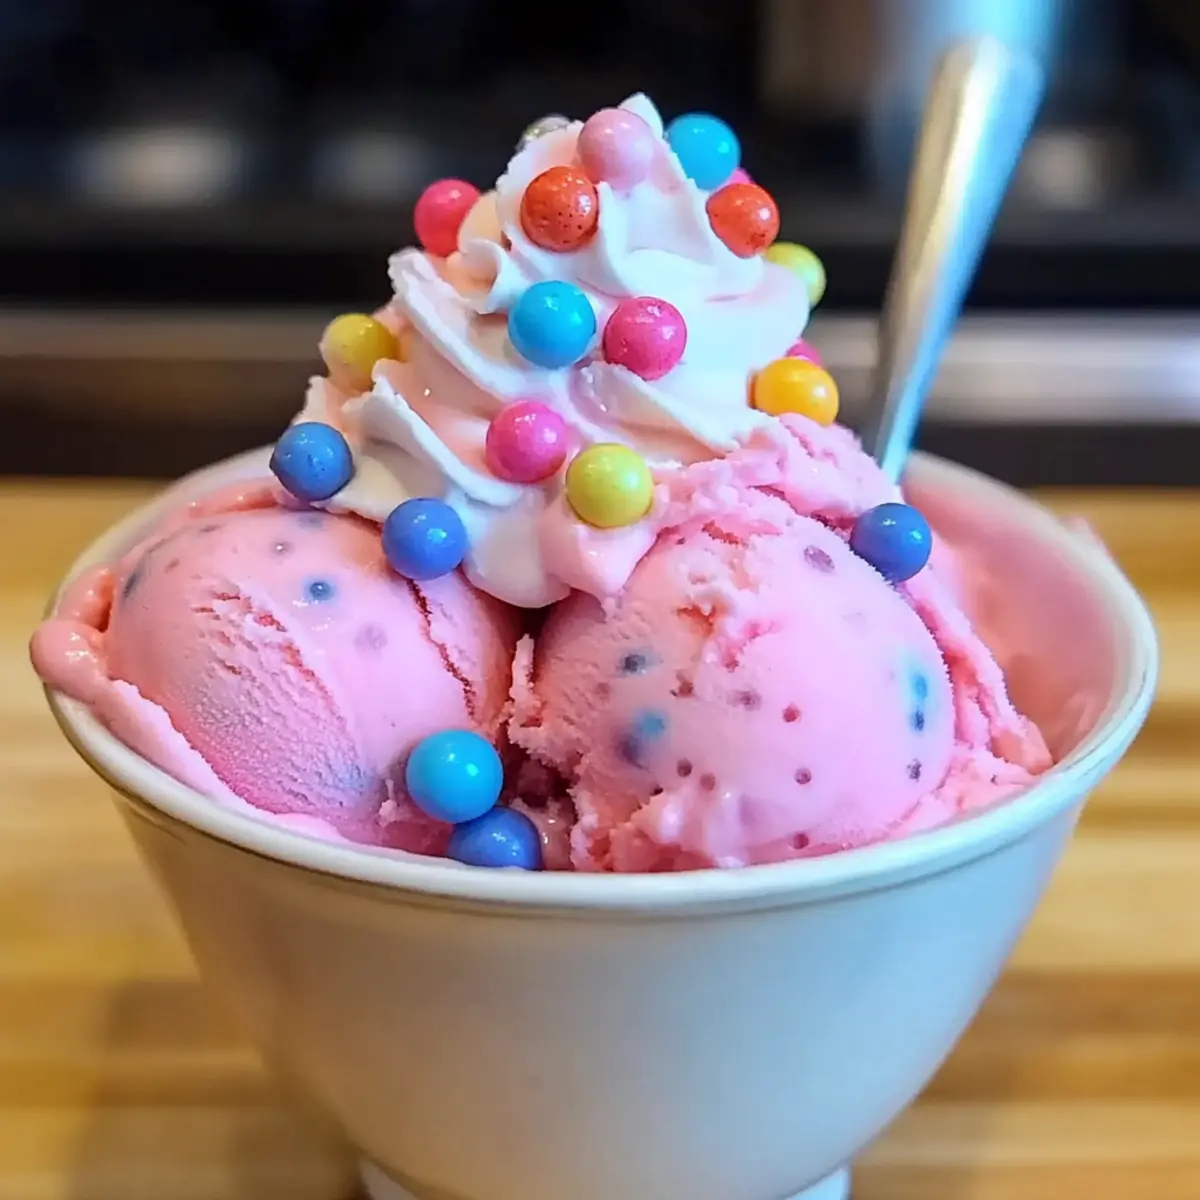
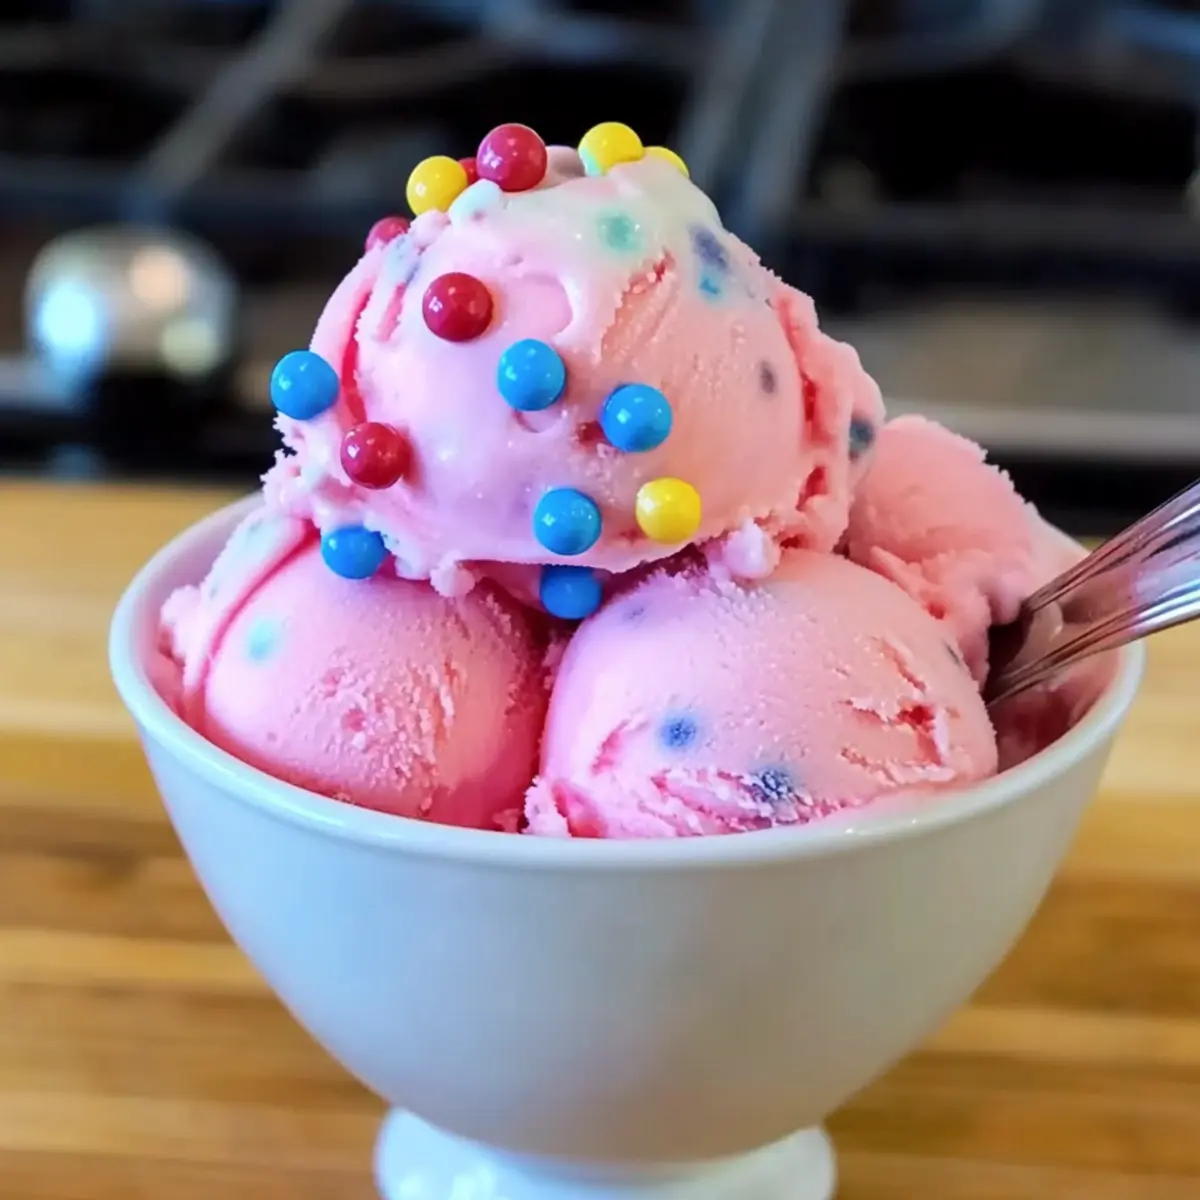
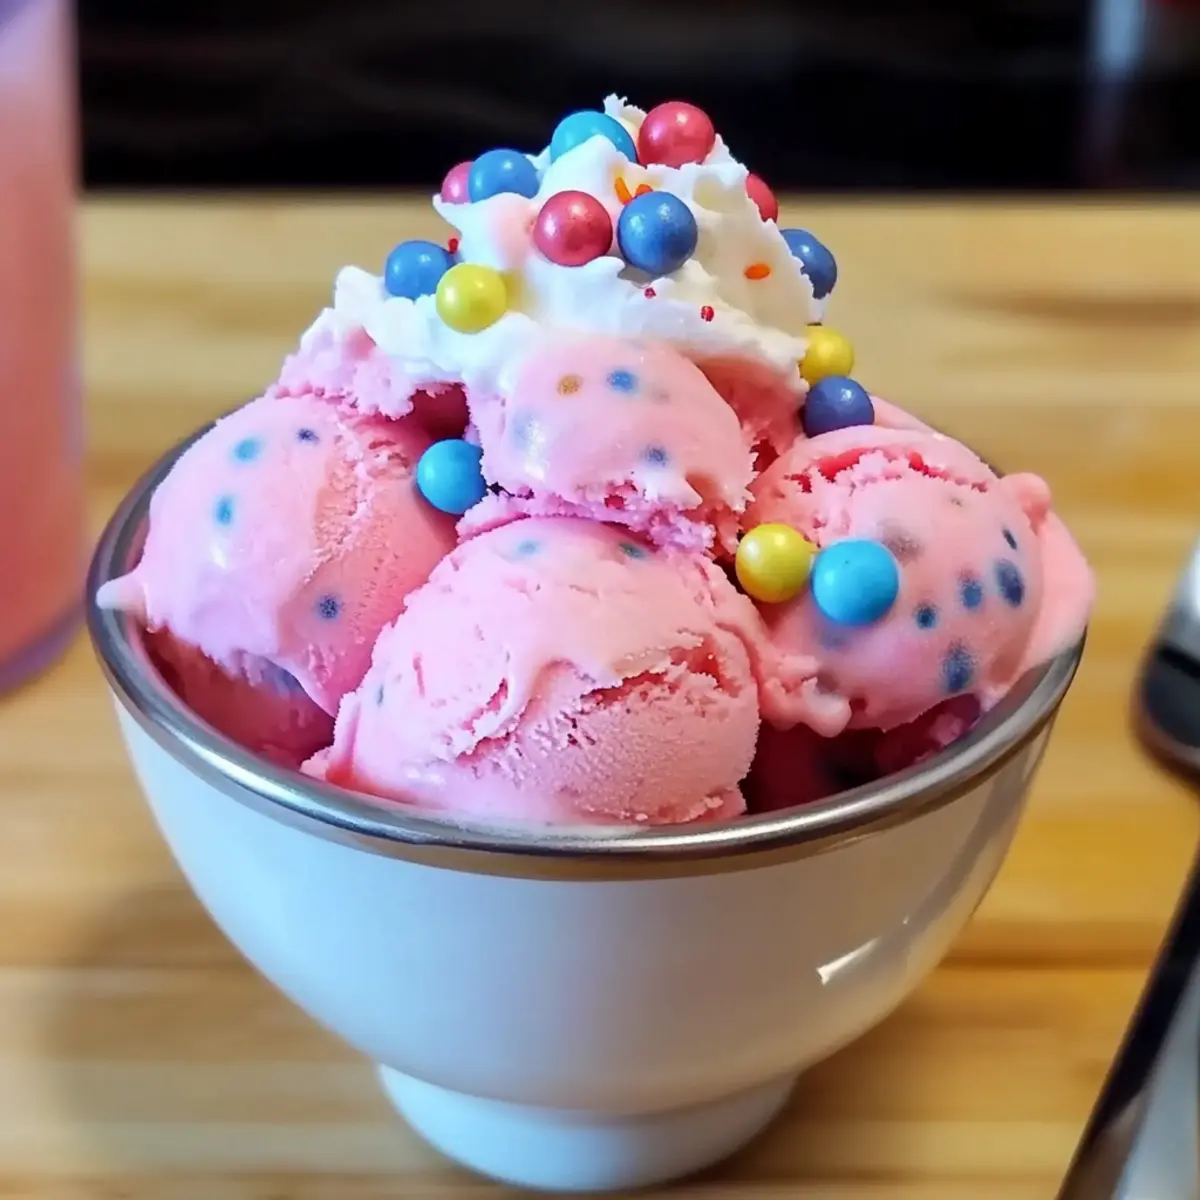
As I watched my little ones dive into their colorful popsicles, I couldn’t help but reminisce about the summer days spent indulging in bubblegum ice cream—each lick a dreamy trip back to my childhood. With this Nostalgic Homemade Bubblegum Ice Cream recipe, you can recreate that delightful creaminess at home, free of any artificial additives. Not only is it a fun way to treat the family, but it’s also a smooth, vegetarian-friendly dessert that’s perfect for warm evenings. Imagine the joy on their faces as they scoop into this vibrant pink treat; it’s bound to become a crowd favorite! Ready to make your own sweet memories?
Why Is Homemade Bubblegum Ice Cream Special?
Nostalgia at its finest: This bubblegum ice cream brings back memories of childhood summers, making every spoonful a sweet trip down memory lane.
Creamy & Rich: With the perfect blend of milk and heavy cream, it’s irresistibly smooth and indulgent.
No Artificial Additives: Enjoy peace of mind knowing this treat is crafted with everyday ingredients, unlike many store-bought versions.
Fun for Everyone: Kids and adults alike will be delighted—with a vibrant pink color and playful flavor, it’s a hit at parties!
Easy Preparation: Even if you’re not a pro in the kitchen, this recipe is simple to follow, making homemade ice cream achievable.
Add in toppings like crushed candies or whip up a float with lemonade for a refreshing twist on a classic—endless possibilities await! You might also enjoy trying Pistachio Cream Stuffed or treat yourself to some Orange Creamsicle Mini delights!
Bubblegum Ice Cream Ingredients
For the Ice Cream Base
• 45 pieces of Bazooka Bubblegum – The main flavor source, best known for its delightful dissolvable texture.
• 2 cups whole milk – This provides creaminess and a rich liquid base; substitute with full-fat coconut milk for a dairy-free option.
• 1 cup heavy cream – Adds the essential richness; can be replaced with cashew cream for a vegan touch.
• 2-3 tablespoons sugar – Enhances sweetness; start with 2 tablespoons and adjust based on your taste preferences.
• Pinch of salt – Balances sweetness and brings out the full flavor of the ice cream.
Advertisement
For Thickening
• 2 tablespoons cornstarch – Acts as a thickening agent to achieve that creamy texture essential for smooth homemade bubblegum ice cream.
• 2 tablespoons milk (for cornstarch slurry) – This helps dissolve the cornstarch for an even consistency when added to the mixture.
Step‑by‑Step Instructions for Nostalgic Homemade Bubblegum Ice Cream
Step 1: Prepare the Cornstarch Slurry
In a small bowl, mix 2 tablespoons of milk with the cornstarch until smooth; set this slurry aside. This step is crucial for ensuring a creamy texture in your Bubblegum Ice Cream, so make sure the mixture is lump-free and well combined.
Step 2: Blend Ingredients
In a blender, add the 45 pieces of Bazooka Bubblegum, whole milk, and heavy cream. Blend on high until the mixture is completely pureed, taking about 1-2 minutes. You want a smooth, pink base that embodies the classic bubblegum flavor, so be thorough!
Step 3: Heat Mixture
Pour the blended mixture into a saucepan, then add 2-3 tablespoons of sugar and a pinch of salt. Heat the mixture over medium heat, stirring frequently to prevent sticking, until it begins to simmer. Watch for tiny bubbles to form at the edges, usually around 5-7 minutes.
Step 4: Thicken with Cornstarch
Reduce the heat to low and whisk in your prepared cornstarch slurry. Continue to cook while whisking for about 3-5 minutes, or until the mixture thickens and coats the back of a spoon. This step ensures your ice cream will be delightfully creamy, so keep an eye on the texture!
Step 5: Cool the Mixture
Once thickened, transfer the mixture into a Ziploc bag and place it in an ice water bath. Allow it to sit for around 15-20 minutes until completely cooled. This chilling step is essential for the perfect consistency in your homemade bubblegum ice cream.
Step 6: Strain Mixture
Use a fine mesh strainer lined with cheesecloth to strain the mixture several times into a bowl. This helps to remove any sticky gum residues, ensuring a smooth and delightful texture in your final Bubblegum Ice Cream. Patience is key—take your time here!
Step 7: Churn Ice Cream
Pour the strained base into your ice cream maker and churn according to the manufacturer’s instructions, which typically takes about 20-25 minutes. Keep an eye on the mixture; it should double in volume and become thick and airy, perfect for a nostalgic treat!
Step 8: Freeze
Transfer your churned ice cream into an airtight container and freeze for at least 4 hours before serving. This final freezing step allows the ice cream to fully set and gain its ideal scoopable consistency, making every bite of your homemade bubblegum ice cream a joyful experience!
How to Store and Freeze Bubblegum Ice Cream
Fridge: Store leftover bubblegum ice cream in an airtight container for up to 3 days. However, for the best texture, freezing is recommended.
Freezer: Keep the ice cream in an airtight container in the freezer. It’s best enjoyed within 1-2 weeks for optimal flavor and creaminess.
Reheating: If the ice cream is too hard to scoop, let it sit at room temperature for 5-10 minutes before serving to soften slightly.
Wrap for Freshness: For longer storage, consider wrapping the ice cream container with plastic wrap before sealing it tightly; this helps prevent freezer burn.
Expert Tips for Homemade Bubblegum Ice Cream
- Quality Gum Matters: Use classic Bazooka bubblegum for the best flavor and dissolvable texture; avoid sugar-free options that don’t break down well.
- Prevent Graininess: Make sure to keep the milk mixture from boiling during heating; it can cause a grainy texture in the final ice cream.
- Thorough Straining: Strain the mixture multiple times to eliminate any stubborn gum residues—this step is key for a smooth Bubblegum Ice Cream.
- Chill Properly: Chill the mixture completely before churning; it’s crucial for creating that light and creamy consistency.
- Scoop with Ease: Let the ice cream sit at room temperature for 5-10 minutes after freezing to make scooping easier when it’s time to serve.
Make Ahead Options
These Bubblegum Ice Cream preparations are perfect for busy home cooks looking to save time! You can prepare the ice cream base (the blended mixture from steps 1-3) up to 24 hours in advance. Simply blend the bubblegum, milk, and cream, and store it in an airtight container in the refrigerator to keep its vibrant color and flavor. If you’re short on time, you can also mix the cornstarch slurry upfront and keep it in the fridge. When you’re ready to finish, simply heat the base and thicken it with the slurry (steps 4-5), then continue with the straining and churning steps as usual. Your homemade bubblegum ice cream will be just as delicious and ready to delight!
Bubblegum Ice Cream Variations & Substitutions
Feel free to add your personal touch to this delightful bubblegum ice cream with these fun variations and substitutions!
-
Dairy-Free: Substitute whole milk and heavy cream with full-fat coconut milk and cashew cream for a creamy, dairy-free delight.
Give your non-dairy friends a reason to celebrate with this version that doesn’t compromise on flavor. -
Flavor Explore: Swap out Bazooka bubblegum for other classic gum brands or natural bubblegum flavoring for a new twist.
Your taste buds will thank you as you create unique flavors with a familiar vibe. -
Sweetness Adjustment: Use honey or maple syrup in place of sugar for a naturally sweetened ice cream.
This swap adds a lovely depth and warmth, enhancing the nostalgia while balancing the sweetness. -
Mini Candy Surprise: Fold in some pastel mini marshmallows or gummy bears before freezing for a delightful chewy addition.
Every scoop will become a treasure hunt of flavor and texture that kids will adore! -
Fruit Fusion: Mix in finely chopped fresh strawberries or blueberries to bring a fruity dimension to your bubblegum experience.
This twist not only brightens up the flavor but also adds vibrant color and nutrition to your treat. -
Chilled Floats: Transform your bubblegum ice cream into a float by pairing it with fruity soda or lemonade.
The fizzy kick adds a perfect refreshment and makes for a playful summer drink everyone will love! -
Gourmet Topping: Drizzle on warm chocolate sauce or caramel for an indulgent treat that elevates the flavor profile.
Each bite will be a decadent adventure that combines nostalgia with a gourmet touch. -
Crunchy Texture: Incorporate crushed waffle cones or sprinkle crushed candies on top before serving for added crunch.
The contrast of textures takes this creamy treat to another level, making it a feast for both the eyes and palate!
With so many options, the fun never ends! Your homemade bubblegum ice cream can evolve into various delightful versions—just like making cherished memories in your kitchen. Enjoy exploring all the delicious possibilities!
What to Serve with Nostalgic Homemade Bubblegum Ice Cream
Imagine a summer evening, laughter echoing as scoops of bubblegum ice cream bring sweetness to every corner of the backyard.
- Waffle Cones: The crispy texture of waffle cones perfectly contrasts the creamy ice cream, adding a delightful crunch in every bite.
- Fresh Berries: Juicy strawberries or blueberries add a refreshing tartness that balances the sweetness of the bubblegum flavor beautifully.
- Chocolate Sauce: Drizzling rich chocolate sauce creates a decadently indulgent treat, enhancing the fun flavors and making each scoop more exciting.
- Homemade Whipped Cream: Light and airy whipped cream adds an elegant touch, plus it complements the vibrant sweetness of the ice cream perfectly.
- Sprinkles Galore: Colorful sprinkles not only enhance the visual appeal but add a playful texture that kids adore.
- Soda Float: Add a scoop of bubblegum ice cream to lemon-lime soda for a fizzy twist that captures the spirit of summer treats.
- Crushed Candy Topping: Topping with crushed candies or gummies brings an extra layer of sweetness and fun, reminiscent of a classic ice cream shop experience.
- Minty Lemonade: Serve with a glass of zesty mint lemonade for a refreshing contrast that will leave everyone asking for more!
Bubblegum Ice Cream Recipe FAQs
What kind of bubblegum should I use for the ice cream?
Absolutely! I recommend using classic Bazooka bubblegum for the best flavor and texture, as it dissolves nicely when blended. Avoid sugar-free gum, as it typically doesn’t break down well and won’t provide the same nostalgic taste.
How long can I store homemade bubblegum ice cream?
Homemade bubblegum ice cream can be stored in an airtight container in the freezer for up to 1-2 weeks. For the best flavor and creaminess, enjoy it within this timeframe. However, you can keep it for up to 3 days in the fridge if you prefer.
Can I freeze bubblegum ice cream for longer storage?
Definitely! If you plan to keep it longer than 1-2 weeks, wrap the airtight container with plastic wrap before sealing it tightly. This extra layer helps prevent freezer burn and keeps your ice cream fresh for up to 3 months. Just remember, you might want to let it sit at room temperature for 5-10 minutes before scooping if it’s frozen solid.
What should I do if my mixture becomes grainy?
To avoid a grainy texture, ensure the milk mixture does not boil when heating. If your mixture does become grainy, try whisking it vigorously while heating to help smooth it out. Additionally, straining the mixture thoroughly will help remove any stickiness from the gum that might cause graininess.
Is this recipe safe for children or those with allergies?
This bubblegum ice cream is vegetarian-friendly and does not contain any artificial additives. However, be mindful of bubblegum and dairy allergies. Always check the ingredient labels to ensure it’s safe for anyone with specific dietary restrictions or allergies. If needed, substitute whole milk and heavy cream with dairy alternatives like coconut or cashew cream.
How can I enhance the flavor or presentation of my bubblegum ice cream?
Very much! You can elevate your bubblegum ice cream by adding toppings like crushed candies, sprinkles, or even fresh fruit for a fun twist. You might also consider creating a bubblegum float by adding a scoop of your homemade ice cream to lemonade or soda—it’s a refreshing and delightful way to enjoy this nostalgic treat!
Homemade Bubblegum Ice Cream That Sparks Joy and Nostalgia
Ingredients
Equipment
Method
- In a small bowl, mix 2 tablespoons of milk with the cornstarch until smooth; set this slurry aside.
- In a blender, add 45 pieces of Bazooka Bubblegum, whole milk, and heavy cream. Blend until completely pureed, about 1-2 minutes.
- Pour the blended mixture into a saucepan, adding 2-3 tablespoons of sugar and a pinch of salt. Heat over medium while stirring until it simmers, about 5-7 minutes.
- Reduce heat to low, whisk in the cornstarch slurry, and cook while whisking for 3-5 minutes until thickened.
- Transfer the mixture to a Ziploc bag and place in an ice water bath for 15-20 minutes until cooled.
- Use a fine mesh strainer lined with cheesecloth to strain the mixture into a bowl, removing any sticky gum residues.
- Pour the strained base into your ice cream maker and churn according to manufacturer's instructions for 20-25 minutes.
- Transfer the churned ice cream to an airtight container and freeze for at least 4 hours before serving.