Advertisement
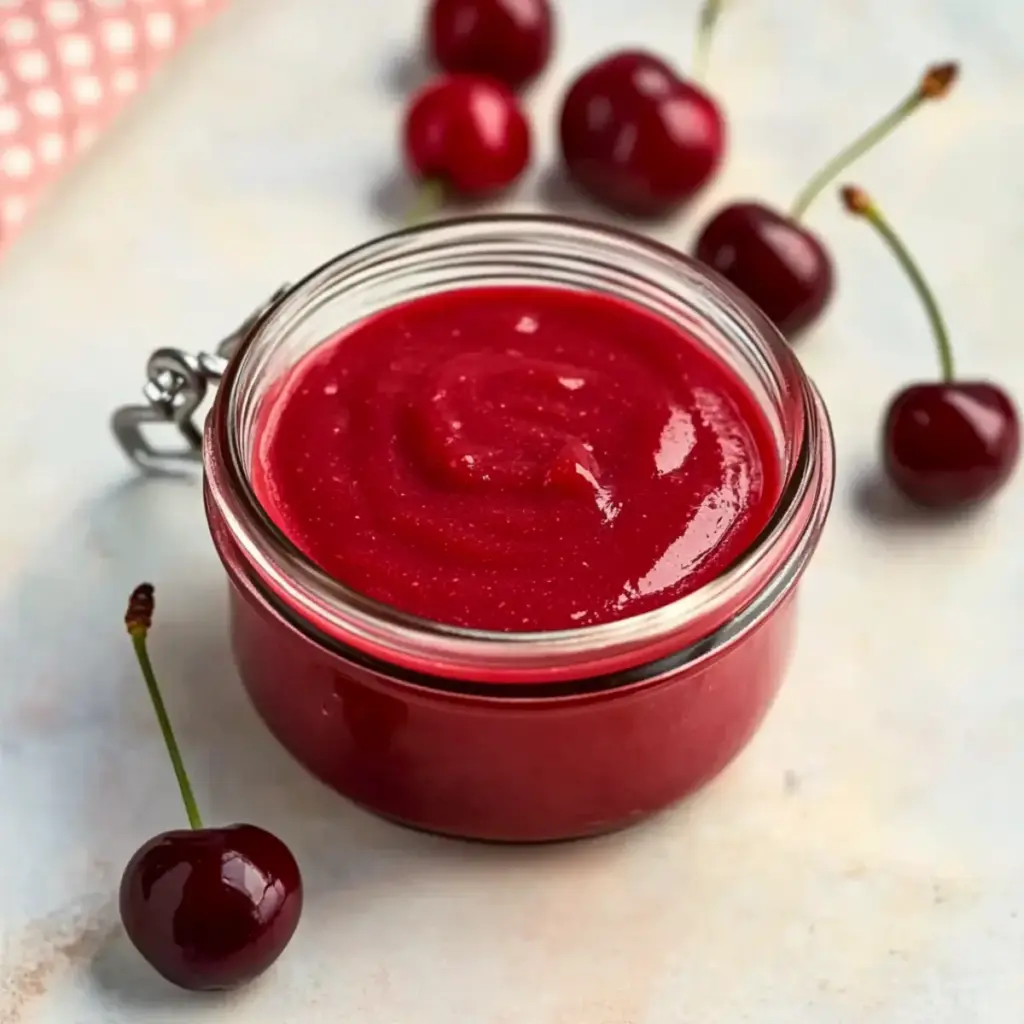
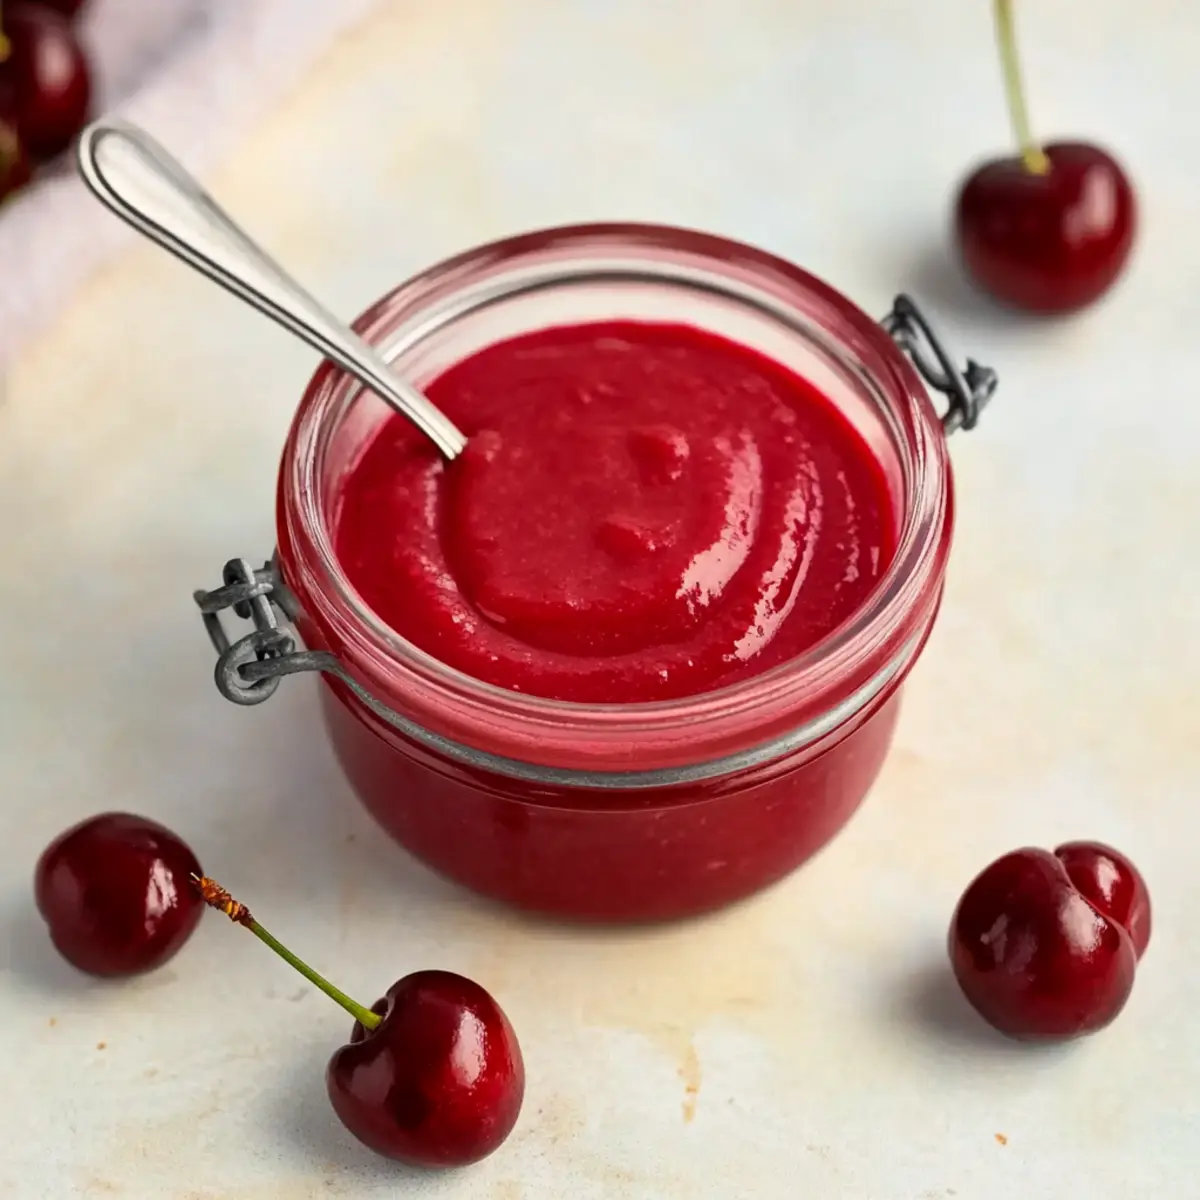
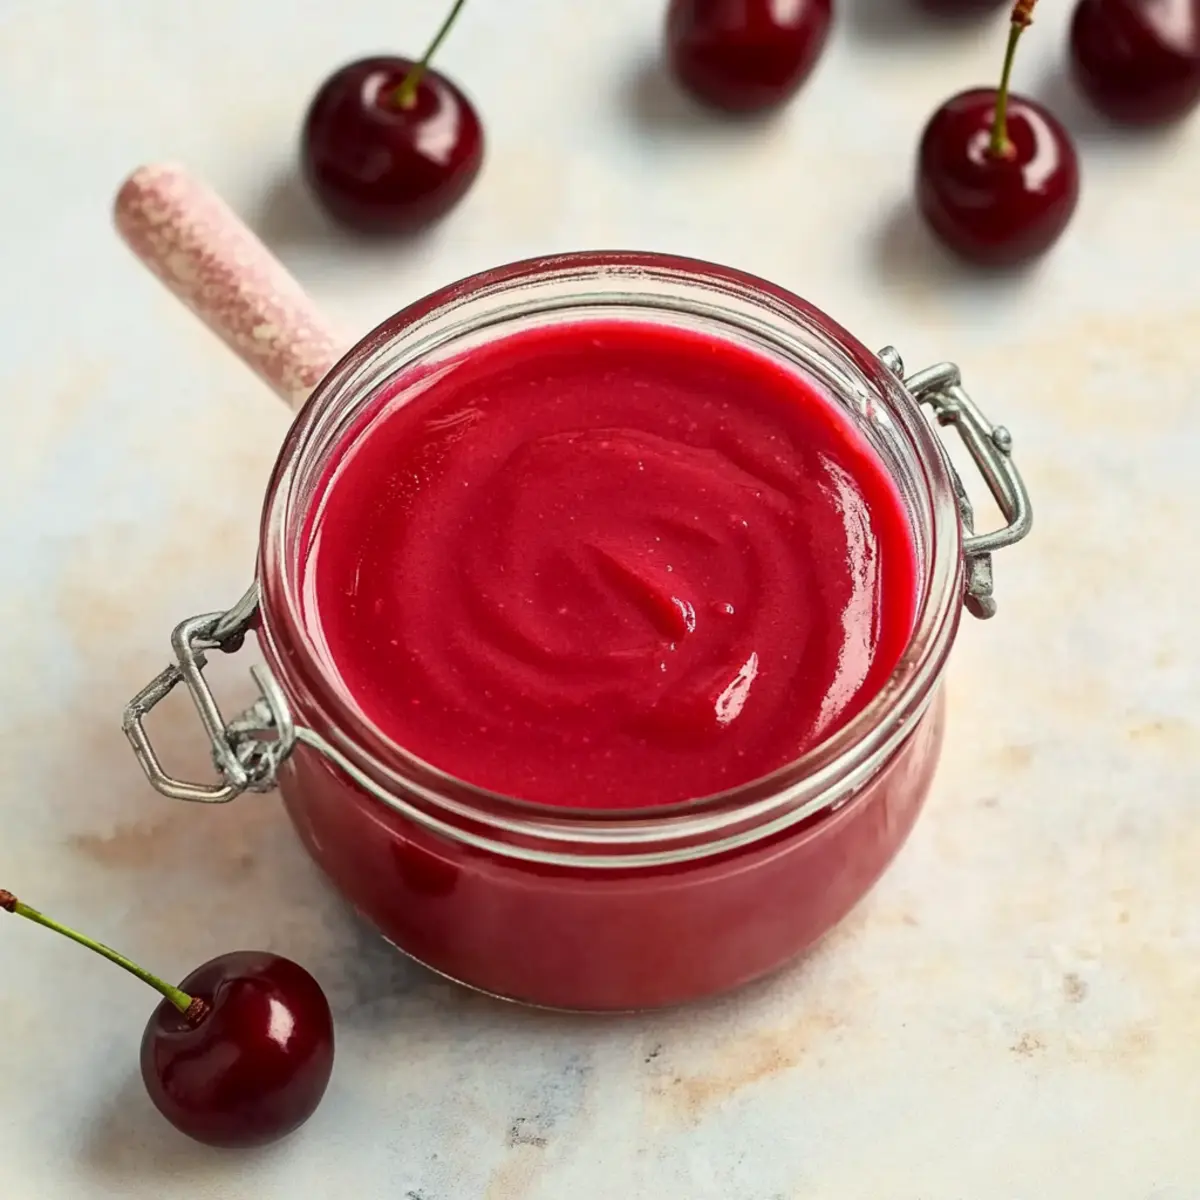
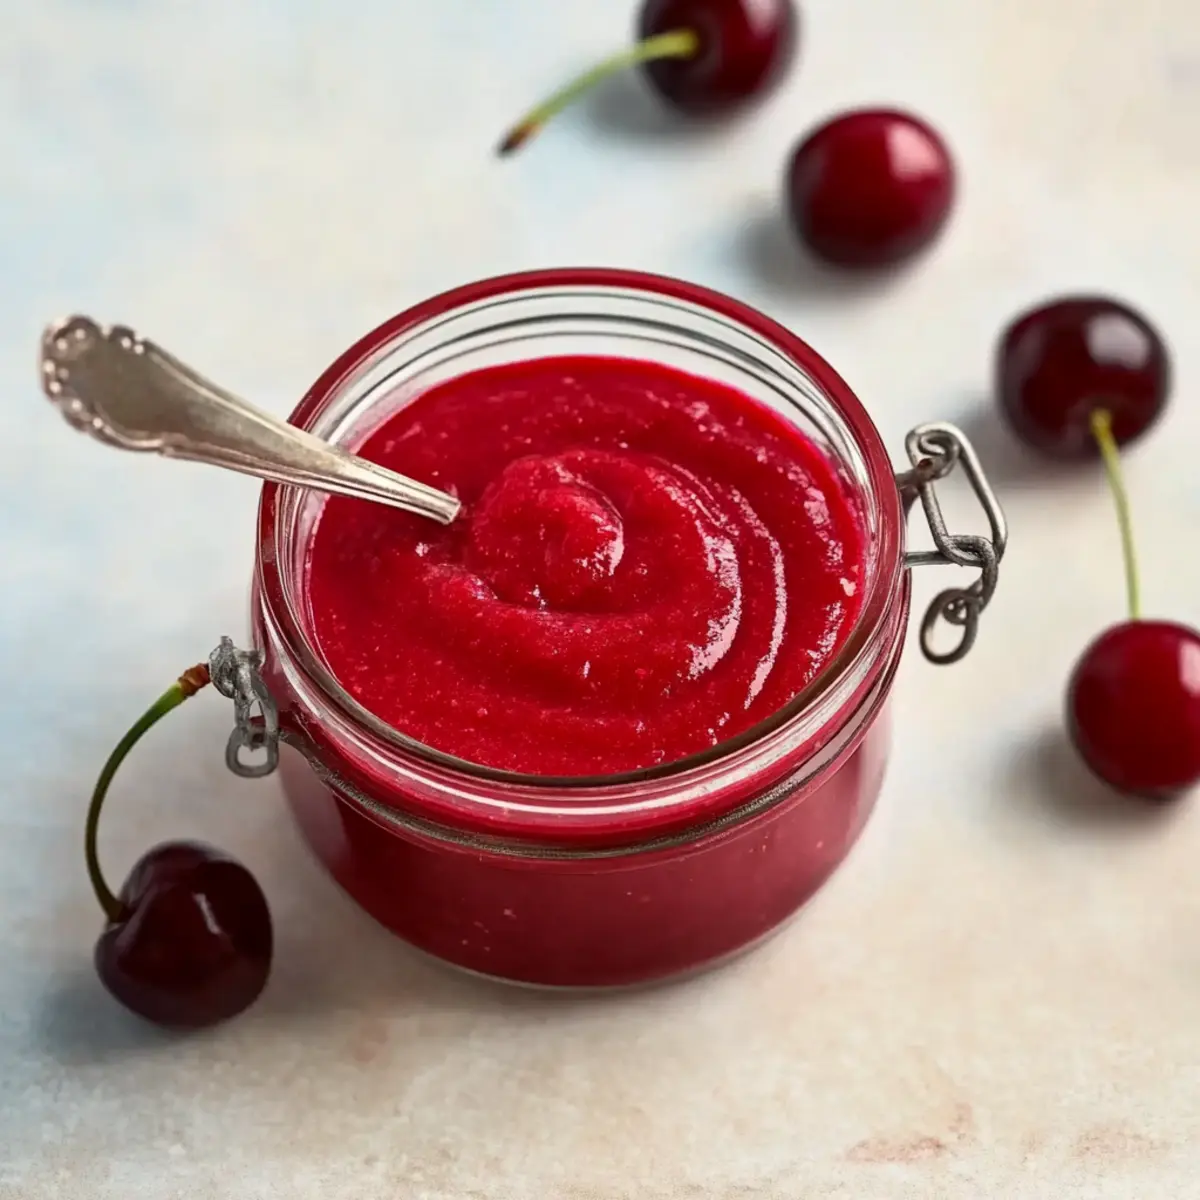
You’ll be amazed at how something so simple can transform your desserts into an exquisite delight with just a single spoonful. Cherry curd is my new obsession, and I think you’ll love it too! This vibrant fruit spread brings together the perfect balance of tart and sweet, making it an ideal companion for everything from pancakes to pastries. Plus, this easy-to-make recipe uses fresh cherries that not only deliver a luscious texture but also flood your kitchen with an irresistible aroma. In just a short time, you’ll have a delightful homemade cherry curd that satisfies sweet cravings and feels gourmet—without the fuss. Are you ready to elevate your dessert game and impress your family and friends? Let’s dive into crafting this delicious cherry curd together!
Why is Cherry Curd a Must-Try?
Irresistible Flavor: The blend of tart cherries and sweet sugar creates a uniquely delightful taste that will have everyone reaching for more.
Versatile Treat: Use it as a topping for pancakes, an ice cream swirl, or even as a cake filling. The possibilities are endless!
Advertisement
Quick & Easy: In just a few steps, you can whip up this delicious spread that feels gourmet but is surprisingly simple.
Perfect for Any Occasion: Whether it’s a breakfast treat or a fancy dessert, cherry curd will impress your guests and elevate your meal.Inspired? Use it alongside Moist Chocolate Cherry Cake for a decadent dessert experience.
Homemade Goodness: Nothing beats the satisfaction of making this fruity curd from scratch, using fresh ingredients that bring vibrant flavors to your table!
Cherry Curd Ingredients
For the Curd
• Cherries – Use 1 pound (about 450g) of fresh, frozen, or strained canned cherries for that signature cherry flavor.
• Lemon – Juice of half a medium lemon enhances the flavor by adding a delightful acidity.
• White Sugar – About ~3/8 cup (80g) sweetens the curd, balancing the tartness of the cherries; adjust based on the sweetness of your fruit.
• Eggs – Requires 2 large whole eggs and 4 large egg yolks to provide richness and structure to the curd.
• Butter – 4 oz (~113g) of unsalted butter, chopped, lends creaminess and smoothness to the final product.
Optional
• Strained Mixture – Strain the curd again for an ultra-smooth texture that elevates its gourmet appeal.
This Cherry Curd will transform your desserts, so gather these ingredients and let’s get cooking!
Step‑by‑Step Instructions for Cherry Curd
Step 1: Prepare Cherries
Begin by pitting 1 pound of fresh cherries and placing them in a medium pot with just enough water to cover the bottom. Cook the cherries over low heat for about 10 minutes until they release their juices. Once softened, transfer the mixture to a blender, puree until smooth, then strain through a fine mesh sieve, discarding the solids to achieve a luscious cherry puree.
Step 2: Juice Lemon
While the cherry puree cools, squeeze the juice from half a medium lemon into a small bowl. Set this aside, as the lemon juice will add a delightful acidity to your cherry curd, enhancing its flavors. Make sure to remove any seeds for a smooth mixture, letting the vibrant citrus finish elevate the sweetness of the cherries.
Step 3: Prep Egg Mixture
In a heatproof mixing bowl, whisk together 2 large whole eggs and 4 large egg yolks with about 3/8 cup of white sugar until the mixture is light and creamy. This should take about 1-2 minutes. The color should brighten, indicating that the sugar is dissolving and the eggs are emulsifying, which will help create a rich texture in your cherry curd.
Step 4: Heat Puree
Next, combine the strained cherry puree and the prepared lemon juice in a saucepan over medium heat. Cook this mixture until it starts to bubble gently, approximately 5-7 minutes. You’ll know it’s ready when the color deepens and the mixture becomes aromatic. Remove it from heat, and keep it close at hand for the next step to avoid cooling too much.
Step 5: Temper Eggs
To temper the egg mixture and prevent curdling, slowly drizzle the hot cherry puree into the egg and sugar blend while continuously whisking. This process, which should take about 2 minutes, gently raises the temperature of the eggs without cooking them, ensuring a smooth texture in your final cherry curd.
Step 6: Thicken Curd
Return the combined mixture to the saucepan and heat it over low heat. Stir continuously for about 5-10 minutes until the mixture thickens and coats the back of a spoon. You’ll know it’s done when it holds a defined line when you run your finger through it. This step is crucial for achieving that creamy cherry curd consistency.
Step 7: Incorporate Butter
Once thickened, remove the saucepan from the heat and immediately stir in 4 ounces of chopped unsalted butter. Continue stirring until the butter is fully melted and incorporated, creating a silky texture. The warmth of the curd will help this process, giving you a beautifully smooth cherry curd that just glistens.
Step 8: Taste and Adjust
After mixing in the butter, take a moment to taste your cherry curd. If you find it needs a bit more zing, add an extra squeeze of lemon juice. Conversely, if you desire more sweetness, sprinkle in a bit more sugar and stir to combine. This is your chance to tailor the flavor perfectly to your liking!
Step 9: Strain (Optional)
For an ultra-smooth finish, strain the curd again through a fine mesh sieve into a clean bowl. This optional step removes any remaining bits of cherry pulp and creates an elegantly refined texture. Allow it to cool slightly before proceeding to the final step, ensuring the flavors meld beautifully.
Step 10: Cool and Store
Cover the bowl tightly with plastic wrap, pressing it directly onto the surface of the curd to prevent a skin from forming. Refrigerate your cherry curd for at least 3-4 hours, or until chilled. Once cooled, transfer to an airtight container and enjoy your homemade cherry curd as a delightful spread or dessert topping!
Expert Tips for Cherry Curd
-
Egg Tempering: Gradually introduce the hot cherry puree into the egg mixture by whisking continuously. This step is vital to avoid curdling.
-
Double Boiler Method: If you’re nervous about curdling, consider using a double boiler. It offers a gentler heat and adds safety during the cooking process.
-
Consistency Check: Stir the mixture continuously and watch for a coating on the back of a spoon. The cherry curd is done when it holds a line drawn with your finger.
-
Adjust to Taste: Don’t be shy to taste and tweak! Use additional lemon juice for brightness or sugar for sweetness to perfect your cherry curd.
-
Storage Tips: Always cover the curd with plastic wrap directly touching the surface to prevent a skin from forming while it cools in the fridge.
What to Serve with Cherry Curd
Indulge in a symphony of flavors as you create a full meal that highlights the lusciousness of this vibrant cherry curd.
-
Fluffy Pancakes: Topped with cherry curd, they transform breakfast into a delightful treat that balances sweetness with fluffiness.
-
Vanilla Ice Cream: A scoop drizzled with cherry curd creates a heavenly contrast, making every bite a creamy, fruity delight.
-
Shortbread Cookies: The rich, buttery flavor pairs beautifully with the tart cherry curd, offering a delightful textural contrast that’s irresistible.
-
Fresh Yogurt Parfait: Layer cherry curd with Greek yogurt and granola for a refreshing and satisfying breakfast or light dessert that packs a flavor punch.
-
Lemon Cake: The zesty flavor brightens your cake, while the cherry curd adds a sweet and tart kick, making for an unforgettable dessert.
-
Sipping Wine: A chilled Riesling or Moscato perfectly complements the sweet and tart notes of cherry curd, enhancing your dessert experience.
Pairing these delightful options with your homemade cherry curd will create memorable moments at your dining table, bringing joy with every bite!
Make Ahead Options
Cherry curd is a fantastic recipe to prep in advance, making your dessert planning a breeze! You can prepare the cherry puree and the egg-sugar mixture up to 24 hours in advance; just store them separately in airtight containers in the refrigerator. For even better results, make the entire cherry curd and refrigerate it for up to 4 days—the flavors only deepen over time! When you’re ready to serve, simply give it a gentle stir and check for taste adjustments, adding a dash of lemon juice or more sugar if needed. This way, you’ll have a delectable, homemade cherry curd ready to elevate your desserts with minimal last-minute effort!
How to Store and Freeze Cherry Curd
Fridge: Store cherry curd in an airtight container in the refrigerator for up to 4 days. Ensure the lid is tightly sealed to preserve flavor and freshness.
Freezer: For longer storage, freeze cherry curd in small portions using freezer-safe containers or ice cube trays for up to 3 months. Thaw in the fridge before use.
Reheating: Gently reheat the curd in a saucepan over low heat until warm, stirring continuously to maintain a smooth texture.
Flavor Maintenance: Cover the surface of the cherry curd with plastic wrap touching the mixture to prevent a skin from forming while it cools and stores.
Cherry Curd Variations & Substitutions
Feel free to get creative and personalize your cherry curd experience with these delightful variations!
-
Berry Blend: Swap out cherries for raspberries or blueberries to create a vibrant berry curd bursting with flavor.
-
Vegan Twist: Use a cornstarch slurry instead of eggs for a vegan-friendly version. This will maintain the luscious texture while still being delicious.
-
Citrus Splash: Enhance the flavor profile by adding zest from the lemon or even orange for an extra zing.
-
Spicy Kick: Incorporate a pinch of cayenne pepper or finely chopped jalapeño for a surprising touch of heat that plays beautifully against the sweetness.
-
Nutty Goodness: Stir in some crushed pistachios or almonds for an added crunch and a nutty flavor that complements the fruitiness.
-
Chocolate Dreams: For chocolate lovers, fold in some cocoa powder or finely chopped dark chocolate to the warm curd for a rich, decadent twist.
-
Herb Infusion: Experiment by infusing the curd with fresh herbs like mint or basil for a unique herbal note that surprises and delights.
-
Fruity Range: Don’t limit your fruit; try mango, peach, or even apricot for a deliciously diverse batch that expands your dessert options.
Think about pairing this fruit curd with a slice of Moist Chocolate Cherry Cake or a dollop on top of a bowl of yogurt to bring a gourmet flair to your everyday treats!
Cherry Curd Recipe FAQs
How do I select the right cherries for the cherry curd?
Absolutely! Choose ripe, sweet cherries that are vibrant in color. Look for those without bruises or dark spots. If using frozen or canned, ensure they are strained well to maintain the curd’s texture.
How should I store cherry curd and for how long?
Store your cherry curd in an airtight container in the refrigerator for up to 4 days. It’s essential to seal it tightly, protecting it from other odors and preserving its delightful flavor.
Can I freeze cherry curd, and how do I go about it?
Certainly! For longer storage, divide the cherry curd into small portions and freeze using freezer-safe containers or ice cube trays. It can be stored this way for up to 3 months. To use, simply thaw it overnight in the fridge before enjoying it!
What should I do if my cherry curd doesn’t thicken properly?
If your curd isn’t thickening, revisit the heating process. Make sure to gently stir continuously on low heat until it coats the back of a spoon. If it’s still too runny, you can try adding a little cornstarch mixed with water and heating it gently to thicken.
Is cherry curd safe for my pet?
While cherry curd is delicious for humans, it’s best kept away from pets. The ingredients may not be suitable for your furry friends, especially the sugar and eggs, which could lead to digestive issues. Always check with your vet!
What adjustments can I make for dietary restrictions?
For those following a vegan lifestyle, you can replace the eggs with a cornstarch slurry (mix equal parts cornstarch and water, about 1 tablespoon each per egg). This modification might require some tweaks to achieve the desired texture, but it’s certainly possible to enjoy a delightful fruit curd without the eggs!

Sweet Cherry Curd: A Creamy Delight for Every Dessert
Ingredients
Equipment
Method
- Begin by pitting 1 pound of fresh cherries and placing them in a medium pot with just enough water to cover the bottom. Cook the cherries over low heat for about 10 minutes until they release their juices. Transfer to a blender, puree until smooth, then strain through a fine mesh sieve, discarding the solids.
- While the cherry puree cools, squeeze the juice from half a medium lemon into a small bowl. Set this aside.
- In a heatproof mixing bowl, whisk together 2 large whole eggs and 4 large egg yolks with about 3/8 cup of white sugar until light and creamy.
- Combine the strained cherry puree and lemon juice in a saucepan over medium heat. Cook until it starts to bubble gently, approximately 5-7 minutes.
- Slowly drizzle the hot cherry puree into the egg mixture while continuously whisking to prevent curdling.
- Return the combined mixture to the saucepan and heat over low, stirring continuously for 5-10 minutes until thickened.
- Remove from heat and stir in 4 ounces of chopped unsalted butter until fully melted and incorporated.
- Taste your cherry curd and adjust with extra lemon juice for zing or more sugar for sweetness if needed.
- Optional: Strain the curd again through a fine mesh sieve into a clean bowl.
- Cover tightly with plastic wrap and refrigerate for at least 3-4 hours, or until chilled.