Advertisement
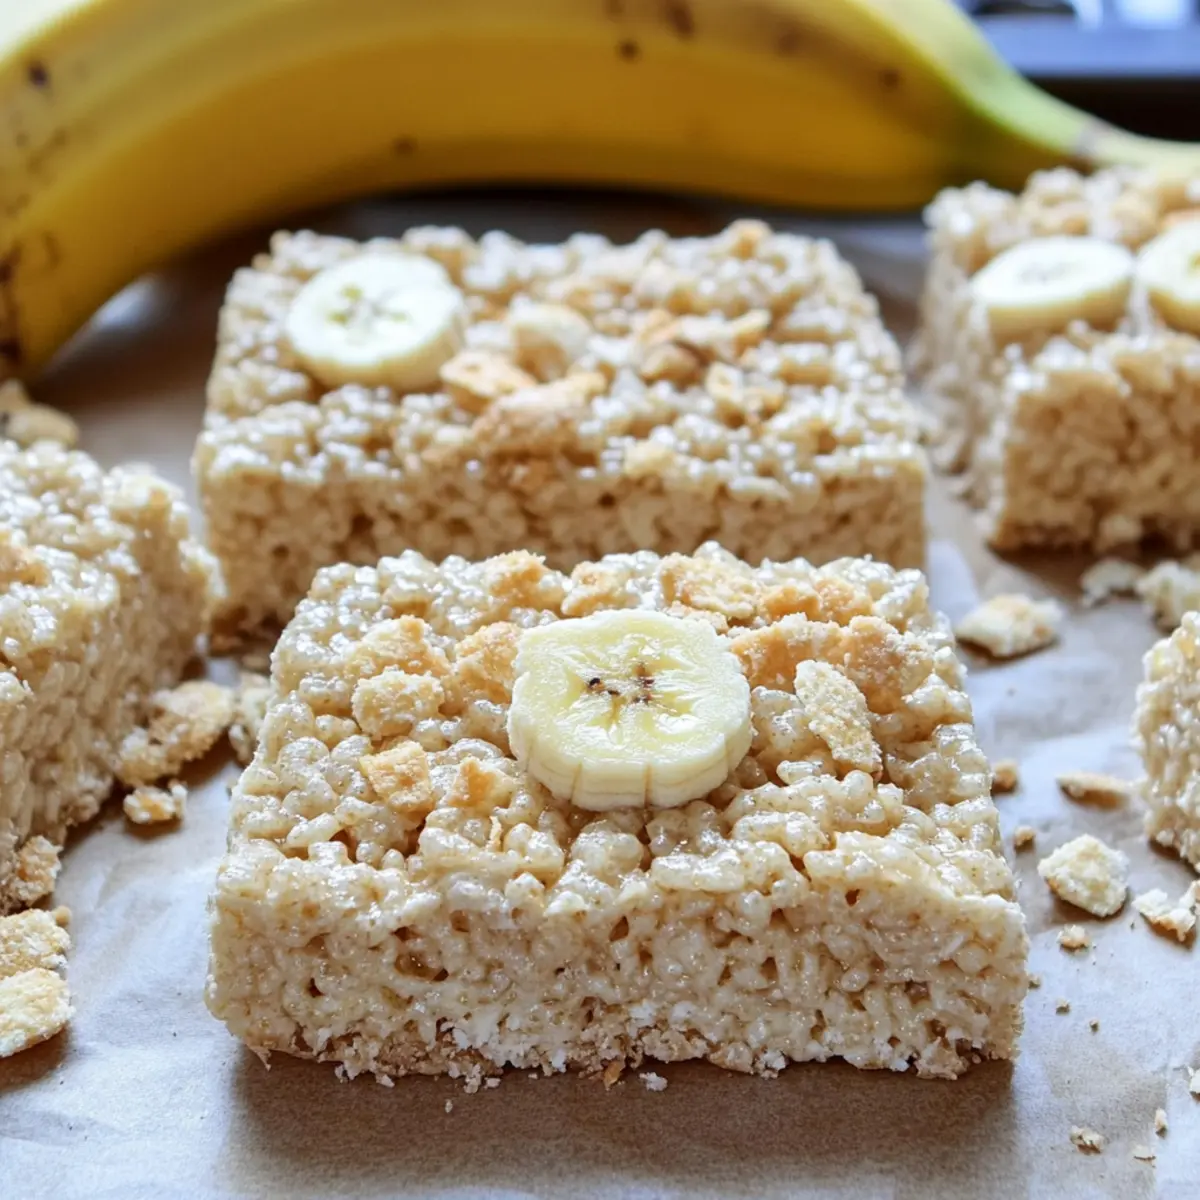
There’s something magical about a dessert that feels familiar yet packs a delightful surprise. That’s exactly what you’ll experience with my Banana Pudding Rice Krispie Treats. This no-bake treat captures the creamy essence of classic banana pudding while bringing the satisfying crunch of Rice Krispies into the mix. Perfect for busy weeknights or relaxed gatherings, this easy recipe not only allows for quick prep but also transforms your traditional dessert into a fun, crowd-pleasing delight! Whether you’re a seasoned home chef or just starting your cooking journey, these treats will become a staple in your kitchen. Ready to discover how to blend nostalgia with effortless sweetness? Let’s dive into this tasty adventure!
Why Will You Love These Treats?
Simplicity at Its Best: These Banana Pudding Rice Krispie Treats are a breeze to whip up, requiring no baking and minimal kitchen skills.
Irresistible Flavor: The creamy banana pudding flavor combined with crunchy Rice Krispies is a nostalgic treat that everyone loves.
Advertisement
Quick Prep: Ready in just a few minutes, they fit perfectly into your busy lifestyle, making dessert preparation stress-free.
Versatile Options: Feel free to swap ingredients—try chocolate pudding for a fun twist, or add nuts and chocolate chips for extra texture!
Crowd-Pleaser: Family gatherings or potlucks are never complete without these treats, sure to impress and satisfy guests of all ages.
Storage Friendly: These treats can be made ahead of time and stored for quick snacks or dessert cravings later in the week. Enjoy the fun flavors of classic desserts without the fuss!
Banana Pudding Rice Krispie Treats Ingredients
Here’s everything you need to create your delicious Banana Pudding Rice Krispie Treats!
For the Treats
- Butter – Adds richness and helps bind the mixture; substitute with coconut oil for a dairy-free version.
- Marshmallows – Provide the signature sweetness and chewy texture; opt for vegan marshmallows if desired.
- Instant Banana Pudding Mix – Infuses that creamy banana flavor throughout the treats; vanilla pudding mix works if banana isn’t available.
- Rice Krispies Cereal – The essential crunchy base; you can swap it for any puffed rice cereal.
For Topping (Optional)
- Crushed Nilla Wafers – Adds an extra crunch and flavor on top; graham crackers can also be used for a tasty alternative.
Step‑by‑Step Instructions for Banana Pudding Rice Krispie Treats
Step 1: Prepare the Pan
Start by spraying a 9 x 13 inch pan generously with non-stick spray. Make sure to cover all corners to prevent sticking. Once done, set the prepared pan aside while you move on to melting the butter, ensuring you have everything ready for the delicious Banana Pudding Rice Krispie Treats.
Step 2: Melt Butter
In a large microwave-safe bowl, add 3 tablespoons of butter. Heat the bowl in the microwave for about 30 seconds to melt the butter until it’s completely liquid. Keep an eye on it to prevent overflowing. This butter will help bind everything beautifully as you continue this simple treat.
Step 3: Add Marshmallows
Pour a 10 oz bag of marshmallows into the melted butter, creating a sticky sweet mixture. Microwave this mixture for 45 seconds, then remove and stir. Return it to the microwave for an additional 45 seconds or until the marshmallows are fully melted and smooth, giving you that classic sticky texture for your Banana Pudding Rice Krispie Treats.
Step 4: Incorporate Pudding Mix
Once your marshmallows are melted, stir in the 3.4 oz box of instant banana pudding mix. Mix well until all the pudding is incorporated, and the mixture is creamy and slightly thickened. The banana flavor will start to fill your kitchen, setting the stage for a delightful treat!
Step 5: Mix Cereal
Next, add 6 cups of Rice Krispies cereal to the banana pudding mixture. Gently fold the cereal into the mixture using a spatula, ensuring every piece is well coated. This step adds that satisfying crunch to your Banana Pudding Rice Krispie Treats, creating a perfect balance of flavors and textures.
Step 6: Shape Treats
Transfer the mixture into your prepared pan, spreading it out evenly. Use your hands or a spatula to firmly press the mixture into the pan, ensuring it’s compact but not overly squished. Aim for an even surface to ensure these treats slice nicely once set.
Step 7: Top with Nilla Wafers (Optional)
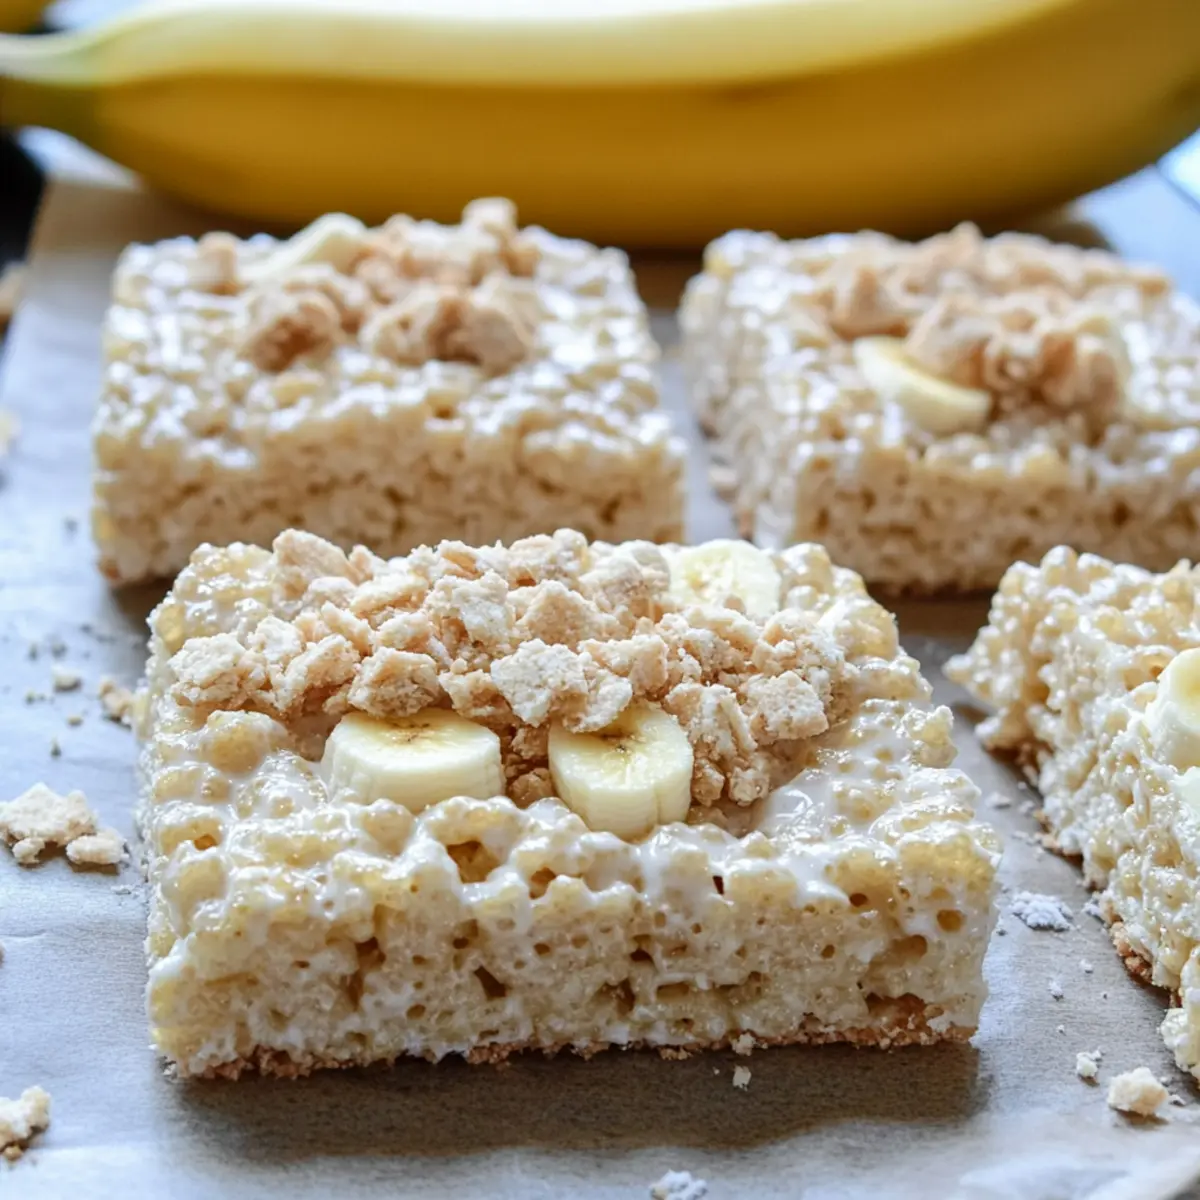
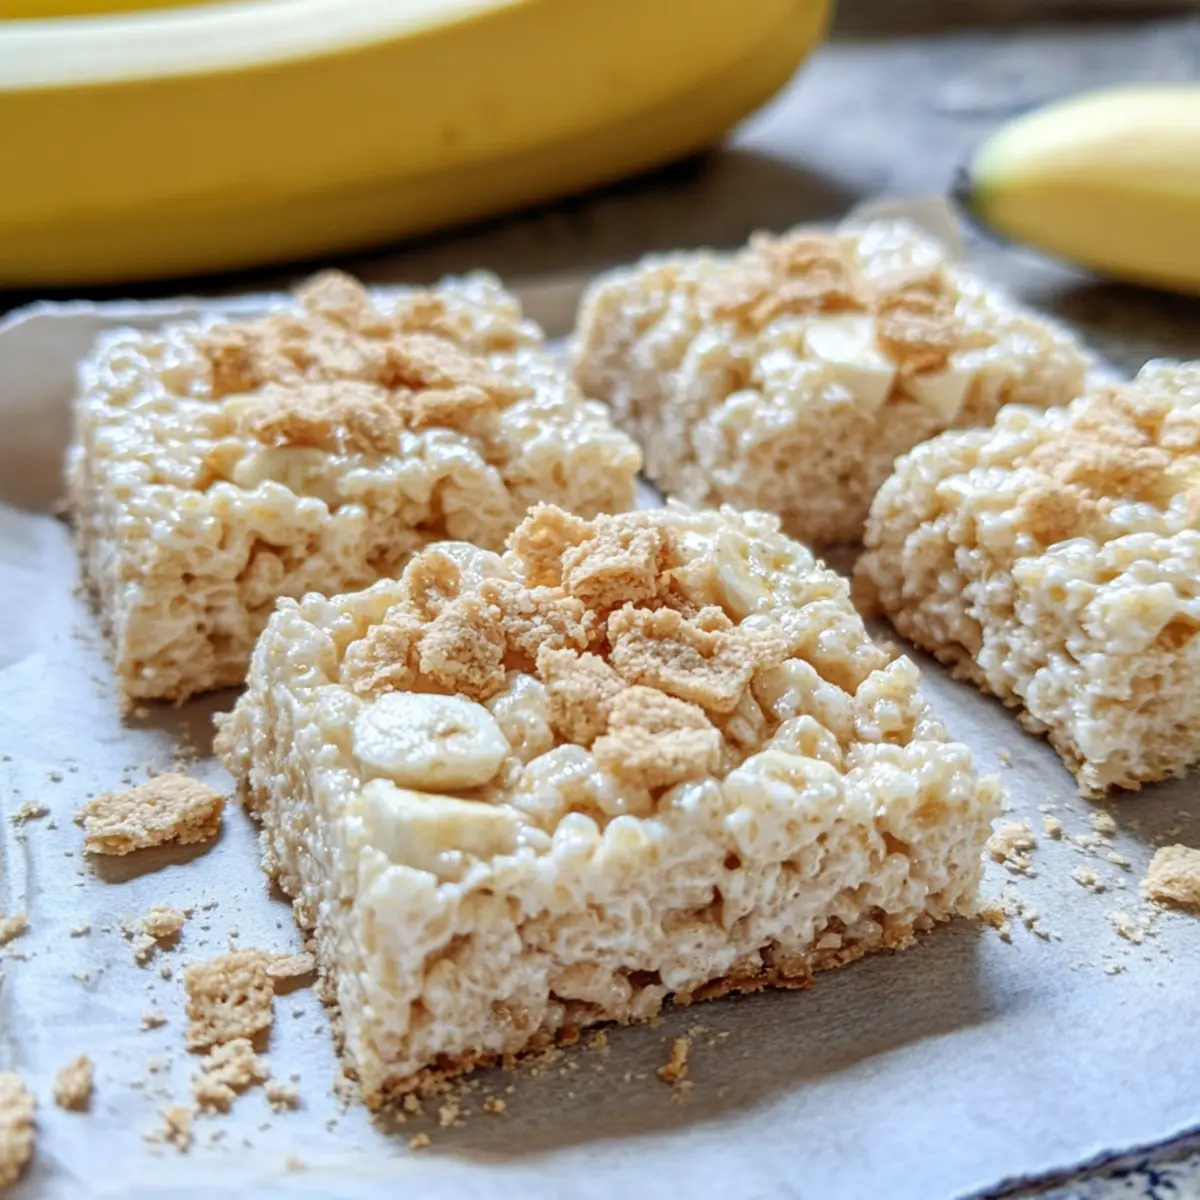
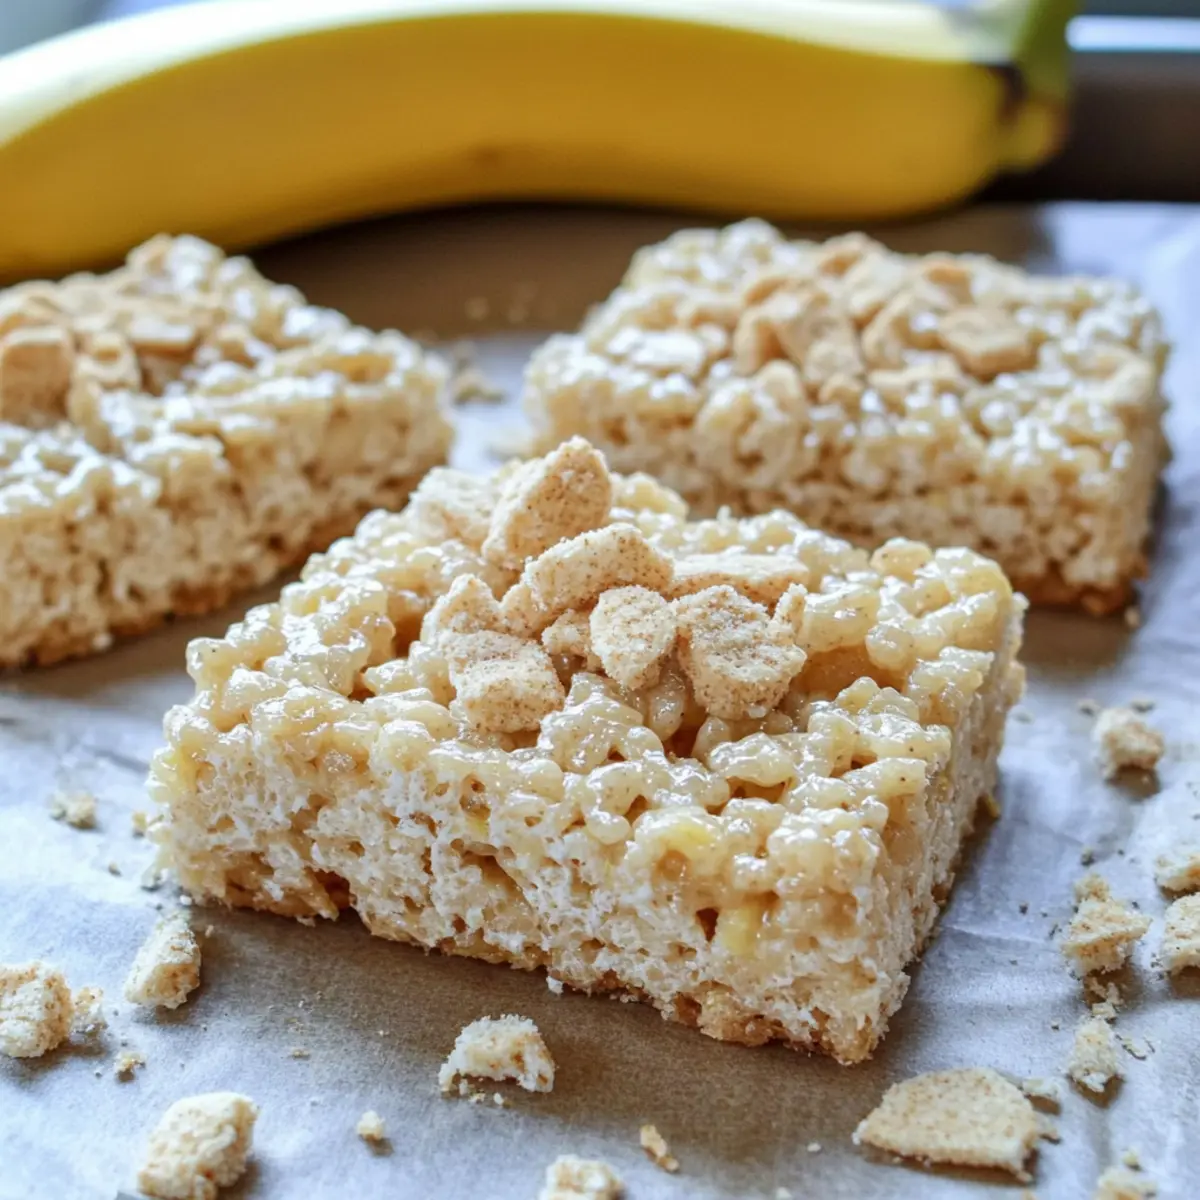
If you’d like to add an extra layer of flavor, sprinkle crushed Nilla Wafers over the top of the pressed mixture. Lightly pat down the crushed wafers to help them adhere to the treats. This optional step gives a delightful crunch, making your Banana Pudding Rice Krispie Treats even more irresistible.
Expert Tips for Banana Pudding Rice Krispie Treats
-
Non-Stick Method: Use a Ziplock bag over your hand, sprayed with non-stick spray, to prevent sticking when pressing the mixture into the pan.
-
Marshmallow Melting: Ensure you melt the marshmallows gradually to avoid burning. Stir between heating intervals for a smooth, even consistency.
-
Even Cooling: Allow the treats to cool completely at room temperature before slicing to ensure clean edges for your Banana Pudding Rice Krispie Treats.
-
Ingredient Swaps: Don’t hesitate to swap the pudding mix for chocolate or vanilla for a fun twist; just maintain the same proportions for best results.
-
Storage Tips: Keep leftovers in an airtight container to maintain freshness for up to a week—perfect for satisfying sweet cravings!
Variations for Banana Pudding Rice Krispie Treats
Feel free to get creative with these easy variations to make your dessert experience even more delightful!
-
Dairy-Free: Swap butter with coconut oil and use vegan marshmallows for a deliciously plant-based version. The creamy coconut will complement the banana flavor beautifully!
-
Chocolate Twist: Substitute the banana pudding for chocolate pudding mix for a rich, indulgent take. Drizzling some melted chocolate on top can create a decadent finish that chocolate lovers will adore.
-
Nutty Delight: Fold in a cup of chopped nuts like pecans or walnuts to add a crunchy texture. They provide a great contrast to the softness of the marshmallows and pudding.
-
S’mores Style: Replace crushed Nilla Wafers with graham cracker crumbs and add mini chocolate chips. This variation recreates that classic s’mores flavor, perfect for summer gatherings!
-
Fruity Fusion: Toss in some chopped fresh bananas or dried fruits like raisins or cranberries for added sweetness and texture. These fruity surprises contrast nicely with the crispy base!
-
Spiced Up: Add a pinch of cinnamon or nutmeg to the pudding mix for a warm, cozy flavor. It’s a simple addition that elevates the dessert with a comforting twist.
-
Peanut Butter Bliss: Mix in half a cup of creamy peanut butter with the melted marshmallows for a nutty, rich flavor. It pairs wonderfully with the banana taste, making them truly irresistible!
-
Coconut Crunch: Sprinkle toasted coconut flakes on top for an exotic touch. This will bring out a tropical essence, perfectly complementing your Banana Pudding Rice Krispie Treats.
With these variations, your treats can suit any palate or occasion, giving you the flexibility to enjoy them time and again. And if you’re looking for more no-bake feels, you might want to try out my Crunch Banana Pudding or explore the delightful flavors of Warm Blueberry Pudding Cake!
How to Store and Freeze Banana Pudding Rice Krispie Treats
Room Temperature: Store in an airtight container at room temperature for up to 3 days. Keeping them sealed helps maintain their texture.
Fridge: For longer shelf life, place treats in the fridge in an airtight container for up to 1 week. They can be enjoyed chilled or brought back to room temperature before serving.
Freezer: If you want to save them for later, freeze the Rice Krispie Treats wrapped tightly in plastic wrap and placed in a freezer-safe container for up to 2 months. Thaw them in the fridge overnight before serving.
Reheating: If refrigerated, let them sit at room temperature for about 30 minutes to soften slightly before serving, bringing back that deliciously chewy consistency.
Make Ahead Options
These Banana Pudding Rice Krispie Treats are ideal for busy home cooks looking to save time! You can prepare the mixture up to 24 hours in advance; simply follow the recipe instructions through step 5, then store the mixture tightly covered in the refrigerator to maintain its freshness. When you’re ready to serve, transfer it to the prepared pan, press it down firmly, and let it sit for about 30 minutes to set before slicing. For the best results, avoid adding the crushed Nilla Wafers until just before serving to keep them crispy. With this make-ahead option, you’ll enjoy delicious, stress-free treats that everyone will love!
What to Serve with Banana Pudding Rice Krispie Treats
Indulging in Banana Pudding Rice Krispie Treats can be an exquisite experience, but enhancing that joy with the right pairings will elevate your dessert to new heights.
- Fresh Fruit Salad: A medley of seasonal fruits adds brightness and freshness, balancing the sweetness of the treats beautifully. Enjoy every juicy bite alongside the creamy treats for a delightful contrast.
- Vanilla Ice Cream: Serve these treats warm with a scoop of silky vanilla ice cream, enhancing the overall flavor with a creamy cold touch that melts into each bite. The cold, creamy texture complements the chewy sweetness perfectly.
- Chocolate Drizzle: Add a drizzle of rich chocolate sauce to your treats for a decadent touch that pairs wonderfully with the banana flavor, creating a sophisticated dessert experience.
- Coconut Whipped Cream: Light and fluffy coconut whipped cream provides a tropical vibe that pairs harmoniously with the banana flavor while adding a creamy decadence to each bite.
- Coffee or Tea: A warm cup of coffee or herbal tea enhances the flavors, making it an ideal pairing. The warmth of the beverage contrasts with the coolness of the treats, creating a cozy dessert experience.
- Caramel Sauce: Drizzling caramel on top brings a sweet, buttery flavor that accentuates the treat’s nostalgic essence, adding another layer of sweetness that’ll make your heart sing!
Banana Pudding Rice Krispie Treats Recipe FAQs
How do I choose ripe ingredients for my Banana Pudding Rice Krispie Treats?
Absolutely! For this recipe, the ingredients like butter and marshmallows don’t rely on ripeness, but when it comes to adding fresh bananas or crushed toppings, opt for bananas that are yellow with a few brown spots; this indicates peak sweetness. If your bananas are too ripe (blackened skin), they’ll be overly mushy instead of adding a nice texture.
How should I store leftover Banana Pudding Rice Krispie Treats?
Very easy! These treats can be stored in an airtight container at room temperature for up to 3 days without losing their delightful texture. If you want them to last longer, pop them in the fridge, where they’ll stay fresh for about a week. Just be sure to seal them tightly to keep them chewy!
Can I freeze Banana Pudding Rice Krispie Treats?
Definitely! To freeze your treats, wrap them securely in plastic wrap, then place them in a freezer-safe container to protect them from freezer burn. They can be frozen for up to 2 months. When you’re ready to enjoy them, simply thaw overnight in the fridge; they’ll be just as delicious as fresh!
What should I do if my treats are too sticky to handle?
No worries here! If you find the mixture too sticky, try using a non-stick spray on your hands or use a Ziplock bag over your hand to press it into the pan without it sticking. If the mixture is overly gooey, it may mean the marshmallows are too melted; next time, microwave them in shorter intervals to maintain a good consistency.
Are there any dietary considerations I should be aware of?
Certainly! These Banana Pudding Rice Krispie Treats are vegetarian and easy to adapt. If you need to make them vegan, substitute regular butter with coconut oil and choose vegan marshmallows. Additionally, for gluten-free options, use gluten-free puffed rice cereal. Always check ingredient labels for potential allergens such as dairy or gluten if guests have sensitivities.
Irresistible Banana Pudding Rice Krispie Treats You’ll Love
Ingredients
Equipment
Method
- Spray a 9 x 13 inch pan generously with non-stick spray.
- In a microwave-safe bowl, add 3 tablespoons of butter and heat for about 30 seconds to melt.
- Pour a 10 oz bag of marshmallows into the melted butter, microwave for 45 seconds, stir, and microwave again until fully melted.
- Stir in the 3.4 oz box of instant banana pudding mix until well incorporated.
- Add 6 cups of Rice Krispies cereal to the mixture and gently fold in until well coated.
- Transfer the mixture into the prepared pan, spreading it out evenly and pressing it firmly.
- Optionally, sprinkle crushed Nilla Wafers over the top and lightly pat down to adhere.