Advertisement
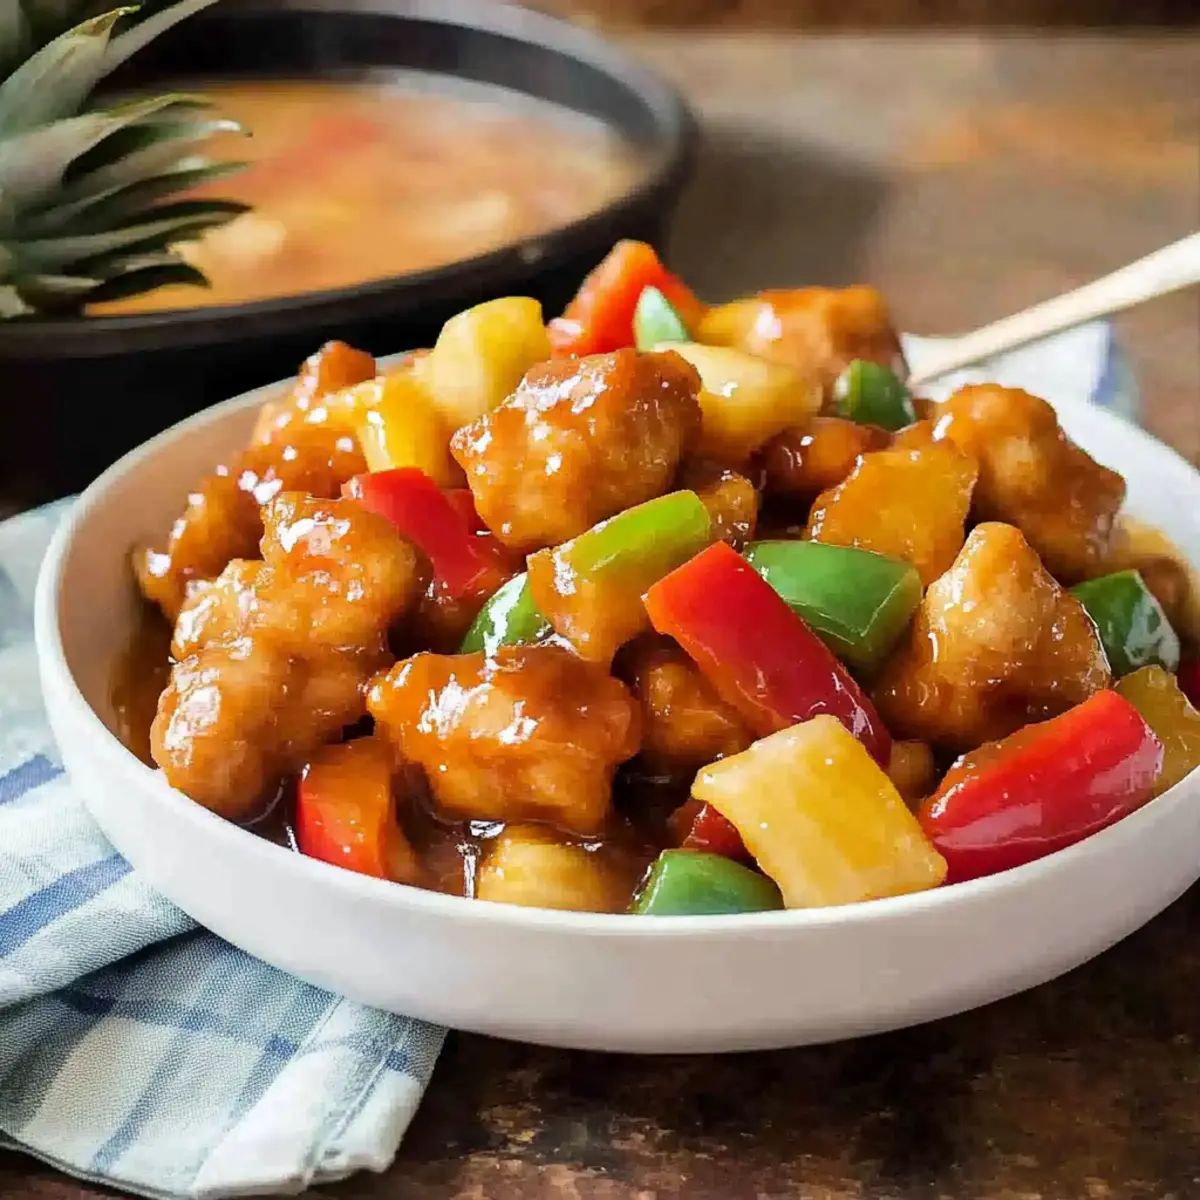
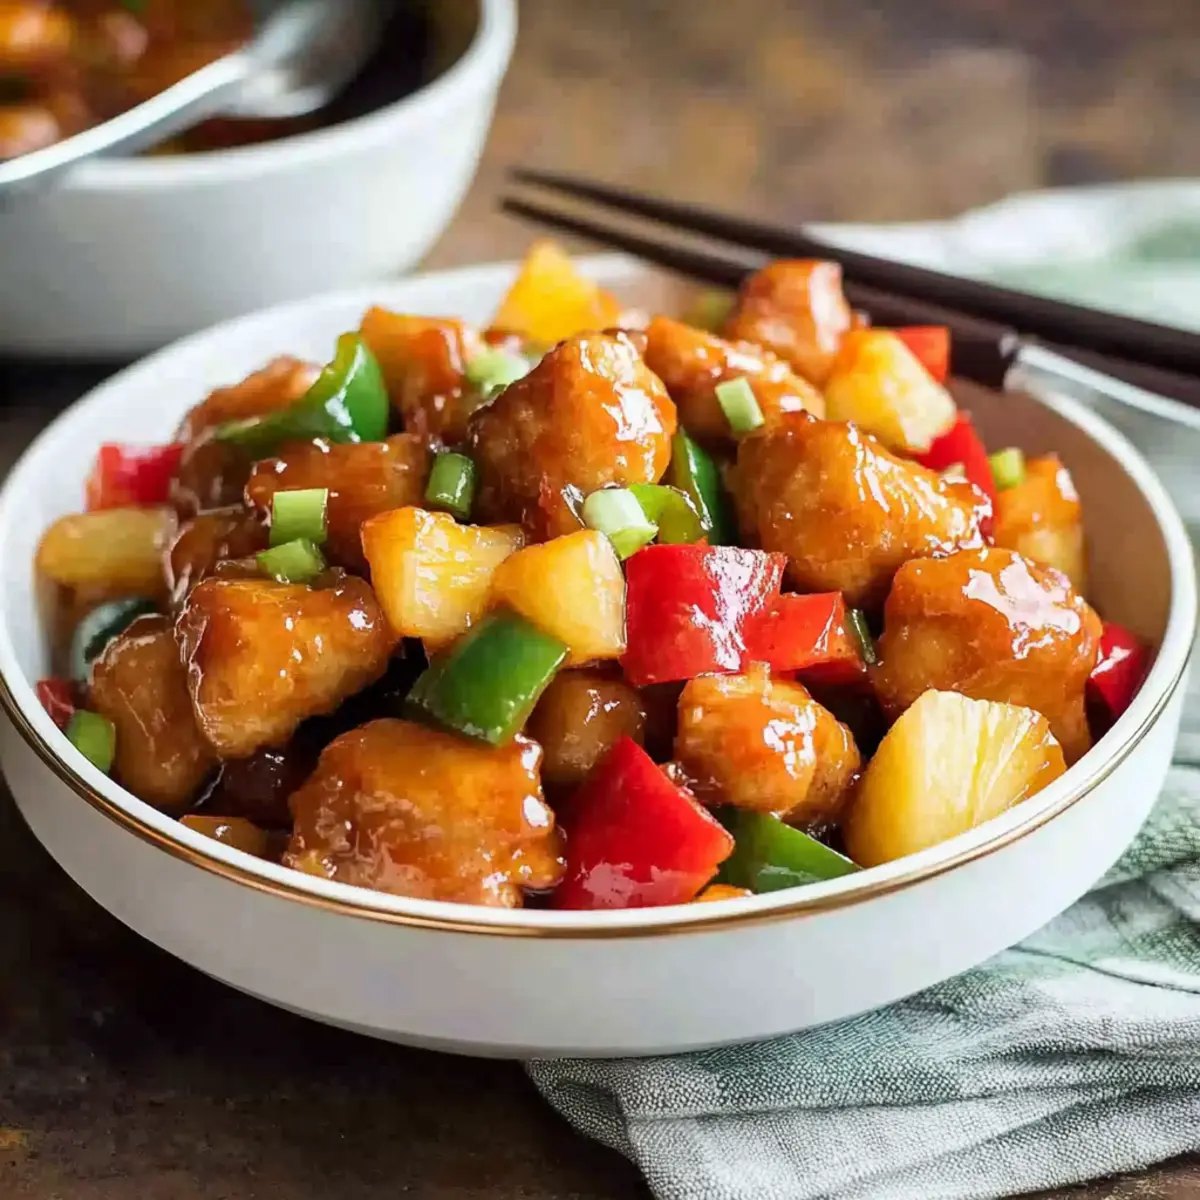
As I stood in my kitchen, the aroma of garlic sizzling in a pan transported me to my favorite Chinese takeout spot. This Baked Sweet and Sour Chicken is my nod to those cherished moments, offering a healthier twist on a classic dish. Perfectly crispy on the outside and juicy within, each bite is enveloped in a tangy, sticky sauce that brings a delightful balance of flavors. Not only is this recipe quick and easy, making it ideal for busy weeknights, but it also caters to the whole family, ensuring that even the pickiest eaters will come back for seconds. Ready to experience a homemade version of your beloved Chinese favorite that cuts the sugar without sacrificing taste? Let’s dive into this mouthwatering recipe that’s sure to bring everyone to the dinner table!
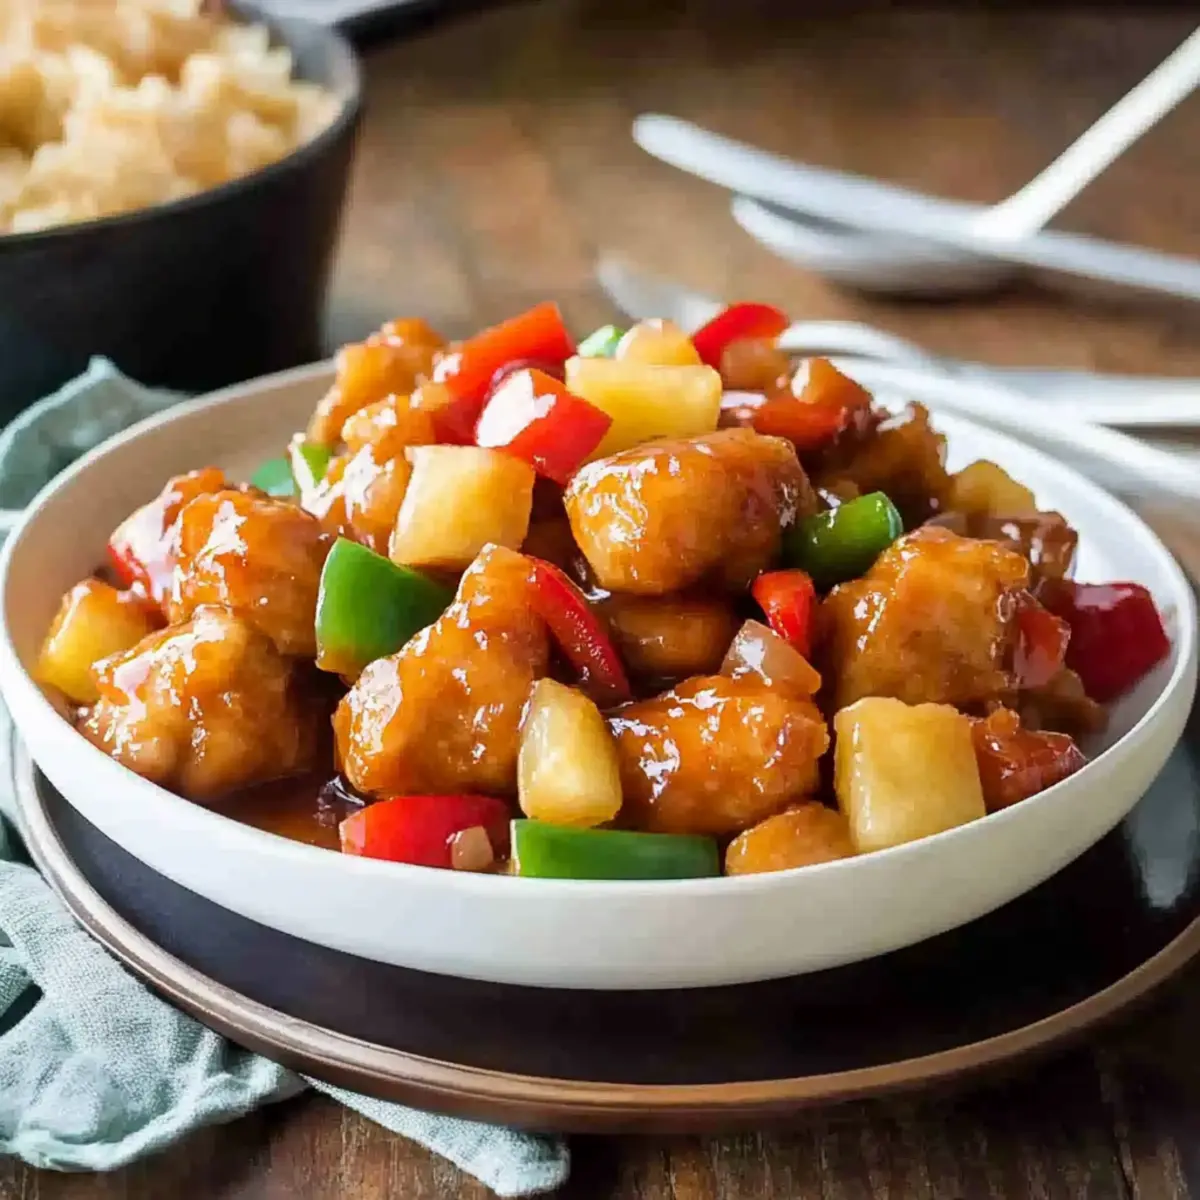
Why is this recipe a must-try?
Quick and Easy: This Baked Sweet and Sour Chicken can be ready in under 30 minutes, perfect for those hectic weeknights.
Healthier Twist: Experience the joy of your favorite Chinese takeout minus the guilt, thanks to lower sugar content without compromising flavor.
Advertisement
Crispy Delight: Achieve a crunchy coating that rivals fried versions without extra oil, keeping it family-friendly and delicious.
Customizable: You can easily swap chicken for tofu or add your favorite veggies for a personalized touch.
Crowd-Pleasing: This dish is sure to impress! It’s a definite hit with kids and adults alike, making it a go-to when entertaining.
Enjoy it over fluffy rice or with a side of fried rice for a complete meal!
Baked Sweet and Sour Chicken Ingredients
• To create this delightful dish, gather the following ingredients that deliver on health and flavor!
For the Chicken
- Chicken Breast – Use cubed chicken breast for the perfect tenderness and quick cooking.
- Salt – Enhances flavor; adjust according to your personal taste.
- Eggs – Binds the cornstarch for that crispy coating; substitute with egg whites if you’re watching calories.
- Cornstarch – Provides a light, crunchy texture when baked; all-purpose flour works in a pinch.
- Vegetable/Canola Oil – Used for frying to achieve that crispy exterior; olive oil is a tasty alternative.
For the Vegetables
- Garlic Clove – Adds savory depth; fresh garlic is recommended for the best results.
- Onion – Offers sweetness and depth; go for yellow or white onions for full flavor.
- Bell Peppers – Provide color and crunch; mix and match red, yellow, or green for vibrancy.
For the Sauce
- Canned Pineapple Pieces – Adds natural sweetness and tang; choose pineapple in its natural juice for a healthier option.
- Sugar (White/Brown) – Sweetens the sauce; feel free to adjust based on your sweetness preference.
- Apple Cider Vinegar – Supplies acidity; white vinegar can substitute if needed.
- Pineapple Juice – Contributes extra sweetness and flavor; use fresh if possible.
- Ketchup – Introduces a mild sweetness and thickness; swap in tomato paste if desired.
- Worcestershire Sauce – Enhances umami flavor; omit or replace with soy sauce if gluten-sensitive.
- Soy Sauce – Adds depth and saltiness; low sodium versions work well for health-conscious cooks.
- Oyster Sauce – Provides umami richness; use vegetarian oyster sauce or omit for a meatless dish.
- Cornflour/Corn Starch & Water (Thickener) – Helps thicken the sauce; combine well to avoid lumps.
This Baked Sweet and Sour Chicken is sure to become a staple at your family dinner table, bringing smiles and satisfaction with every bite!
Step‑by‑Step Instructions for Baked Sweet and Sour Chicken
Step 1: Prepare Oven
Preheat your oven to 200°C (390°F) to ensure a perfect bake for your Baked Sweet and Sour Chicken. This temperature allows the chicken to get beautifully crispy on the outside while staying juicy inside. While the oven heats up, gather your ingredients so you’re ready for the next steps.
Step 2: Coat Chicken
In a large mixing bowl, combine cubed chicken breast with a sprinkle of salt and whisked eggs. Toss the chicken pieces to ensure they’re evenly coated. Drain any excess egg mixture to avoid sogginess. This step is crucial for achieving that delightful, crispy coating once baked.
Step 3: Dust with Cornstarch
Transfer the coated chicken into a ziplock bag filled with cornstarch. Seal the bag tightly and shake vigorously until all pieces are well-dusted. The cornstarch forms a light, crunchy texture that makes the Baked Sweet and Sour Chicken irresistible. Make sure each piece is evenly coated for optimal crispiness.
Step 4: Fry Chicken
In a large skillet, heat vegetable oil over medium-high heat. Add the chicken pieces in a single layer, cooking for about 2 minutes per side. The chicken should turn lightly golden brown, but it will still be raw inside. This frying step helps develop a crispy exterior before baking.
Step 5: Bake Chicken
Carefully transfer the lightly fried chicken onto a baking tray lined with parchment paper. Spray or drizzle with a bit of oil to help crisp up the coating. Place the tray in the preheated oven and bake for 15-20 minutes, until the chicken is golden brown and reaches an internal temperature of 75°C (165°F).
Step 6: Cook Veggies
While the chicken bakes, use the same skillet with remaining oil to sauté minced garlic and chopped onion over medium heat for about 2 minutes until fragrant. Then, add sliced bell peppers and cook for an additional minute. This step adds sweet and savory layers to the dish and prepares the flavor base for the sauce.
Step 7: Make Sauce
In the skillet, combine the sauce ingredients: canned pineapple pieces, sugar, apple cider vinegar, pineapple juice, ketchup, Worcestershire sauce, soy sauce, and oyster sauce. Stir everything together over medium heat until the mixture bubbles. Incorporate the cornflour dissolved in water, stirring continuously until the sauce thickens into a syrupy texture, about 3 minutes.
Step 8: Combine
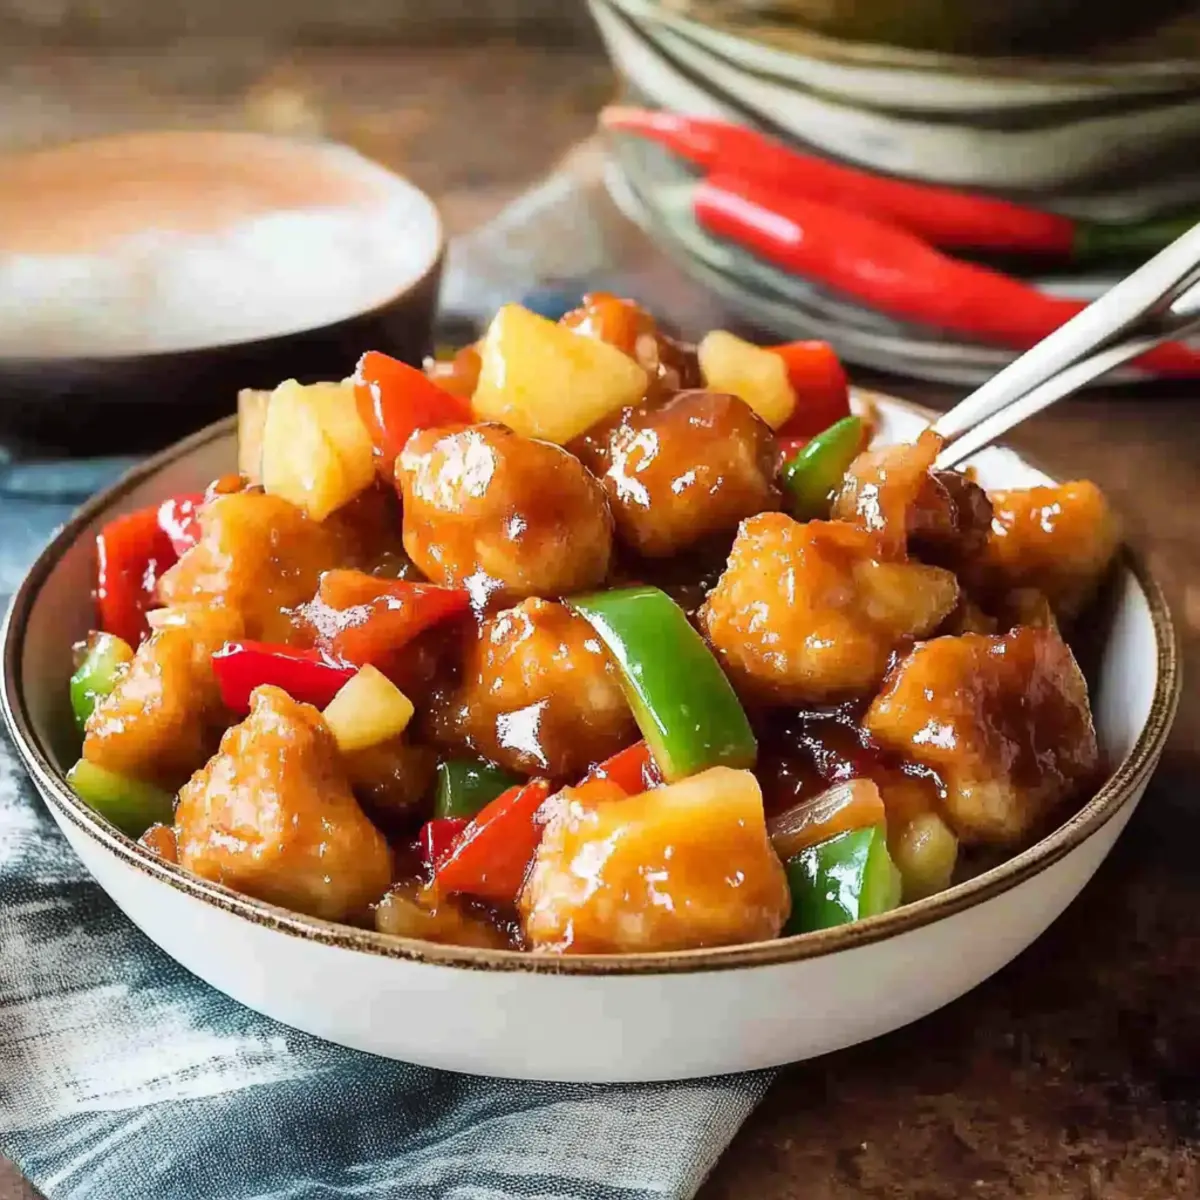
Once the chicken is perfectly baked, toss it in the thickened sauce with the sautéed vegetables. Ensure every piece of chicken is well-coated for maximum flavor. Serve your Baked Sweet and Sour Chicken immediately over steamed rice or cauliflower rice, garnished with sliced scallions if desired for a pop of color and freshness.
Expert Tips for Baked Sweet and Sour Chicken
-
Coating Technique: Ensure the chicken is evenly coated with the egg and cornstarch mixture for optimal crispiness; this step makes all the difference!
-
Bake Just Right: Avoid over-baking the chicken; sticking to 15-20 minutes helps retain juiciness while achieving that perfect crunch.
-
Double the Sauce: If you love extra flavor, doubling the sauce can enhance the dish without adding much fuss; it’s perfect for serving over rice!
-
Fresh Ingredients: Opt for fresh garlic and pineapple juice to elevate flavor; your taste buds will thank you for this simple upgrade.
-
Veggie Swaps: Customize your dish by experimenting with seasonal veggies like snap peas or carrots to keep things exciting and nutritious.
-
Storage Savvy: Store any leftovers in an airtight container and reheat in the oven, maintaining that delicious crispiness of your Baked Sweet and Sour Chicken.
How to Store and Freeze Baked Sweet and Sour Chicken
Refrigerator: Store leftover Baked Sweet and Sour Chicken in an airtight container for up to 3 days. The chicken will remain flavorful—just be sure to reheat thoroughly.
Freezer: If you want to save it for later, freeze portions in airtight bags for up to 3 months. Make sure to label with the date for easy identification.
Reheating: For the best texture, reheat in the oven at 180°C (350°F) until warmed through, about 10-15 minutes. This will help restore that crispy exterior you’ve come to love!
Thawing: When ready to use, transfer frozen portions to the refrigerator overnight to thaw before reheating. Enjoy that homemade flavor again!
What to Serve with Baked Sweet and Sour Chicken
The perfect dinner is just a few complementary sides away, creating a meal that sings in harmony with your flavors.
-
Fluffy Jasmine Rice: The light, fragrant aroma of jasmine rice absorbs the sweet and tangy sauce beautifully, providing a perfect backdrop for every bite.
-
Stir-Fried Broccoli: Crisp-tender broccoli adds a wonderful crunch and vibrant green contrast, enhancing the dish’s overall texture and nutrition.
-
Cauliflower Rice: A low-carb alternative, cauliflower rice soaks up the saucy goodness while bringing a subtle nuttiness that pairs wonderfully with the chicken.
-
Egg Fried Rice: Rich with scrambled eggs and peas, this classic side not only adds protein but also offers a delightful, savory flavor boost.
-
Sweet and Sour Cucumber Salad: A refreshing crunch with a tangy bite makes this salad the perfect palate cleanser between bites of the crispy chicken.
-
Mandarin Orange Slices: The juicy sweetness of mandarin oranges complements the dish’s flavors while adding a bright pop of color and zest to your plate.
-
Chilled Green Tea: A refreshing beverage that cools your palate, green tea harmonizes beautifully with the sweet and sour elements of the chicken.
-
Mango Sorbet: For dessert, enjoy a light and fruity mango sorbet that echoes the sweetness of the dish but ends the meal on a cool, refreshing note.
Baked Sweet and Sour Chicken Variations
Feel free to let your creativity shine as you customize this recipe to suit your taste buds and dietary needs!
-
Heat Boost: Add a dash of sriracha or sprinkle red pepper flakes to infuse the dish with a delightful kick.
-
Vegetarian Delight: Swap the chicken for firm tofu, marinating it for extra flavor, making a scrumptious meat-free option.
-
Veggie Upgrade: Try integrating colorful veggies like snap peas or carrots into the stir-fry for added nutrition and crunch.
-
Fruity Twist: Incorporate sliced mango or additional pineapple for a tropical flair that enhances the overall sweetness of the dish.
-
Gluten-Free: Use gluten-free soy sauce and cornstarch for a friendly option that still packs all the flavors you love.
-
Crispy Corners: Dust the chicken pieces with panko breadcrumbs for an extra Crunchy baked finish you won’t want to miss!
-
Coconut Infusion: Substitute some of the sugar with coconut sugar for a subtle twist of flavor that adds a hint of richness.
-
Sweet and Spicy Sauce: Mix honey or brown sugar with a bit of chili paste in the sauce for a balanced blend of sweet and heat, perfect for those who love a little spice!
If you’re searching for more wholesome chicken recipes, check out this delightful Healthy Baked Chicken or perhaps the comforting warmth of Oven Baked Chicken that’s sure to impress.
Make Ahead Options
These Baked Sweet and Sour Chicken pieces are perfect for meal prep, making them a fantastic option for busy weeknights! You can marinate the cubed chicken with salt and eggs and refrigerate it up to 24 hours in advance. Additionally, prepare the sauce and sauté the vegetables and store them separately in airtight containers for up to 3 days. When you’re ready to enjoy this dish, simply fry the marinated chicken and follow the baking instructions as detailed. Reheating the sauce before tossing it with the chicken will ensure everything stays just as delicious as when freshly made, leaving your family savoring every bite.
Baked Sweet and Sour Chicken Recipe FAQs
What type of chicken is best for this recipe?
Absolutely! For the best results in your Baked Sweet and Sour Chicken, I recommend using boneless, skinless chicken breast. It cooks quickly and remains tender, especially when cubed. If you prefer a juicier option, you could also use thigh meat, but ensure to adjust cooking time slightly as it may take longer.
How should I store leftovers of Baked Sweet and Sour Chicken?
To keep your leftovers fresh, store Baked Sweet and Sour Chicken in an airtight container in the refrigerator for up to 3 days. This helps maintain the flavor and moisture. When you’re ready to enjoy it again, I suggest reheating it in the oven to restore that lovely crispiness—around 10 to 15 minutes at 180°C (350°F) should do the trick!
Can I freeze Baked Sweet and Sour Chicken?
Yes, you can absolutely freeze your Baked Sweet and Sour Chicken! Portion it out into airtight bags and label them with the date. It can be frozen for up to 3 months. To reheat, let it thaw overnight in the refrigerator, then pop it back in the oven at 180°C (350°F) for about 10-15 minutes until heated through.
What can I do if my sauce isn’t thickening?
Very good question! If your sauce isn’t thickening as expected, make sure your cornflour (cornstarch) is properly mixed with water before adding it to the sauce. Stir continuously as you cook for a few minutes—maybe even increase the heat slightly. If you find yourself in a pinch, you can also mix in a little more cornflour with more water to create a slurry, then add it to the sauce while stirring to reach that desired syrupy consistency.
Are there any dietary considerations I should be aware of?
Absolutely! This Baked Sweet and Sour Chicken can be tailored for various dietary needs. If you’re cooking for someone sensitive to gluten, be sure to use gluten-free soy sauce and ensure your Worcestershire sauce is suitable. For a vegetarian option, you can easily substitute chicken with tofu or tempeh, and don’t forget to use vegetarian oyster sauce, or simply omit it altogether. Always check ingredient labels for any allergens specific to your guests!
Crispy Baked Sweet and Sour Chicken You'll Love at Home
Ingredients
Equipment
Method
- Preheat your oven to 200°C (390°F). Gather your ingredients while the oven heats.
- In a large mixing bowl, combine cubed chicken breast with salt and whisked eggs. Toss to coat evenly.
- Transfer the coated chicken into a ziplock bag filled with cornstarch. Seal and shake until well-dusted.
- In a skillet, heat vegetable oil over medium-high heat. Add chicken pieces and cook for about 2 minutes per side.
- Transfer the lightly fried chicken onto a baking tray lined with parchment paper. Bake for 15-20 minutes.
- In the same skillet, sauté minced garlic and chopped onion over medium heat for about 2 minutes. Add bell peppers.
- Combine sauce ingredients in the skillet. Cook until bubbling, then thicken with cornflour mixed with water.
- Toss the baked chicken in the sauce with sautéed vegetables and serve over rice.