Advertisement
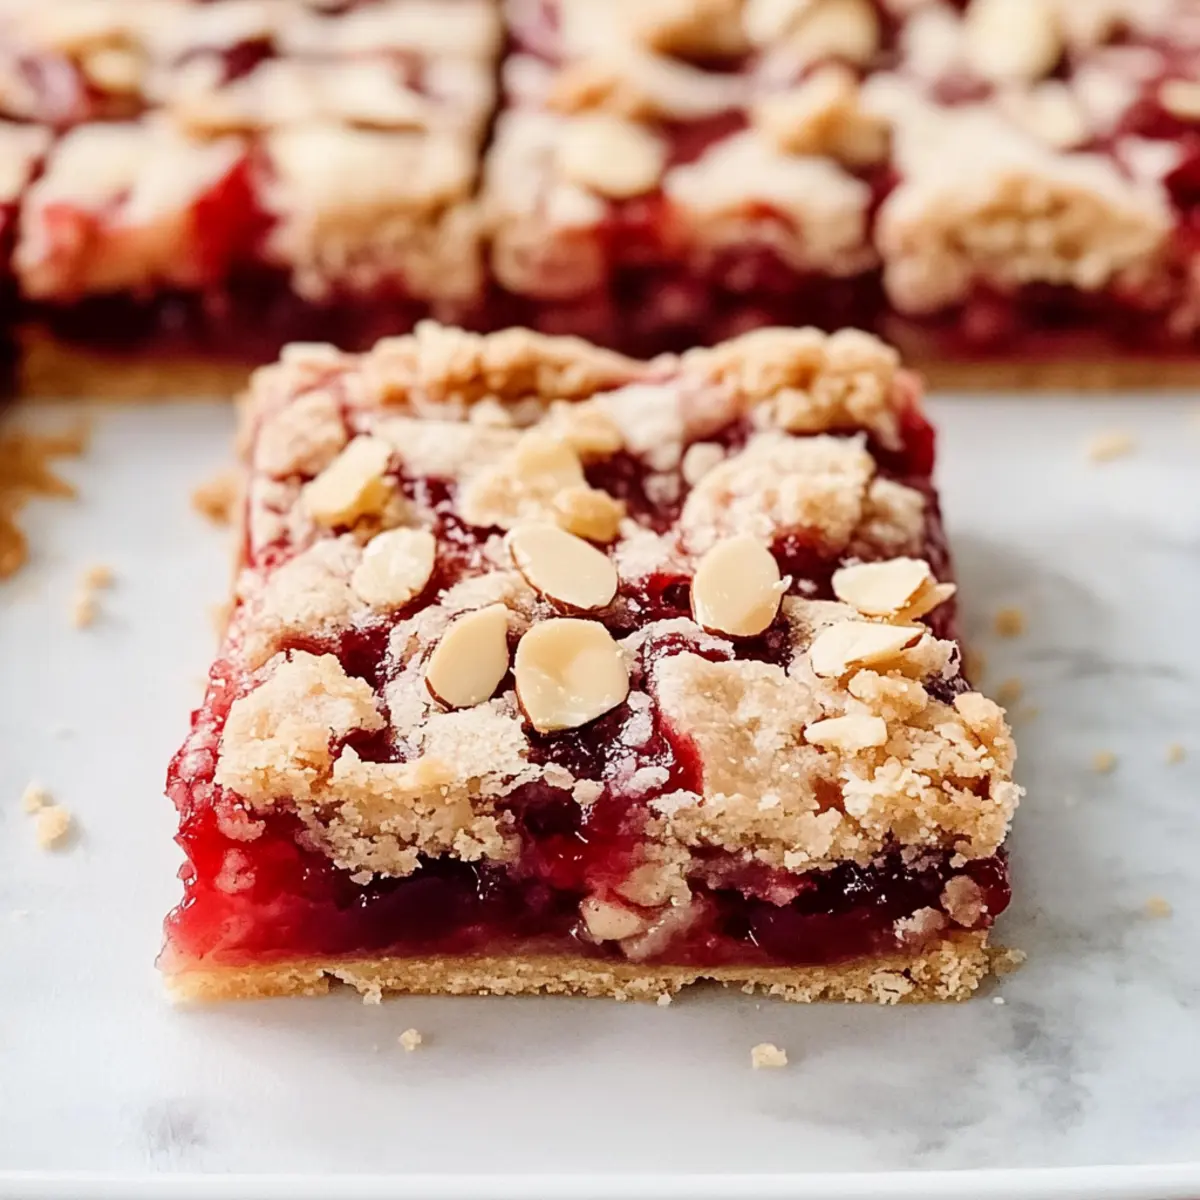
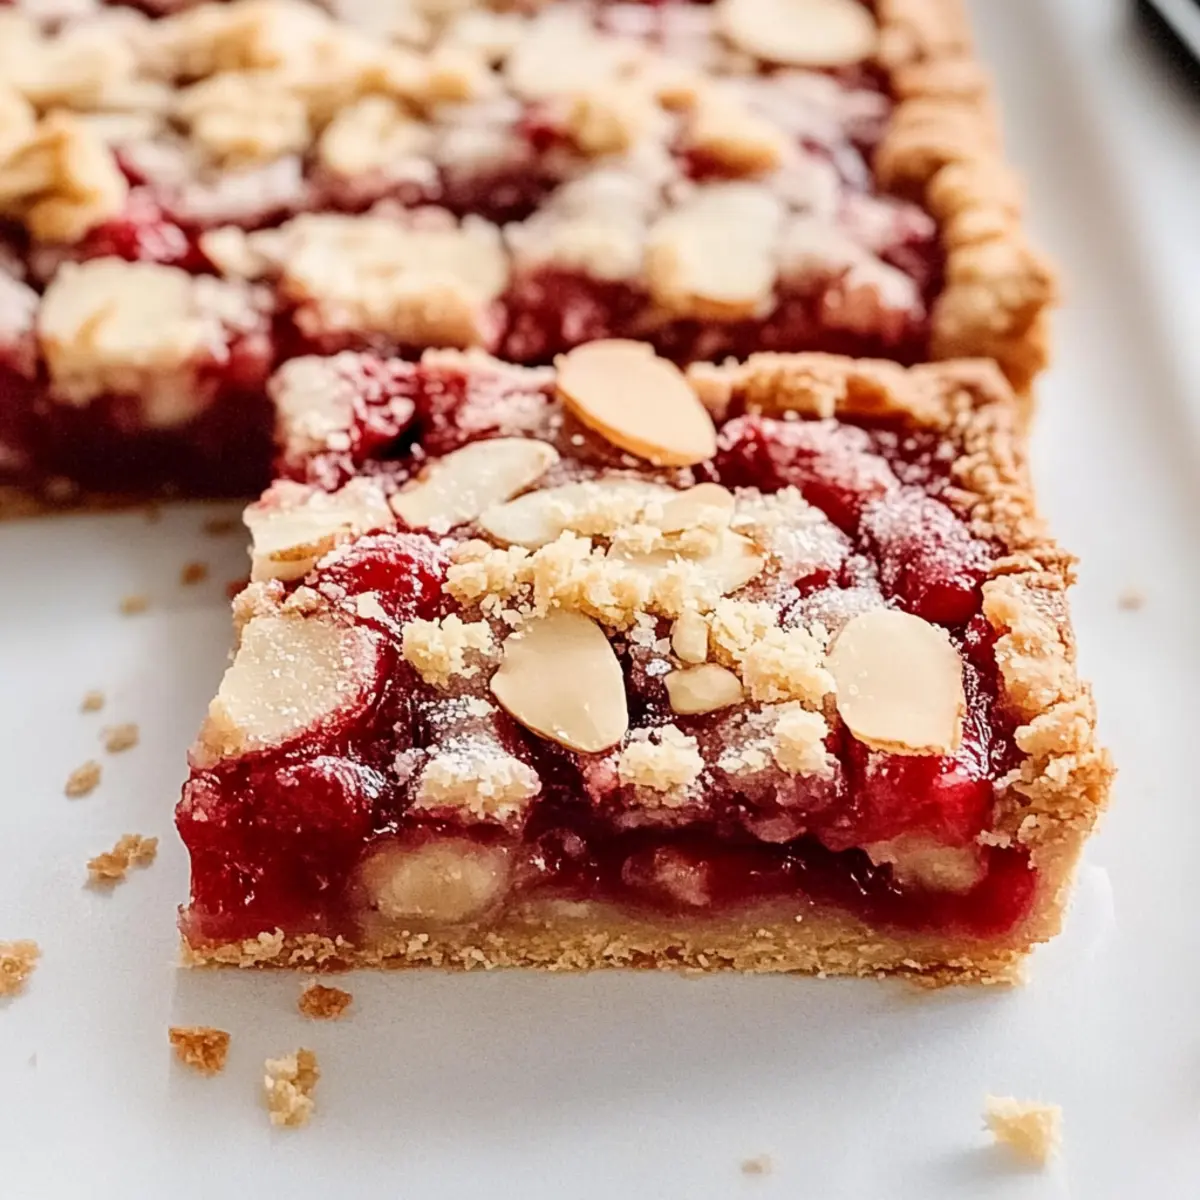
As I stood near my oven, the scent of cherry filling filled the air, instantly transporting me to summer picnics and warm family gatherings. These Easy Cherry Pie Bars with Cherry Pie Filling perfectly encapsulate those nostalgic feelings, allowing you to enjoy the classic flavors of cherry pie in a delightful bar format. What’s more, they’re super easy to whip up, making them a go-to dessert for any occasion, whether it’s a cozy night in or a lively potluck. With soft, flaky crusts and a crumbly almond topping, you’ll find yourself reaching for seconds—and maybe even thirds! Are you ready to dive into a sweet treat that’s sure to impress your friends and family?
Why Are Cherry Pie Bars So Irresistible?
Easy preparation: These Cherry Pie Bars are a breeze to make, requiring minimal culinary skills and just a few pantry staples.
Year-round delight: With the help of canned cherry filling, you can enjoy this taste of summer any time of the year, making them perfect for any season or occasion.
Advertisement
Crowd-pleaser: Whether it’s a family gathering or a potluck, these bars are always a hit! Everyone loves their sweet-tart flavor topped with buttery crumbs.
Versatile flavors: Don’t limit yourself to cherries! Feel free to explore using different fruit fillings like raspberry or even a mix, much like in Moist Chocolate Cherry Cake, to keep things exciting.
Perfect texture: The combination of a soft, flaky crust with a crunchy almond topping creates a delightful contrast in every bite. You’ll quickly find these bars hard to resist!
Serve hot or cold: Enjoy them warm with a scoop of vanilla ice cream for an indulgent treat, or serve cold with whipped cream for a refreshing dessert option.
Cherry Pie Bars Ingredients
• Get ready to bake these delicious cherry pie bars!
For the Crust and Topping
- All-Purpose Flour – Essential for the structure of both the crust and topping; use a gluten-free blend for a gluten-free option.
- Baking Soda – Helps the bars rise and creates a fluffy texture; no need for substitutions here.
- Salt – Enhances flavor; omit if you’re using salted butter.
- Cinnamon – Adds warmth; optional if you prefer a more classic cherry pie taste.
- Granulated Sugar – Sweetens the crust; swap with coconut sugar for a deeper, richer flavor.
- Light Brown Sugar – Contributes moisture and hints of caramel; can be replaced with more granulated sugar if needed.
- Butter (melted) – Binds everything together; opt for unsalted butter for better control over salt levels.
- Vanilla Extract – Infuses depth of flavor; almond extract makes for a great alternative if desired.
- Almond Extract – Beautifully complements the cherry flavor; skip if there’s an allergy, and use more vanilla instead.
- Sliced Almonds – Offers a delightful crunch to the topping; feel free to substitute with crushed pecans or walnuts.
For the Cherry Filling
- Canned Cherry Pie Filling – The star ingredient that delivers sweetness and convenience; homemade versions can work wonders too!
- Cornstarch – Thickens the filling for perfect slices; can be switched out with tapioca starch if you prefer.
- Lemon Juice – Brightens up the cherry flavor; it’s optional but recommended for extra zest.
For the Vanilla Glaze (Optional)
- Additional Vanilla Glaze – This is a lovely way to enhance sweetness and give your bars a beautiful finish; totally optional, but highly suggested!
Step‑by‑Step Instructions for Cherry Pie Bars with Cherry Pie Filling
Step 1: Preheat and Prepare
Preheat your oven to 350°F (175°C) and prepare a square baking pan by generously greasing it or lining it with parchment paper. This will prevent the edges of your delicious Cherry Pie Bars from sticking, which helps in achieving perfect slices later on.
Step 2: Mix the Dry Ingredients
In a large mixing bowl, whisk together the all-purpose flour, baking soda, salt, and cinnamon. Ensure there are no lumps; this step is essential for evenly distributing the leavening agent and spices throughout the mixture, creating a delightful base for your bars.
Step 3: Combine the Wet Ingredients
In another bowl, combine the melted butter, granulated sugar, brown sugar, vanilla extract, and almond extract. Using a whisk, mix until fully combined and smooth—this will add a rich flavor to your crust and topping. The mixture should be glossy and slightly thick.
Step 4: Create the Dough
Gently fold the dry ingredients into the wet ingredients until just combined. Reserve 3/4 cup of this dough for the topping, and set it aside. The remaining dough will form the base of your Cherry Pie Bars, ensuring a soft and flaky foundation.
Step 5: Bake the Base
Press the main portion of the dough evenly into the bottom of your prepared baking pan, smoothing it out with the back of a spatula. Bake this crust for 14-16 minutes, or until it is set and lightly golden around the edges, creating the perfect foundation for your cherry filling.
Step 6: Prepare the Cherry Filling
While the crust bakes, take a saucepan and combine the canned cherry pie filling with a cornstarch slurry. Add lemon juice and a pinch of salt, then simmer over medium heat for about 5 minutes, stirring occasionally until the mixture thickens slightly. This step enhances the texture of your filling.
Step 7: Assemble the Bars
Once the baked crust is partially cooled, pour the thickened cherry filling evenly over the top. Make sure to spread it out right to the edges, treating your Cherry Pie Bars with love. Sprinkle the reserved dough mixture mixed with sliced almonds over the cherry filling to create a delightful crumbly topping.
Step 8: Bake the Bars Again
Return the pan to the oven and bake for an additional 38-40 minutes. You’ll want to look for a golden, crisp topping and bubbly filling as visual cues. The wonderful aroma filling your kitchen will also signal that these bars are nearing completion!
Step 9: Cool and Glaze
Once baked, allow the Cherry Pie Bars to cool in the pan completely before drizzling with the optional vanilla glaze for an extra touch of sweetness. If you can resist the temptation, chilling the bars for about 15 minutes in the fridge will make cutting them even easier!
Step 10: Slice and Serve
Finally, once cooled and glazed, slice the bars into squares. These enticing Cherry Pie Bars with Cherry Pie Filling are now ready to be served! Rejuvenate your picnics or gatherings with each delightful slice, enjoying the combination of flaky crust and sweet-tart filling.
Make Ahead Options
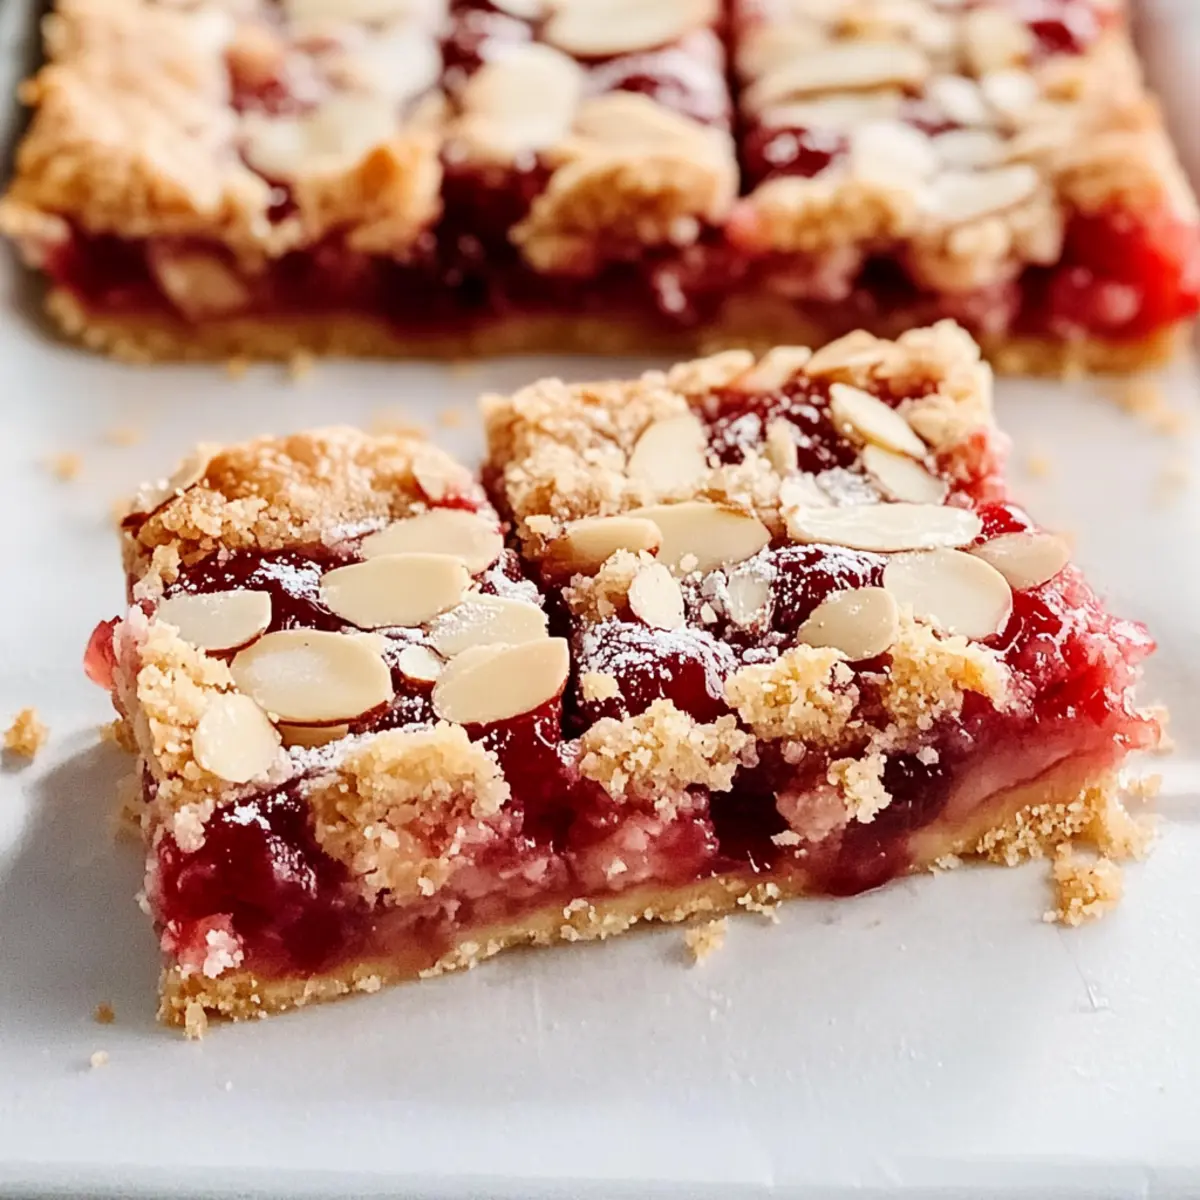
These Easy Cherry Pie Bars with Cherry Pie Filling are perfect for busy home cooks looking to save time! You can prepare the crust and topping up to 24 hours in advance by mixing and storing them in an airtight container in the refrigerator. Additionally, the cherry filling can be simmered and cooled up to 3 days before assembly, ensuring all flavors meld beautifully. When you’re ready to enjoy, simply layer the chilled filling over the crust, sprinkle the topping, and bake as per the instructions. This meal prep strategy not only enhances flavor but also makes serving stress-free, allowing you to enjoy these delicious bars with minimal effort!
Expert Tips for Cherry Pie Bars
• Cool Completely: Allow the bars to cool entirely before slicing to maintain their shape and avoid messy edges.
• Thicken the Filling: Simmering the cherry pie filling is key for achieving the right consistency in your bars. This helps it hold up nicely when sliced.
• Chill for Ease: If you find cutting your bars tricky, chill them in the freezer for about 15 minutes prior to slicing. This makes for cleaner cuts!
• Ingredient Substitutions: Don’t hesitate to swap ingredients! For a gluten-free option, use a blend of gluten-free flours instead of all-purpose flour in these Cherry Pie Bars with Cherry Pie Filling.
• Batch Variations: Experiment with different fruit fillings or spices to create unique flavors. You might just find a new favorite!
• Glaze Tips: The vanilla glaze is optional but adds a lovely finish. Drizzle it on for added sweetness that complements the cherry flavor perfectly.
Cherry Pie Bars with Cherry Pie Filling Variations
Feel free to get creative with these cherry pie bars—your taste buds will thank you!
-
Gluten-Free: Swap all-purpose flour with a gluten-free flour blend to enjoy these bars without gluten. It’s just as easy and delicious!
-
Fruit Alternatives: Use canned blackberry, raspberry, or apple pie filling instead of cherry for a different fruity experience. Mixing fillings can create delightful surprises!
-
Citrus Burst: Replace almond extract with lemon or orange extract for a refreshing citrus kick. This twist can brighten the flavor profile beautifully.
-
Spiced Delight: Add ground nutmeg or cardamom to the crust mixture for a warm, spicy note. Just a pinch can elevate the overall flavor.
-
Nuts & Seeds: Substitute sliced almonds with crushed walnuts, pecans, or even pumpkin seeds for added crunch. Each offers a unique twist that complements the cherry filling.
-
Vegan Friendly: Use coconut oil instead of butter, and substitute the eggs by incorporating flaxseed meal or unsweetened applesauce for a delicious vegan version.
-
Tropical Touch: Mix in some shredded coconut with the crust or topping for a tropical vibe. Pairing coconut with cherry can be a delightfully unexpected combination.
-
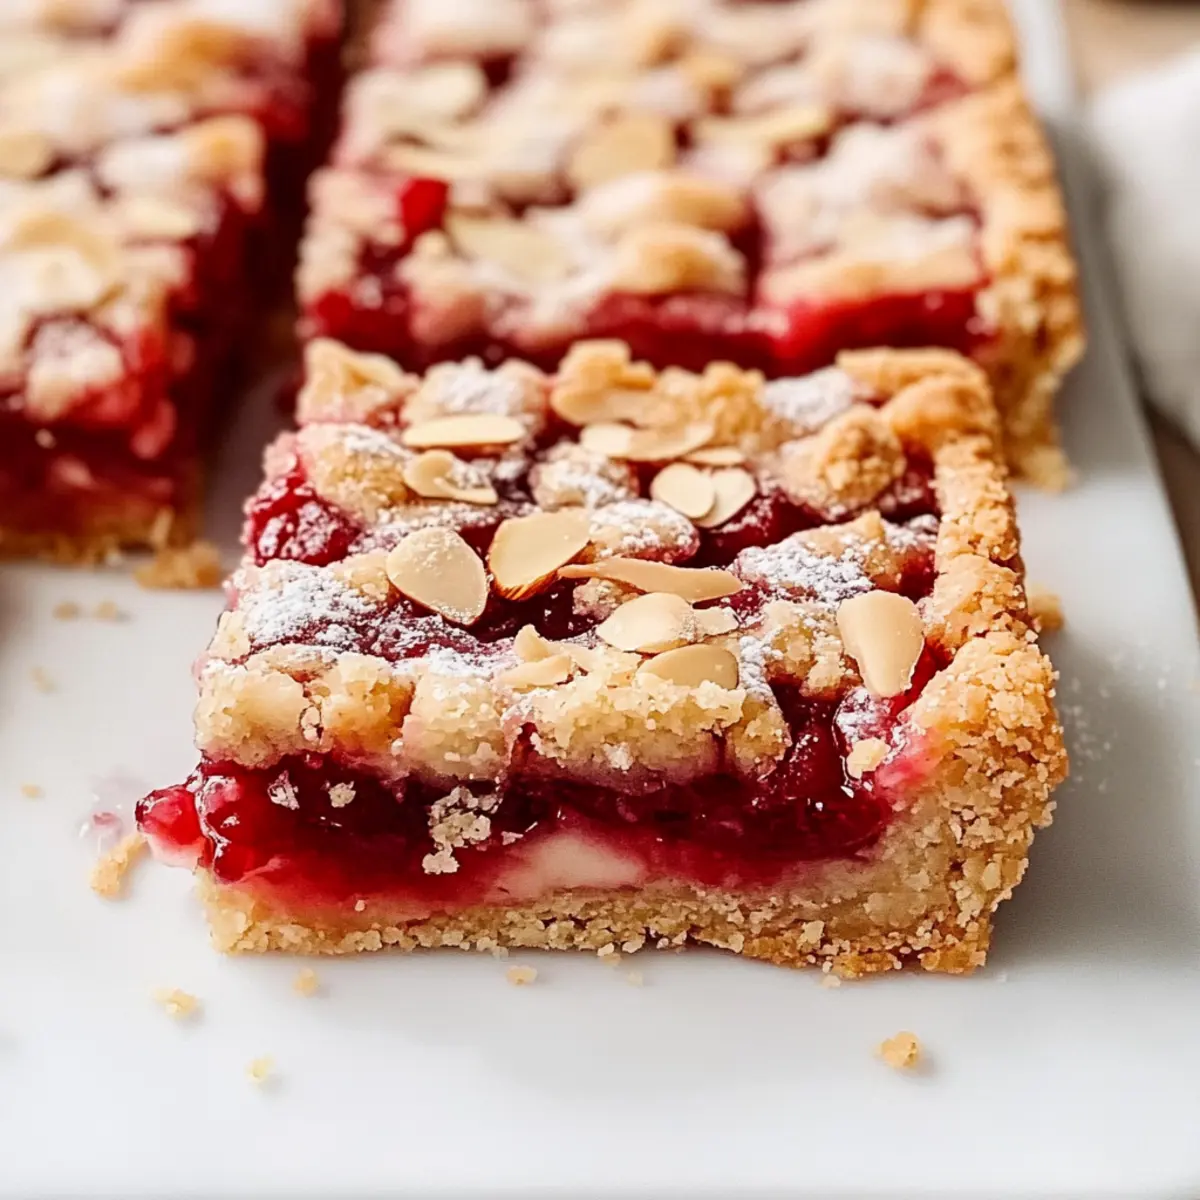
Cheesecake Layer: Try adding a layer of cream cheese mix below the cherry filling for a creamy variation that brings a cheesecake vibe to the classic!
For more delicious ideas, don’t forget to check out my recipes for Cookie Cheesecake Bars and Cherry Danish Pastries. Enjoy experimenting!
How to Store and Freeze Cherry Pie Bars
Room Temperature: Store leftover Cherry Pie Bars in an airtight container at room temperature for up to 3 days to maintain their delightful texture and flavor.
Fridge: If you’d like to keep them a bit longer, refrigerate for up to a week; make sure to use a tightly sealed container to prevent drying out.
Freezer: For longer preservation, freeze the bars for up to 8 weeks. Place them in an airtight container or wrap securely in plastic wrap to avoid freezer burn.
Thawing: To enjoy your frozen Cherry Pie Bars, thaw them overnight in the refrigerator before serving, and consider drizzling on some fresh vanilla glaze for extra sweetness!
What to Serve with Easy Cherry Pie Bars with Canned Filling
Indulging in cherry pie bars isn’t just about the bars themselves; it’s about creating a complete experience that delights the senses.
- Vanilla Ice Cream: This classic pairing adds creamy richness, melting beautifully over warm bars for a delightful contrast.
- Whipped Cream: Light and fluffy, homemade whipped cream adds a lovely touch of sweetness that enhances the cherry flavor.
- Chocolate Sauce: A drizzle of chocolate sauce adds a rich, decadent twist, perfect for chocolate lovers seeking an indulgent dessert.
- Fresh Berries: Serve alongside a mix of fresh berries for a burst of freshness and a pop of color that complements the sweet-tart cherry taste.
- Lemonade or Iced Tea: Refreshing beverages like lemonade or iced tea balance the sweetness, perfect for sunny afternoons or gatherings.
- Coffee or Tea: A warm cup of coffee or tea provides a comforting break from the sweetness, making it great for breakfast or afternoon snack.
- Nuts or Granola: For a crunchy texture contrast, serve with a sprinkle of chopped nuts or granola—adding a satisfying crunch.
- Cheese Board: A selection of mild cheeses can add a savory balance to the sweetness of the bars—perfect for a casual gathering.
- Coconut Flakes: Toasted coconut flakes add an exotic twist and complement the almond flavor beautifully in the bars.
Cherry Pie Bars with Cherry Pie Filling Recipe FAQs
How do I choose the best canned cherry pie filling?
When selecting a canned cherry pie filling, look for brands that use whole cherries and have a vibrant, deep color without excessive syrup. Picking a filling that mentions “natural” or “premium” on the label will usually yield a richer flavor. I recommend checking for any added preservatives so you can enjoy a fresher taste!
How should I store leftover cherry pie bars?
To store your Cherry Pie Bars properly, place them in an airtight container at room temperature for up to 3 days. If you’d like to keep them for longer, transfer them to the refrigerator where they can last for up to a week. Just ensure they are well sealed to keep their inviting texture!
Can I freeze cherry pie bars?
Absolutely! To freeze your Cherry Pie Bars, cool them completely, then slice them into individual bars. Wrap each piece in plastic wrap and place them in an airtight container or freezer bag. They can be stored in the freezer for up to 8 weeks. Thaw them overnight in the refrigerator before serving for the best taste!
What if the cherry filling is too runny?
If your cherry filling ends up too runny, don’t worry! You can thicken it by simmering it with an extra teaspoon of cornstarch mixed with a little cold water. Stir continuously until it reaches your desired consistency. This should take about 3-5 minutes on medium heat, and it helps create a luscious filling that holds well in the bars.
Are there any dietary considerations for cherry pie bars?
Yes, if you’re making these for guests with allergies, be sure to inform them that the bars contain gluten from all-purpose flour and potentially nuts from the almond topping. For gluten-free options, you can substitute with a gluten-free flour blend. If using almond extract, feel free to replace it with more vanilla extract in case of nut allergies.
How long should I wait before slicing the bars?
It’s best to let your Cherry Pie Bars cool completely in the pan once they’re out of the oven. This can take about 30 minutes to an hour. Cooling ensures that the filling sets properly and won’t ooze out when you slice into them—resulting in perfectly shaped bars that everyone will love!
Delicious Cherry Pie Bars with Cherry Pie Filling for Everyone
Ingredients
Equipment
Method
- Preheat your oven to 350°F (175°C) and prepare a square baking pan by greasing it or lining it with parchment paper.
- In a large mixing bowl, whisk together the all-purpose flour, baking soda, salt, and cinnamon, ensuring no lumps remain.
- In another bowl, combine the melted butter, granulated sugar, brown sugar, vanilla extract, and almond extract; mix until smooth.
- Fold the dry ingredients into the wet ingredients until just combined. Reserve 3/4 cup of the dough for topping.
- Press the main portion of the dough into the bottom of the prepared baking pan and bake for 14-16 minutes until golden.
- In a saucepan, combine the cherry pie filling with a cornstarch slurry, lemon juice, and a pinch of salt; simmer until thickened.
- Once the crust has cooled, pour the cherry filling over it, then sprinkle the reserved dough mixed with sliced almonds on top.
- Bake for an additional 38-40 minutes until the topping is golden and the filling is bubbly.
- Allow the bars to cool completely in the pan before drizzling with the optional vanilla glaze.
- Slice the cooled bars into squares and serve.