Advertisement
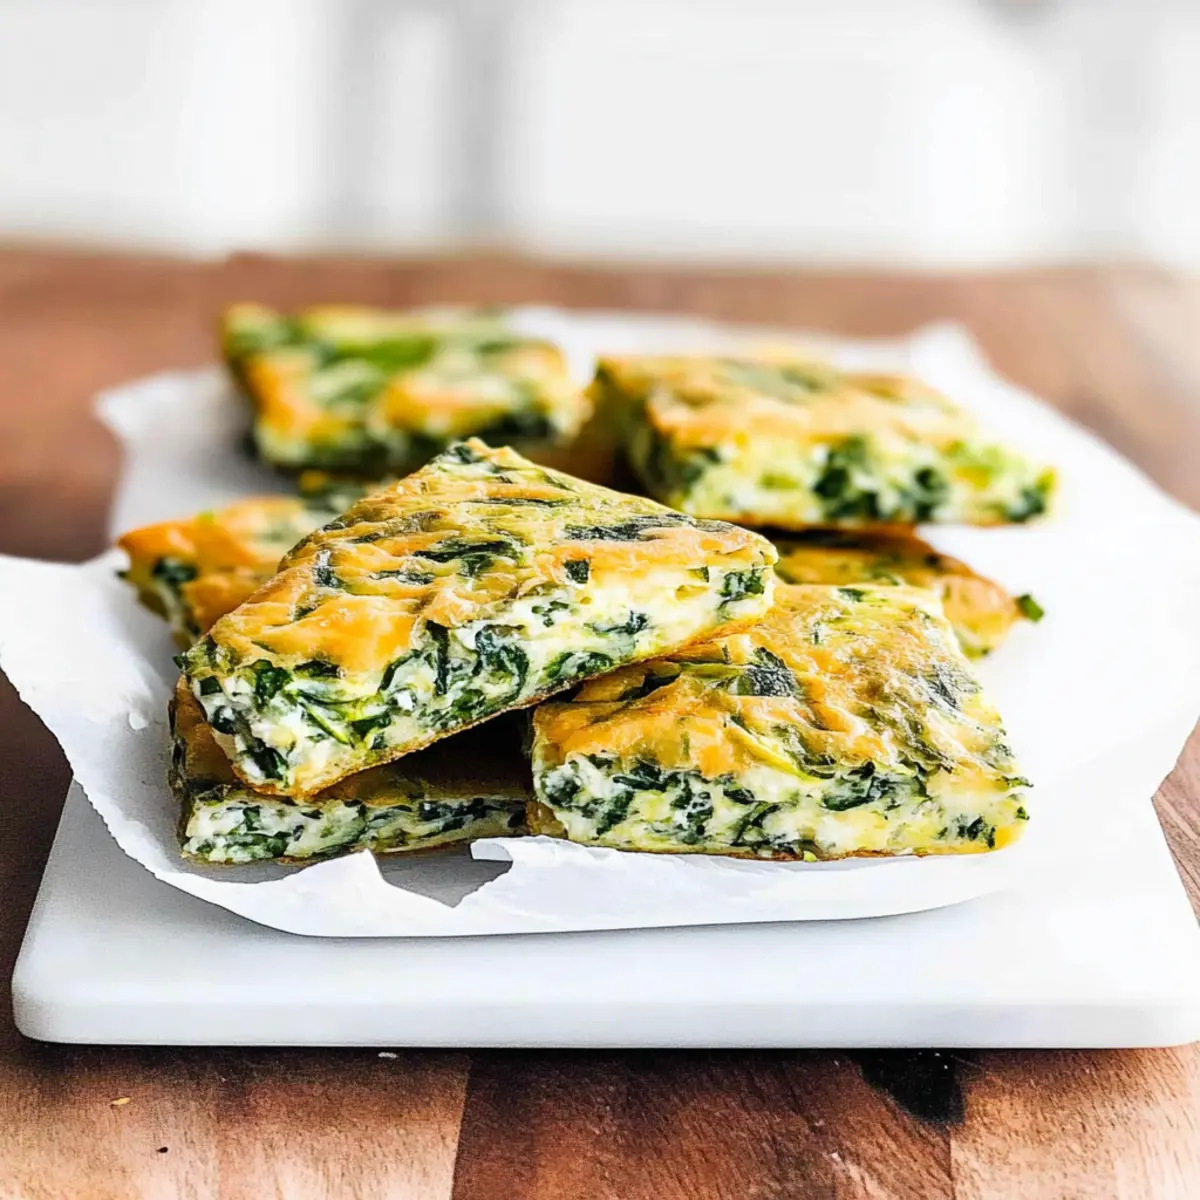
As I stood in my kitchen, the sun streaming in, I realized how easy it is to turn a few simple ingredients into something truly special. These Baked Spinach Zucchini Frittata Fingers are not just delightful—they’re a fantastic way to nurture little taste buds while keeping the big ones happy too! Designed for baby-led weaning, this recipe showcases a nutritious mix of veggies, making them a healthy snack for everyone in the family. Plus, they’re quick to whip up and freezer-friendly, meaning you’ll always have a tasty option on hand for busy mornings or spontaneous snack attacks. Ready to discover how to make this irresistible frittata delight? Let’s dive in!
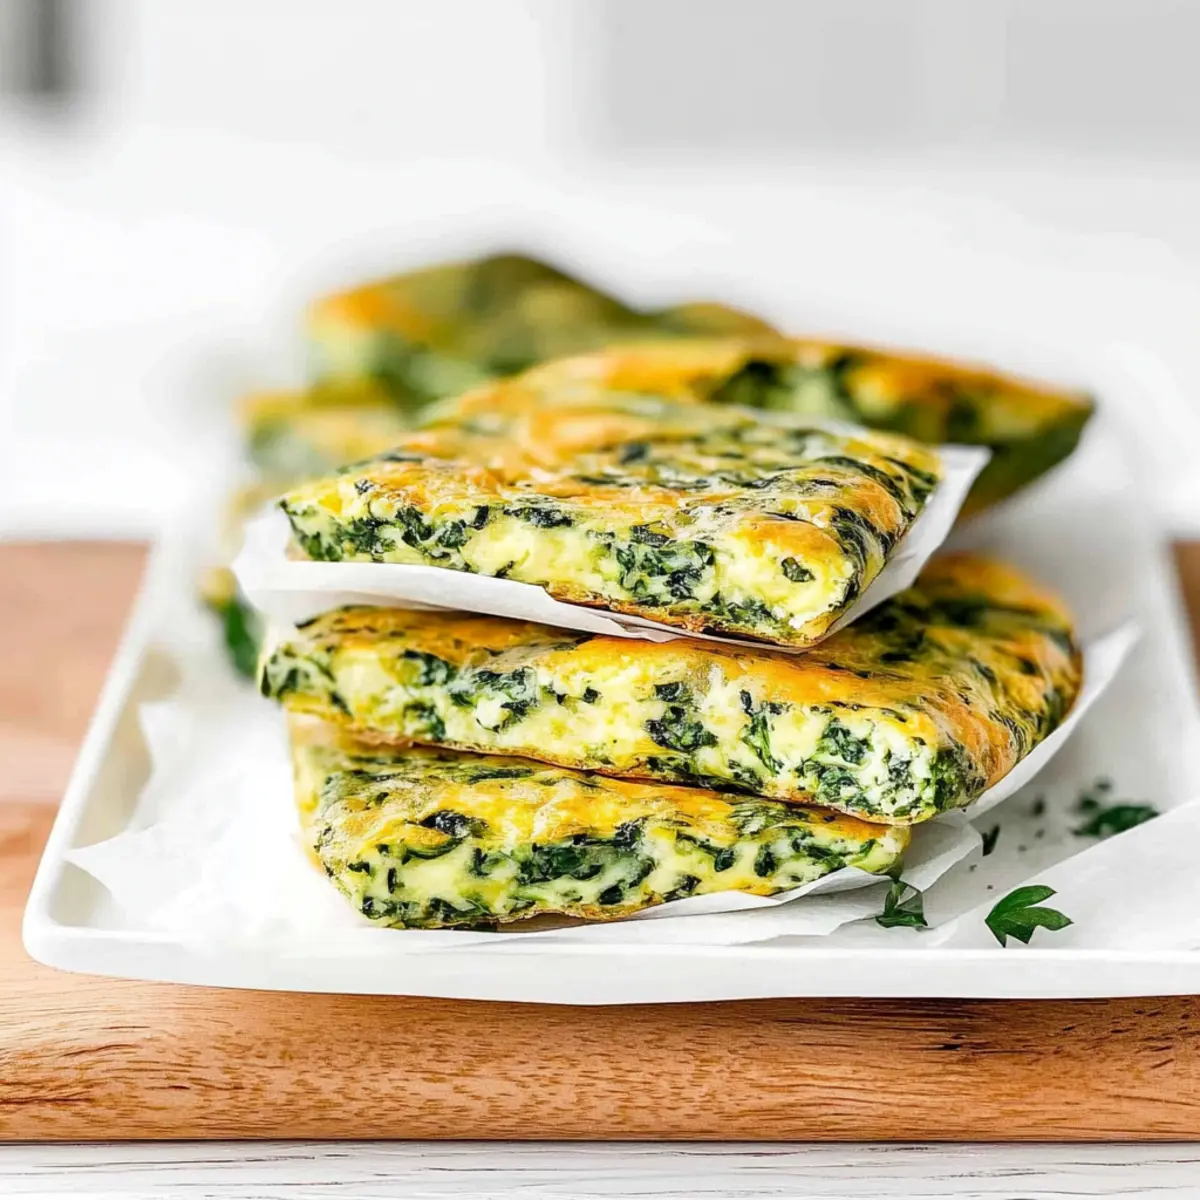
Why Are Baked Frittata Fingers a Must-Try?
Wholesome and Nutritious: These Baked Spinach Zucchini Frittata Fingers are packed with essential nutrients, perfect for nurturing healthy eating habits from a young age.
Easy Preparation: With a simple combination of ingredients and straightforward steps, whipping up these frittata fingers is hassle-free.
Advertisement
Versatile Snacking: You can customize them with various veggies or spices, keeping snack time exciting and enjoyable for the whole family.
Freezer-Friendly: Want to save time? These frittata fingers are freezer-friendly and can be made in batches for quick snacks throughout the week.
Crowd-Pleasing Delight: Whether for toddlers or adults, these delightful bites are sure to please every palate, making them an ideal choice for family gatherings or playdates.
Pair them with yogurt or hummus for a balanced meal, and experience a nutritious snack packed with flavor!
Baked Spinach Zucchini Frittata Fingers Ingredients
For the Frittata Base
- Olive Oil – Adds moisture and flavor; substitute with avocado oil for a unique twist.
- Grated Zucchini – Provides moisture and nutrients; fresh is best, but frozen works if well chopped.
- Frozen Spinach Nuggets (or cooked spinach) – Adds vitamins and minerals; use about 1/4 cup of finely chopped cooked spinach if needed and squeeze excess moisture if thawed.
- Large Eggs – Serves as a binding agent and adds protein; no substitutes recommended for stability.
- Whole-Wheat Flour (or oat flour) – Offers slight structure; can be swapped with gluten-free flour if necessary.
- Onion Powder – Enhances the frittata’s flavor; feel free to leave it out if you prefer.
- Grated Cheddar Cheese (optional) – Adds a creamy taste; can be omitted for a dairy-free option or replaced with an alternative cheese.
Serving Suggestions
- Yogurt or Hummus – Pair for a balanced meal or snack, making these Baked Spinach Zucchini Frittata Fingers even more delightful!
Enjoy these nutritious bites as a fun and engaging way to snack for everyone in the family!
Step‑by‑Step Instructions for Baked Spinach Zucchini Frittata Fingers
Step 1: Preheat and Prepare
Begin by preheating your oven to 350°F (175°C) while you prepare your baking dish. Grease an 8×8 inch baking dish lightly with olive oil and line the bottom and sides with parchment paper for easy removal. This crucial step ensures that your Baked Spinach Zucchini Frittata Fingers won’t stick, allowing for beautiful presentation when serving.
Step 2: Sauté the Veggies
Heat a medium frying pan over medium heat and add a splash of olive oil. Once the oil is shimmering, incorporate the grated zucchini and frozen spinach nuggets. Sauté this mixture for about 3–4 minutes, stirring occasionally, until the vegetables are softened and all excess moisture is evaporated. This fragrant step enhances the flavor of your frittata fingers.
Step 3: Whisk the Egg Mixture
In a separate mixing bowl, crack in the large eggs and whisk them until they are light and frothy. Gradually add in the whole-wheat flour and, if desired, grated cheddar cheese and onion powder. Mix thoroughly for about 1–2 minutes until the ingredients are fully combined. The egg mixture is the heart of your Baked Spinach Zucchini Frittata Fingers, providing structure and nutrition.
Step 4: Combine the Mixtures
Carefully fold the sautéed vegetable mixture into the egg base using a rubber spatula. Ensure that the zucchini and spinach are evenly distributed throughout the egg mixture without overmixing. This will allow your frittata fingers to be moist and flavorful. The vibrant colors of the vegetables should be visible in the mixture, showcasing the nutritious ingredients.
Step 5: Transfer to Baking Dish
Pour the combined egg and vegetable mixture into the prepared baking dish, spreading it out evenly to ensure consistent baking. Smooth the top with the spatula, making sure there are no air pockets present. This step is essential for uniform cooking, as it helps the Baked Spinach Zucchini Frittata Fingers set perfectly, resulting in delightful bites.
Step 6: Bake to Perfection
Place the baking dish in the preheated oven and bake for 15–20 minutes. Keep an eye on the frittata fingers, looking for the egg to be fully set and the edges to turn a light golden brown. You can gently shake the dish; if it no longer jiggles, your frittata fingers are ready to come out of the oven.
Step 7: Cool and Cut
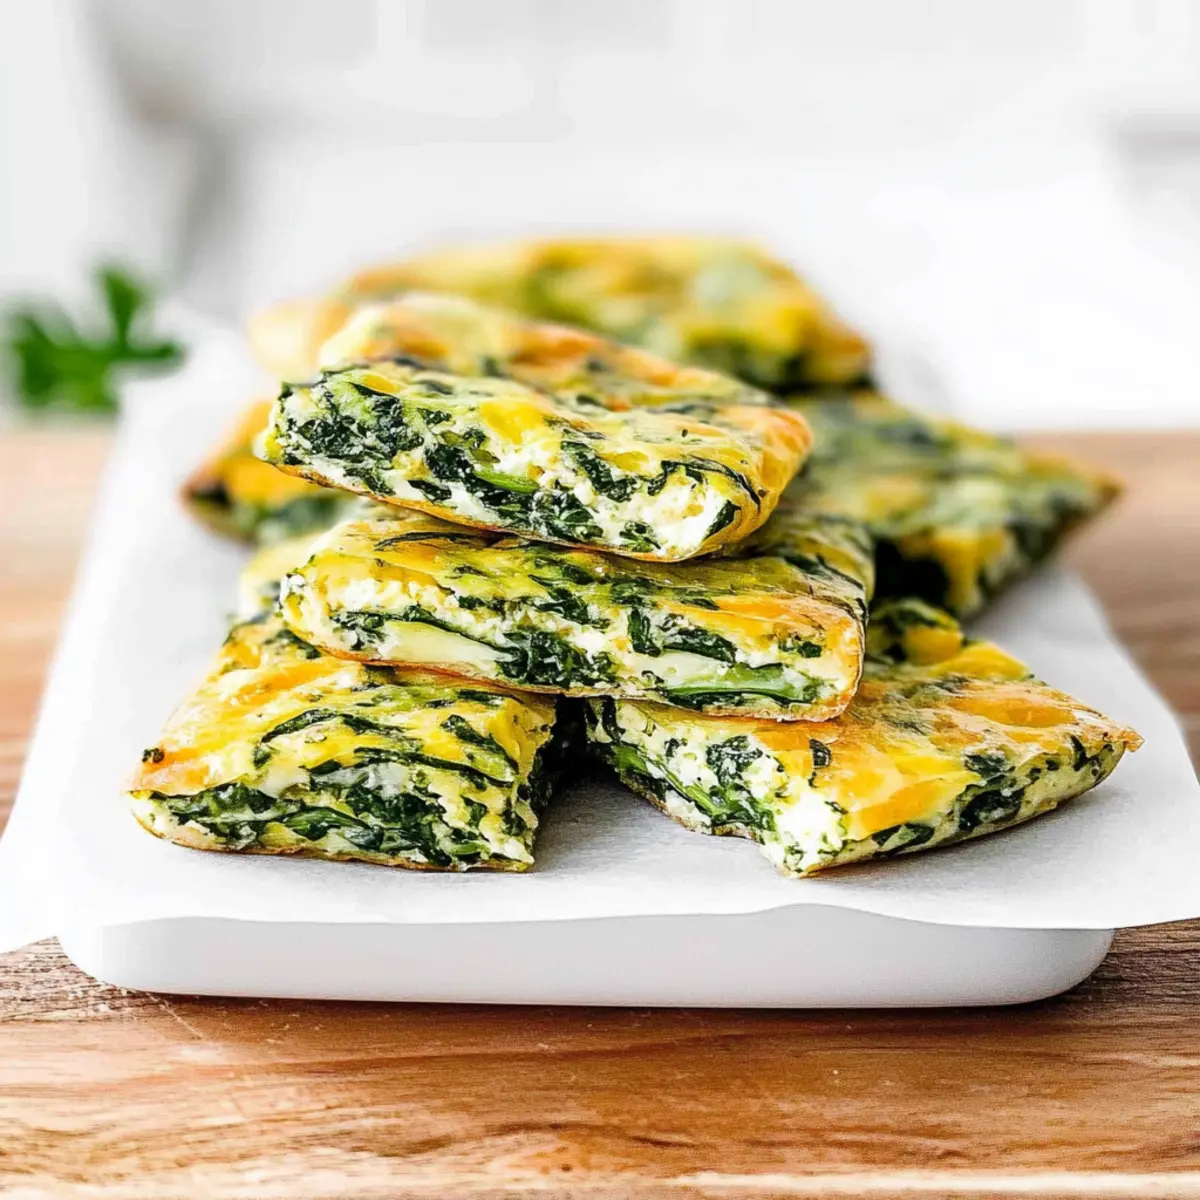
Once baked, remove the dish from the oven and let it cool for about 5–10 minutes. Use the parchment paper to lift the frittata fingers out of the dish. Place them on a cutting board, and slice them into strips or squares, providing an easy-to-handle snack. This cooling step ensures that the slices hold their shape and are easier to enjoy, making them perfect for little hands.
Expert Tips for Baked Spinach Zucchini Frittata Fingers
-
Choose Fresh Veggies: Fresh grated zucchini yields better moisture and flavor. If using frozen spinach, ensure to squeeze out excess water before mixing.
-
Don’t Overmix: When combining the sautéed veggies into the egg mixture, fold gently to maintain a fluffy texture in your Baked Spinach Zucchini Frittata Fingers.
-
Adjust Baking Time: Every oven is different; keep an eye on your frittata fingers. They should be set with a slight golden edge but not overbaked to avoid dryness.
-
Cut with Care: Let the frittata cool for a few minutes before cutting. This helps the strips hold their shape and makes handling easier for little fingers.
-
Experiment with Flavors: Feel free to swap in other veggies or herbs according to your family’s taste preferences. This flexibility keeps snack time interesting and nutritious!
How to Store and Freeze Baked Spinach Zucchini Frittata Fingers
Fridge: Store leftovers in an airtight container in the refrigerator for up to 4 days to maintain freshness and flavor.
Freezer: For longer storage, freeze individual frittata fingers separated by parchment paper in a container for up to 3 months.
Thawing: To enjoy your frozen frittata fingers, thaw them overnight in the fridge or microwave them on low for quick reheating.
Reheating: Warm gently in the microwave or oven until heated through; this keeps the texture delightful for both little and big hands.
What to Serve with Baked Spinach Zucchini Frittata Fingers
Looking to create a well-rounded meal that’s not only nourishing but also enticing for everyone at your table?
- Creamy Yogurt Dip: A cool, tangy dip enhances the frittata’s flavors and adds a refreshing touch, perfect for dipping.
- Classic Hummus: This protein-packed spread complements the delicate flavors of the frittata fingers while offering a nutty richness that kids love.
- Crunchy Carrot Sticks: Fresh, crisp carrots provide a satisfying crunch and a sweet contrast to the savory bites, boosting both nutrition and texture.
- Sweet Apple Slices: Pairing with apple slices adds a bright, sweet note to the meal, balancing savory and sweetness in every bite.
- Mixed Green Salad: A light salad with vinaigrette can elevate your meal, adding fresh textures and colors that appeal to both adults and kids.
- Fruit Smoothie: A nutritious smoothie can be a delightful drink option, blending flavors like banana and spinach for a sweet yet savory experience.
- Herb-Infused Olive Oil: Drizzling some infused olive oil for dipping can add an extra layer of flavor, bringing a gourmet touch to this simple snack.
- Cheesy Garlic Bread: For a comforting side, warm, cheesy garlic bread pairs well, offering a delightful crunch alongside the frittata’s softness.
- Zesty Lemonade: A homemade lemonade will refresh the palate, providing a bright and tangy drink option that complements the healthy dish beautifully.
- Dark Chocolate Covered Almonds: For a sweet finish, these treats add a hint of indulgence and crunch, making snack time feel extra special.
Baked Spinach Zucchini Frittata Fingers Variations
Feel free to explore different twists and substitutions to make these frittata fingers your own! Each variation brings new flavors and textures to the table.
-
Vegetable Boost: Incorporate bell peppers or kale for added nutrients and flavor. Simply chop them finely and sauté with other veggies.
-
Cheese Swap: Experiment with feta or goat cheese for a tangy kick. Crumble it into the egg mixture before baking for a delightful surprise.
-
Herb-Infused: Add a blend of fresh herbs like basil or parsley for a fragrant upgrade. A sprinkle will brighten the dish and enhance the overall taste.
-
Spiced Up: Introduce a pinch of cayenne pepper or smoked paprika to kick things up a notch. This will add warmth and depth to the frittata fingers.
-
Texture Twist: For a unique texture, try baking these in greased muffin tins instead of a square dish. This gives you perfectly portioned frittata bites.
-
Grain-Free Option: Substitute almond flour or coconut flour for a grain-free version that caters to various dietary needs. Just adjust the amount for the right consistency.
-
Adding Protein: Mix in cooked chicken or chickpeas to create a heartier snack. This addition will make them even more filling for older family members.
-
Sweet Potato Addition: Add some grated sweet potato for a sweet contrast that pairs beautifully with the veggies. This not only adds flavor but also lifts nutritional value.
These variations can transform your Baked Spinach Zucchini Frittata Fingers into a dish everyone will love. Why not try pairing them with a dollop of yogurt or hummus for a balanced meal? And if you’re ever looking for more delicious ideas, don’t forget to check out Healthy Baked Lemon or Crispy Oven Baked Chicken for some hearty inspiration!
Make Ahead Options
These Baked Spinach Zucchini Frittata Fingers are perfect for busy home cooks wishing to streamline mealtime! You can prepare the vegetable mixture (grated zucchini and spinach) up to 24 hours in advance; store it in an airtight container in the refrigerator to maintain freshness. Additionally, you can fully bake the frittata fingers and refrigerate them for up to 3 days. When ready to serve, simply reheat in the oven or microwave until warmed through. To keep these tasty bites just as delightful, be sure to layer parchment paper between slices if freezing, as they can be stored for up to three months. Enjoy restaurant-quality results with minimal effort on busy days!
Baked Spinach Zucchini Frittata Fingers Recipe FAQs
What is the best way to select zucchini for this recipe?
Absolutely! When selecting zucchini, look for ones that are firm, shiny, and free of dark spots or blemishes. Fresh, young zucchini will provide the best moisture and flavor. Avoid any that are oversized or have a dull appearance, as they may contain more seeds and be less tender.
How should I store the Baked Spinach Zucchini Frittata Fingers?
For optimal freshness, store your frittata fingers in an airtight container in the refrigerator for up to 4 days. I often prefer to separate layers with parchment paper to keep them from sticking together, ensuring easy access for snacking throughout the week.
Can I freeze these frittata fingers, and how?
Yes, these frittata fingers are fantastic for freezing! Once completely cooled, arrange them in a single layer on a baking sheet and place them in the freezer until firm (about 1-2 hours). Then, layer them with parchment paper in a freezer-safe container or bag for up to 3 months. This method prevents them from sticking together, allowing for easy retrieval later.
What should I do if my frittata fingers are too moist or soggy?
If you find your frittata fingers turn out too moist, it might be due to excess moisture in the vegetables. The key is to thoroughly squeeze out excess water from the spinach (if using thawed) and let the grated zucchini drain for a few minutes before sautéing. Adjusting the baking time may also help achieve a firmer texture—bake longer if necessary but avoid overbaking to prevent dryness.
Are these frittata fingers suitable for freezing after baking?
Very! Once your Baked Spinach Zucchini Frittata Fingers have cooled, you can stack them between layers of parchment paper and store them in an airtight container in the freezer for up to 3 months. To reheat, simply thaw in the fridge overnight and warm in the microwave or oven—this will keep them soft and delightful for your little ones!
Can my pets enjoy these frittata fingers?
While some ingredients like zucchini and eggs are safe for pets, it’s best to avoid giving them frittata fingers that contain onion powder or cheese, as these can be harmful to animals. If you’d like to share, consider making a pet-friendly version without these additives. Always check with your veterinarian if you’re unsure about certain ingredients!
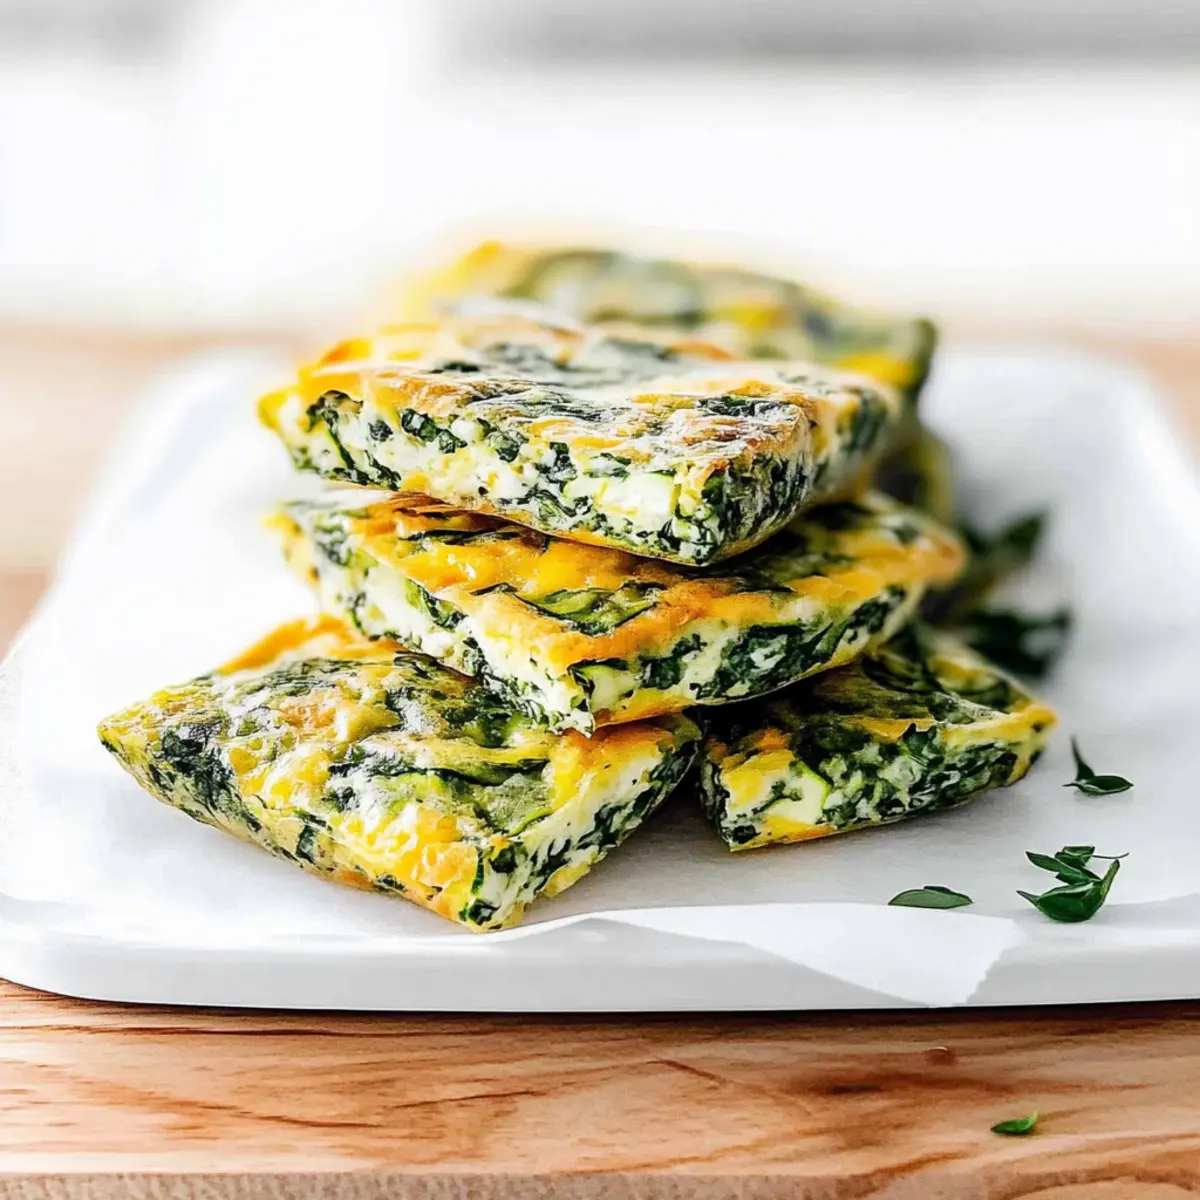
Baked Spinach Zucchini Frittata Fingers for Easy Healthy Snacking
Ingredients
Equipment
Method
- Preheat your oven to 350°F (175°C) while you prepare your baking dish. Lightly grease an 8x8 inch baking dish with olive oil and line with parchment paper.
- Heat a medium frying pan over medium heat and add a splash of olive oil. Sauté grated zucchini and frozen spinach nuggets for about 3–4 minutes until softened.
- In a mixing bowl, whisk the large eggs until light and frothy. Gradually add whole-wheat flour, grated cheddar cheese, and onion powder, mixing thoroughly.
- Fold the sautéed vegetable mixture into the egg base, ensuring an even distribution without overmixing.
- Pour the mixture into the prepared baking dish, spreading it evenly to ensure consistent baking.
- Bake in the preheated oven for 15–20 minutes until the egg is set and the edges turn light golden brown.
- Remove from the oven and let cool for about 5–10 minutes. Lift out using parchment paper and cut into strips or squares.