Advertisement
There’s something magical about the sound of crispy crunches mingling with the rich aroma of melted chocolate. In just a few minutes, I can transform these simple sensations into irresistible Chocolate Peanut Butter Crunch Cups—my new go-to, no-bake treat. With only three ingredients, this recipe is a dream come true for anyone looking to whip up a delightful snack without the fuss. Not only are these cups perfect for indulging your sweet tooth, but they’re also gluten-free, dairy-free, and kid-friendly, making them ideal for all ages. So, whether you’re prepping a quick dessert for a gathering or just treating yourself after a long day, these crunchy cups bring joy with every bite. Curious to dive into making these heavenly treats? Let’s get started!
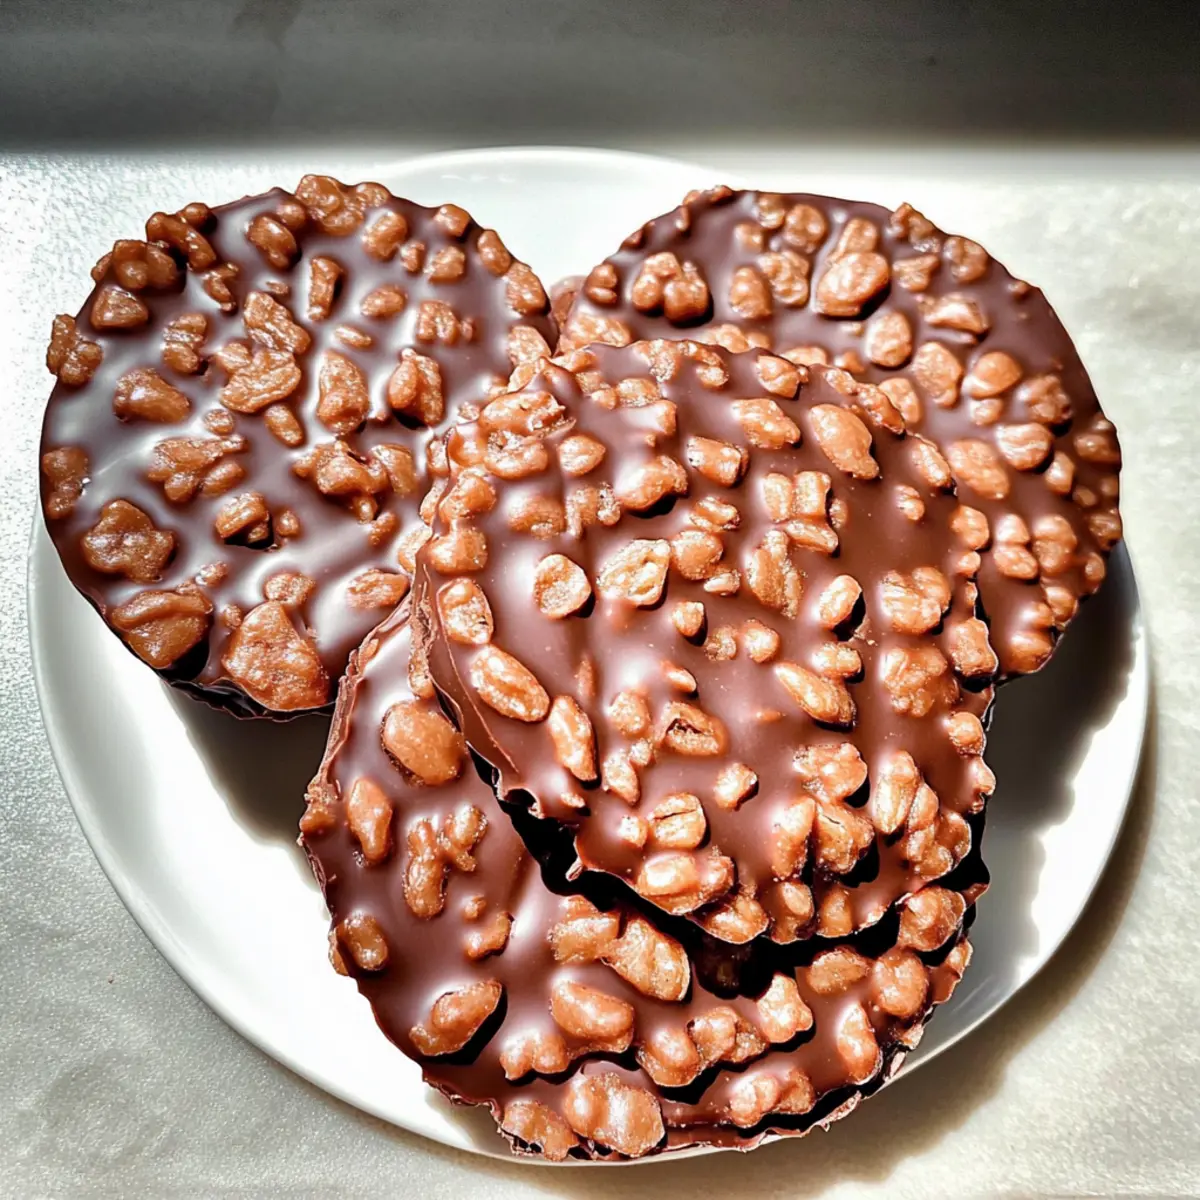
Why are these treats so irresistible?
Effortless Preparation: This recipe is a breeze, utilizing only three ingredients, making it perfect for busy days when you crave something sweet without the added hassle.
Kid-Friendly Fun: Kids love the combination of chocolate and peanut butter, plus they can help in the kitchen—making these cups a fantastic family activity.
Advertisement
Crunchy Satisfaction: The delightful crunch from the rice cereal perfectly balances the creamy peanut butter and rich chocolate, creating a satisfying texture in every bite.
Versatile Options: Feel free to customize the recipe with different nut butters or add-ins, like chopped nuts or a drizzle of white chocolate for a unique twist!
Guilt-Free Treat: Being gluten-free and dairy-free, these Chocolate Peanut Butter Crunch Cups are a great option for those with dietary restrictions, ensuring everyone can join in on the fun.
Crowd-Pleasing Delight: Whether for a playdate or a casual gathering, these treats will impress friends and family alike, offering a delicious alternative to fast food snacks.
Chocolate Peanut Butter Crunch Cups Ingredients
• Simple and delicious ingredients await!
For the Chocolate Coating
- Chocolate Chips – The main source of sweetness; you can use dark, semi-sweet, or milk chocolate based on your taste preference.
For the Filling
- Peanut Butter – Provides a creamy texture and rich flavor; almond or sunflower seed butter can be used for nut-free alternatives.
For the Crunch
- Rice Krispies (or similar cereal) – Adds delightful texture and crunch; ensure you choose gluten-free options if necessary.
Enjoy the magic of these Chocolate Peanut Butter Crunch Cups with just three easy ingredients!
Step‑by‑Step Instructions for Chocolate Peanut Butter Crunch Cups
Step 1: Prep the Muffin Tin
Start by preparing a mini muffin tin by lining it with cupcake liners or lightly greasing each cup. This will ensure that the Chocolate Peanut Butter Crunch Cups release easily once set. Set your prepared tin aside while you move on to melting the chocolate.
Step 2: Melt Chocolate
In a microwave-safe bowl, add your chosen chocolate chips. Microwave in 30-second intervals, stirring after each session until the chocolate is fully melted and smooth, which should take about 1-2 minutes. Be careful not to overheat, as burnt chocolate can ruin the coating.
Step 3: Combine Ingredients
Once your chocolate is melted, stir in the peanut butter until well blended, creating a rich, creamy mixture. Then, gently fold in the rice cereal until it is evenly coated, being careful not to break the cereal pieces. The texture should be crunchy yet coated with the luscious chocolate-peanut butter blend.
Step 4: Fill Cups
Using a spoon, carefully fill each muffin cup with the mixture, pressing down lightly to create a compact layer. Make sure each cup is filled generously to maximize the yumminess of your Chocolate Peanut Butter Crunch Cups. Level off the tops to make them nice and even.
Step 5: Chill
Place the filled muffin tin into the freezer and allow it to chill for about 1 hour. This step is crucial for the mixture to set properly, creating well-formed cups that hold their shape when unmolded. You’ll know they’re ready when they feel firm to the touch.
Step 6: Serve
After an hour, remove the muffin tin from the freezer. Gently peel away the liners or use a knife to coax the Chocolate Peanut Butter Crunch Cups out if necessary. Enjoy them chilled for a refreshing treat, or let them sit at room temperature for a few minutes to soften slightly before indulging.
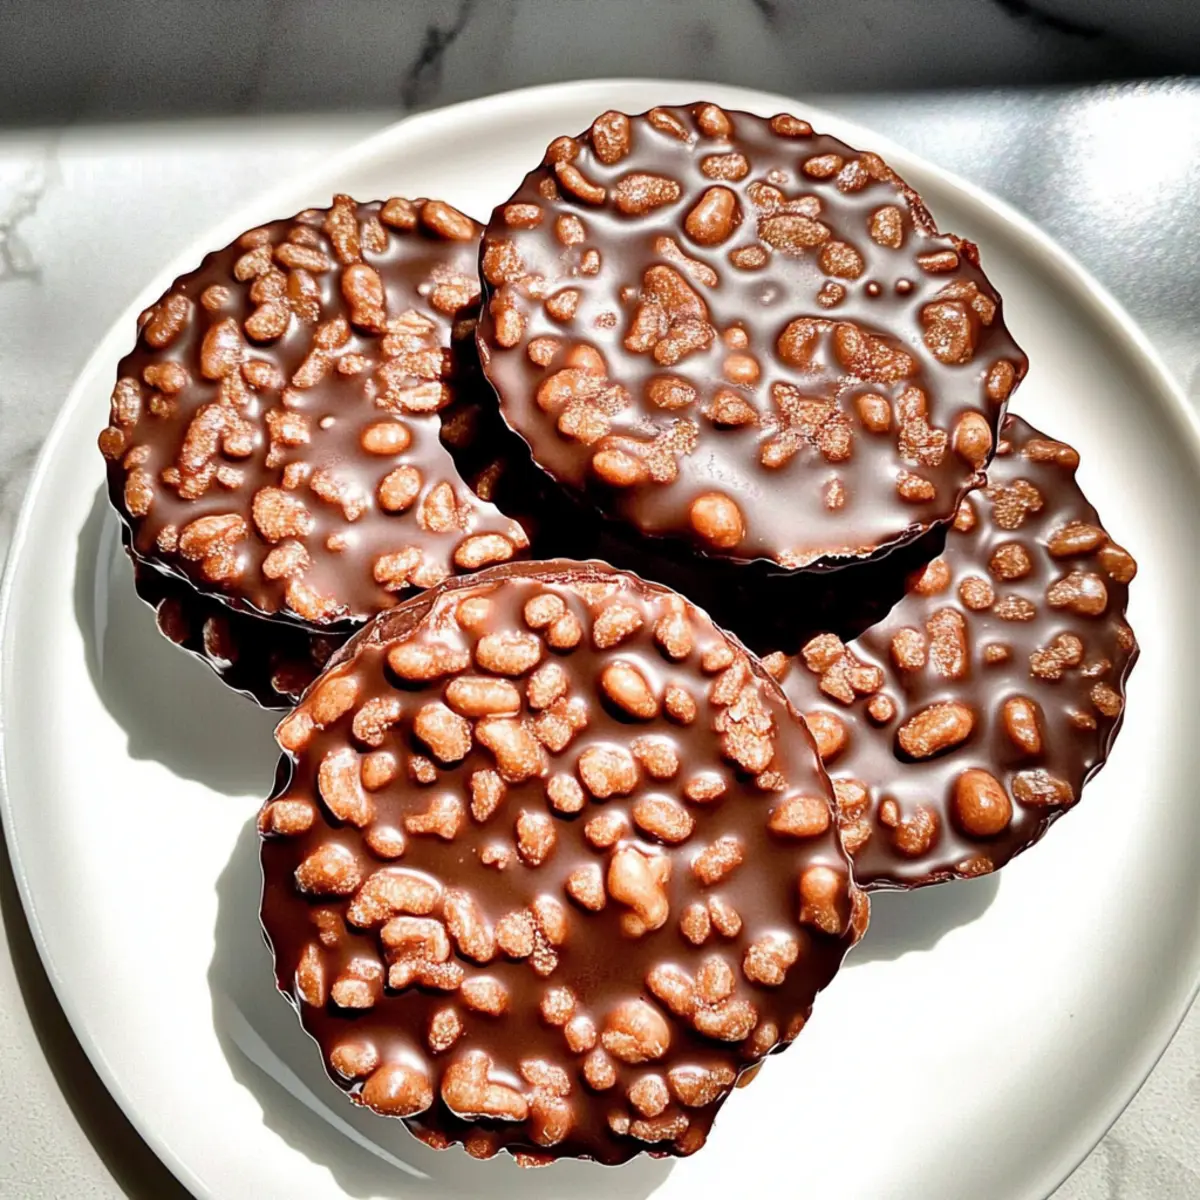
What to Serve with Chocolate Peanut Butter Crunch Cups
These delightful treats create the perfect ending to a fun family meal or a playful snack time.
- Creamy Almond Milk: A rich and nutty drink that complements the sweetness of the cups, making for a cozy pairing.
- Fresh Fruit Salad: Bright, juicy fruits add a refreshing contrast to the rich chocolate and peanut butter flavors, perfect for balancing sweetness.
- Vanilla Ice Cream: The smooth and creamy texture of vanilla ice cream creates an indulgent contrast to the crunchy cups; a classic favorite!
- Homemade Chocolate Sauce: Drizzle warm chocolate sauce over the cups for a decadent treat; it enhances the chocolate flavor and makes each bite extra special.
- Nutty Granola: Serve with a side of nutty granola for extra crunch; it adds a hearty texture that pairs beautifully with these Chocolate Peanut Butter Crunch Cups.
- Sparkling Water with Lime: This refreshing drink can cleanse the palate and elevate the sweet experience, making it great for gatherings.
- Mini Cheesecake Bites: A light and creamy dessert provides a delightful ending to any meal alongside these crunchy treats, balancing flavors flawlessly.
Make Ahead Options
These Chocolate Peanut Butter Crunch Cups are perfect for meal prep enthusiasts! You can prepare the chocolate-peanut butter mixture up to 24 hours in advance by mixing the melted chocolate and peanut butter with the rice cereal, then storing it in an airtight container in the refrigerator. When you’re ready to serve, simply scoop and press the mixture into the muffin tin, chill for about 1 hour, and enjoy your delicious cups just as fresh as if you had made them that day. To maintain quality, ensure they are kept cool and away from direct sunlight, allowing you to savor these sweet treats with minimal effort during the busy week!
Expert Tips for Chocolate Peanut Butter Crunch Cups
-
Melting Chocolate: Ensure the chocolate is fully melted and smooth before mixing. Overheating can cause it to seize, making it unusable.
-
Cereal Care: Be gentle when folding in the rice cereal to maintain its crunch. Over-mixing can break the pieces and affect texture.
-
Lining the Tin: Use silicone muffin tins for easy removal or properly grease metal tins. This helps prevent any frustrating sticking when you’re eager to enjoy your treats.
-
Chilling Time: Allow the cups to chill completely in the freezer for at least one hour. This is key to getting the perfect shape and texture for your Chocolate Peanut Butter Crunch Cups.
-
Substitution Ideas: Don’t hesitate to experiment with different nut butters for unique flavors or use dairy-free chocolate chips to keep the recipe vegan-friendly.
How to Store and Freeze Chocolate Peanut Butter Crunch Cups
Fridge: Keep these cups in an airtight container in the refrigerator for up to 1 week to maintain their freshness and crunch.
Freezer: For longer storage, freeze the Chocolate Peanut Butter Crunch Cups in an airtight container for up to 2 months.
Thawing: Before serving from the freezer, let them thaw at room temperature for 5-10 minutes to achieve the perfect texture.
Serving Tips: Enjoy them chilled or allow them a few moments to soften for a different taste experience!
Chocolate Peanut Butter Crunch Cups Variations
Feel free to personalize these treats with fun variations that suit your taste and dietary needs!
- Nut-Free Delight: Substitute peanut butter with almond or sunflower seed butter for a delicious nut-free version.
- Flavorful Swaps: Experiment with different flavored nut butters like chocolate or cinnamon to elevate their taste.
- Crispy Add-Ins: Add chopped nuts or seeds to the mixture for extra crunch and nutrition.
- Sweet Drizzle: Top with a drizzle of melted white chocolate for a beautiful finishing touch that adds sweetness.
- Fun Shapes: Use silicon molds in different shapes to create festive treats for holidays or special occasions.
- Spicy Kick: Mix in a pinch of cayenne or chili powder to give an unexpected heat to your crunch cups.
- Fruity Fusion: Incorporate dried fruits like cranberries or raisins for a delightful chewy texture that balances the crunch.
- Chocolate Variety: Switch up your chocolate chips for butterscotch or even caramel chips, enhancing the flavor profile.
These Chocolate Peanut Butter Crunch Cups are versatile, ensuring every bite is tailored just for you! And if you love a sweet twist on classics, check out Peanut Butter Chocolate for another crowd-pleasing recipe!
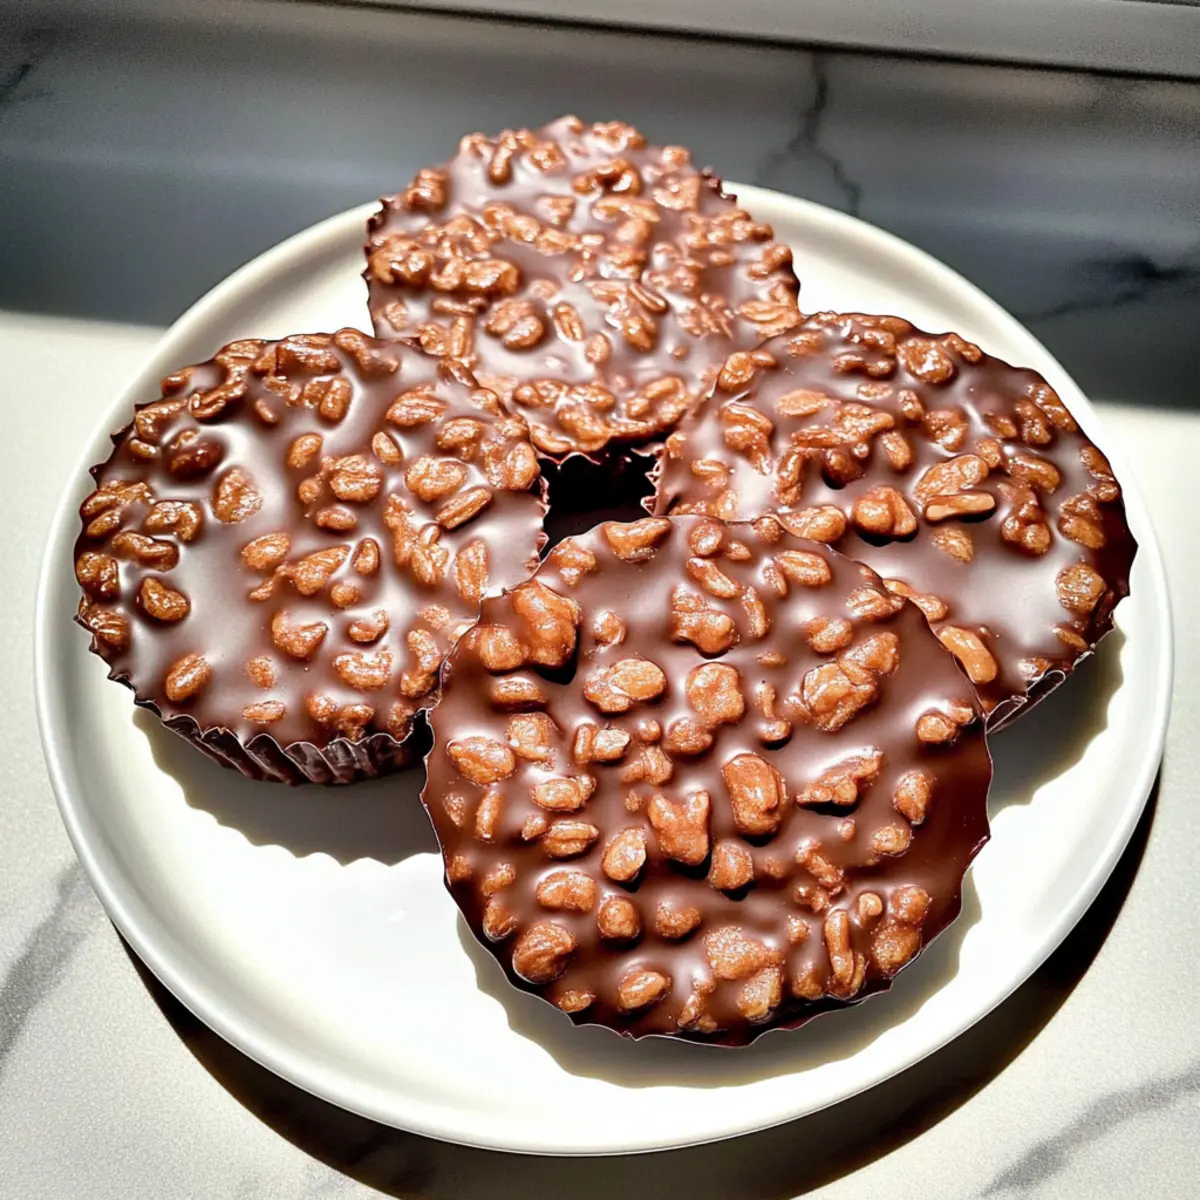
Chocolate Peanut Butter Crunch Cups Recipe FAQs
What type of chocolate should I use for the cups?
You can use dark, semi-sweet, or milk chocolate chips based on your taste preference. Dark chocolate gives a richer flavor, while semi-sweet offers a perfect balance of sweetness. Just ensure it’s vegan if you opt for a dairy-free alternative!
How should I store my Chocolate Peanut Butter Crunch Cups?
To keep your cups fresh, store them in an airtight container in the refrigerator for up to 1 week. If you want to preserve them for longer, they can be frozen for up to 2 months. Don’t forget to let them thaw for about 5-10 minutes at room temperature before serving from the freezer for the best texture.
Can I make these cups nut-free?
Absolutely! Simply substitute peanut butter with almond or sunflower seed butter. This way, you can cater to various dietary needs while still enjoying the same delicious flavors.
What if my chocolate seized while melting?
If your chocolate seizes, it usually means it got too hot or mixed with moisture. While it can be tricky, try adding a small amount of vegetable oil or extra coconut oil to the seized chocolate and stir until smooth. For future batches, melt the chocolate slowly in smaller intervals, and make sure your bowl is completely dry.
How long does it take for the cups to set?
Place them in the freezer for about 1 hour, which is sufficient time for the chocolate to firm up. You’ll know they’re ready when they feel solid to the touch. Patience is key—this step is vital for getting those perfect cups that hold their shape!
Can I add extras to the mixture?
The more, the merrier! You can add chopped nuts, a sprinkle of sea salt, or even a drizzle of melted white chocolate for a decorative touch. This opens up a world of flavor combinations, making your Chocolate Peanut Butter Crunch Cups even more delightful!
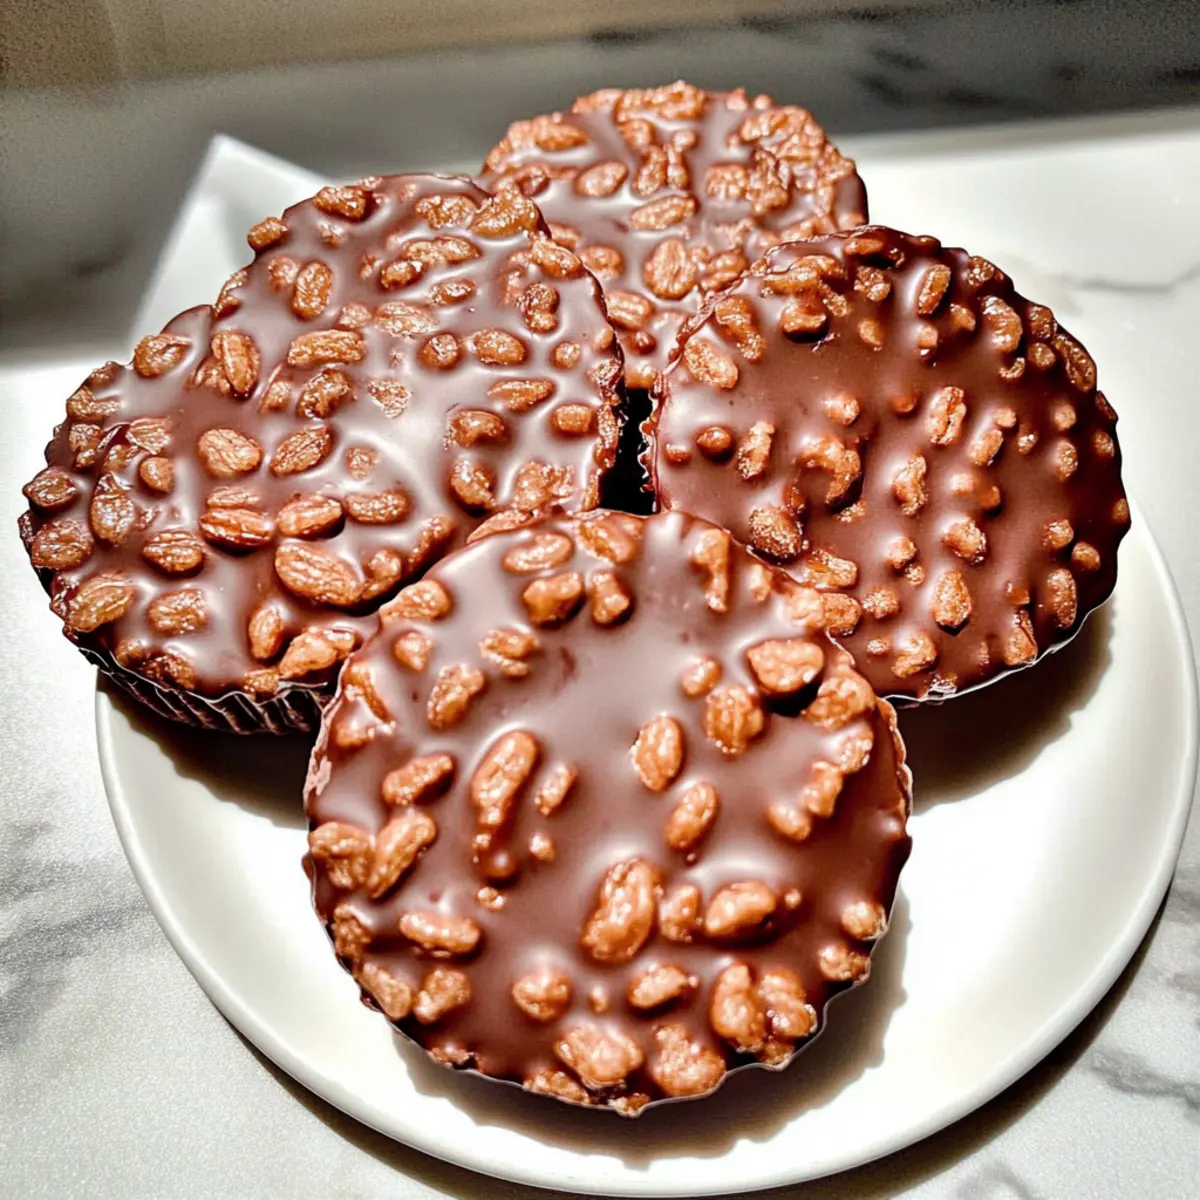
Chocolate Peanut Butter Crunch Cups That Kids Adore
Ingredients
Equipment
Method
- Prep the muffin tin by lining it with cupcake liners or lightly greasing each cup.
- In a microwave-safe bowl, melt the chocolate chips in 30-second intervals until smooth.
- Stir in peanut butter until well combined, then fold in rice cereal.
- Fill each muffin cup with the mixture, pressing down slightly.
- Chill in the freezer for about 1 hour until firm.
- Remove from freezer and gently peel away liners or coax them out.