Advertisement
As I polished off a bowl of store-bought snacks, it hit me: why not make a healthier version at home? Enter my Healthier Homemade Corn Nuts. These baked delights offer a delightful crunch that can rival any fried treat without the excess oil. They’re not just easy to whip up; they’re also gluten-free and vegan, making them a satisfying snack for everyone. With endless seasoning options, you can create a flavor adventure each time you bake a batch. Whether you’re lounging with a cold drink or hosting friends for game night, these homemade corn nuts are the perfect go-to. Curious what flavor combination you’ll try first?
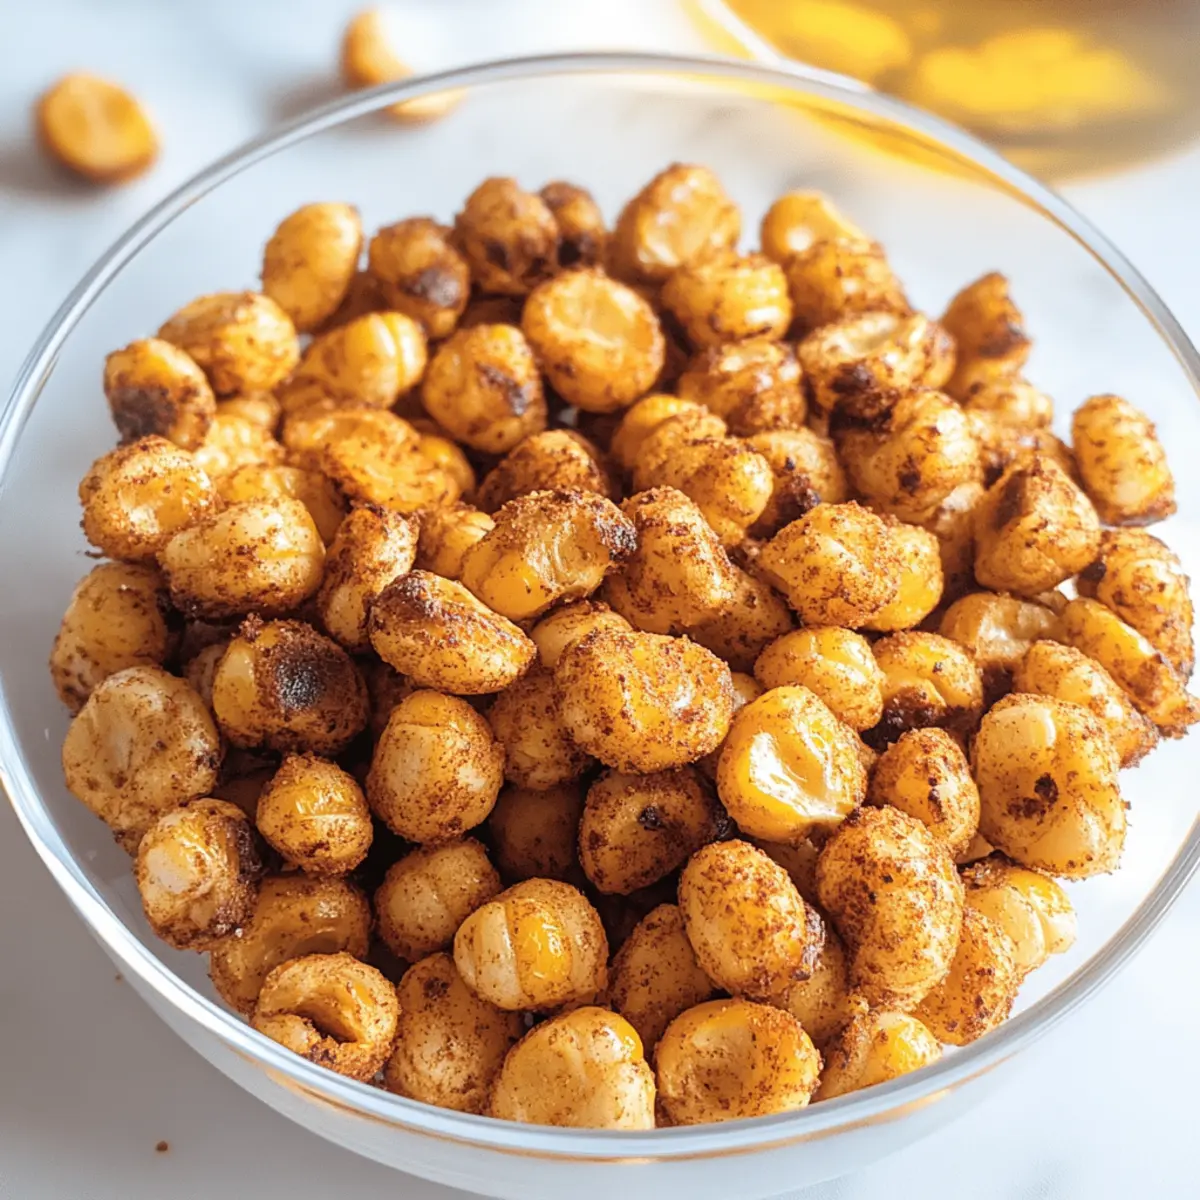
Why Make Homemade Corn Nuts?
Healthier than store-bought options: These baked corn nuts eliminate excess oil while maintaining that crunchy satisfaction you crave.
Versatile flavors: From spicy to cheesy seasonings, you can customize every batch to match your mood.
Guilt-free indulgence: With just 63 calories per serving, you can enjoy snacking without the worry.
Perfect for gatherings: Whether it’s game night or a casual get-together, they’re a hit with family and friends—serving them alongside Homemade Black Forest or Creme Brulee Donuts adds a touch of sweetness to balance the savory crunch!
Homemade Corn Nuts Ingredients
• Get ready to snack healthier!
Advertisement
For the Corn Nuts
- Dried Hominy – The star of this recipe; it provides that unique texture and flavor that makes a great corn nut. Tip: Using dried is essential as canned hominy won’t offer the right crunch!
- Peanut Oil – Keeps the hominy moist and ensures they bake evenly. Note: Feel free to use other high smoke point oils like avocado or canola for flexibility!
- Fine Ground Salt – A must for flavor; it sticks beautifully to the corn nuts. Tip: Go for fine salt to achieve the best seasoning effect!
For the Seasoning
- Garlic Powder – Adds a delightful savory taste; an essential in every snack recipe. Adjust according to your personal taste!
- Paprika – Infuses a mild heat and vibrant color to the nuts. Try smoked paprika for a bold twist!
- Onion Powder – Elevates the overall flavor profile. Modify according to your palate preferences!
Now you have everything ready to embark on your delicious journey of making Homemade Corn Nuts! Happy snacking!
Step‑by‑Step Instructions for Homemade Corn Nuts
Step 1: Soak the Hominy
Begin by soaking 15 ounces of dried hominy in a large bowl of water for 6 to 10 hours. This step is crucial for reconstituting the hominy and ensuring they achieve that classic crunchy texture once baked. You’ll know they’re ready when they have expanded and softened, making them perfect for your homemade corn nuts.
Step 2: Drain and Dry
After soaking, drain the hominy and spread them out on a paper towel-lined baking sheet. Pat them gently with additional paper towels to remove excess moisture. Let them dry for about an hour on the counter; this ensures they’ll absorb the oil and seasonings better and maximizes crunch during baking.
Step 3: Preheat the Oven
While the hominy dries, preheat your oven to 375°F for convection bake or 400°F for standard baking. A properly heated oven guarantees that your homemade corn nuts will cook evenly and achieve that beautiful golden-brown color, which indicates perfect crispiness.
Step 4: Prepare the Seasoning
In a small jar, combine fine ground salt, garlic powder, paprika, and onion powder. Close the jar and shake well until all ingredients are thoroughly mixed. This seasoning blend will enhance the flavor of your homemade corn nuts, so feel free to adjust the spices to suit your taste preferences.
Step 5: Coat the Hominy
In a large bowl, drizzle the dried hominy with 2 tablespoons of peanut oil, tossing to ensure each piece is evenly coated. The oil not only adds flavor but also helps the seasoning adhere better, contributing to that delightful crunch you desire in baked corn nuts.
Step 6: Season the Hominy
Gradually add the seasoning mixture to the oiled hominy, mixing thoroughly after each addition to distribute the flavors evenly. Be sure that every kernel is coated in the savory blend—you want those flavors to pop in every bite of your homemade corn nuts!
Step 7: Bake the Corn Nuts
Spread the seasoned hominy in a single layer on a dry baking sheet lined with parchment paper. Bake in the preheated oven for 20 minutes, then give them a good stir. Continue baking for an additional 20 to 25 minutes, keeping an eye on them to avoid burning, until they are golden and crunchy.
Step 8: Cool and Serve
Once baked, remove the tray from the oven and let the homemade corn nuts cool for at least 15 minutes. This cooling period allows them to crisp up even more. After cooling, they’re ready to be enjoyed as a tasty snack—perfect for parties or just lounging at home!
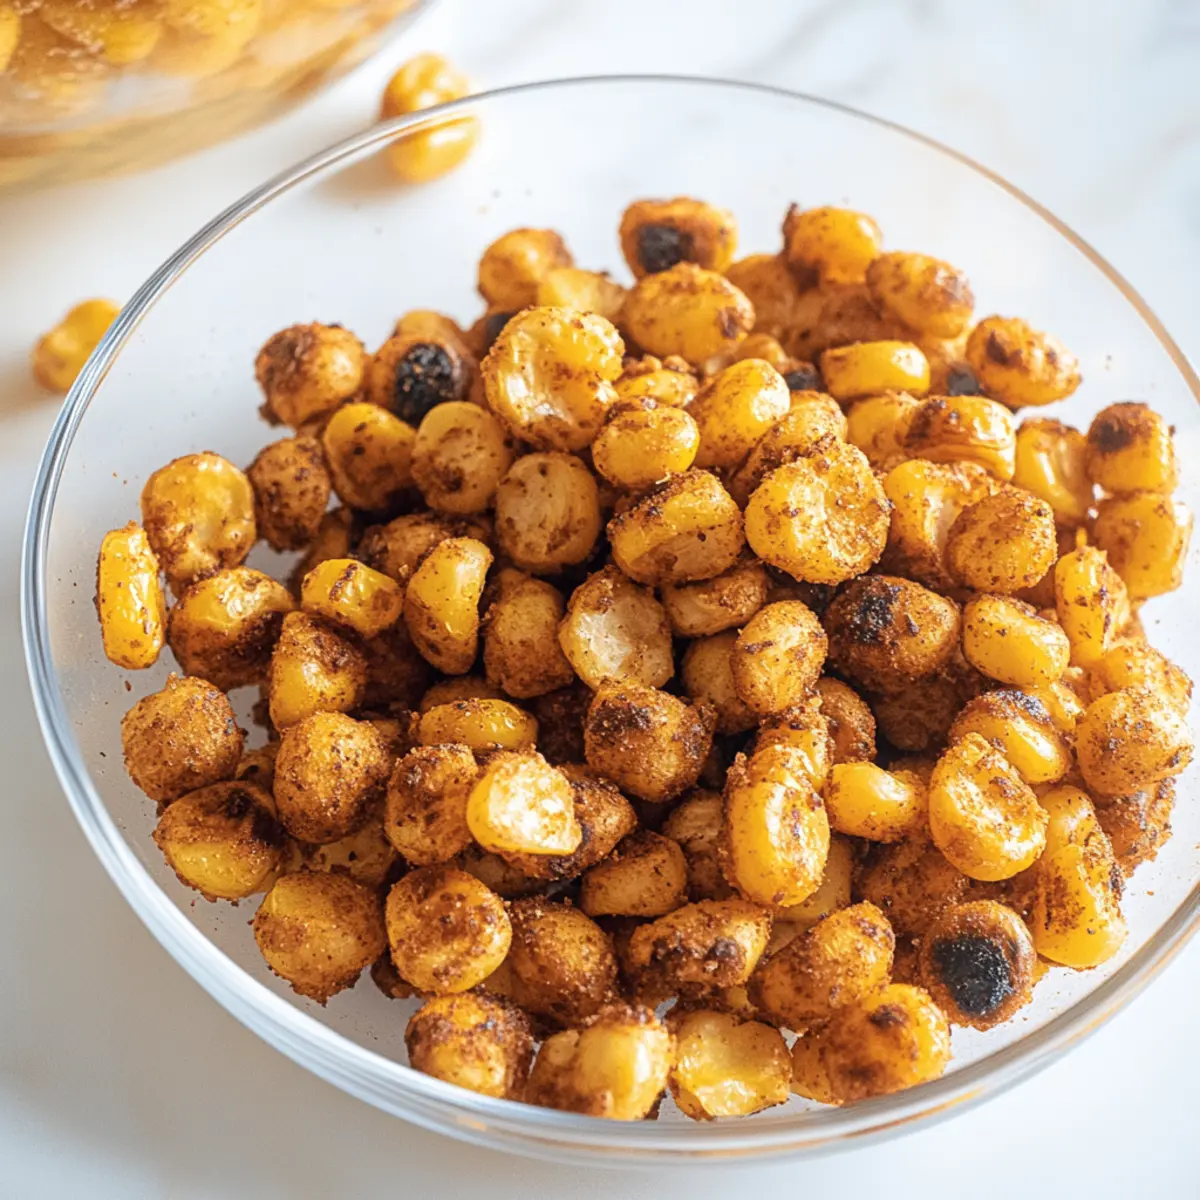
Expert Tips for Healthier Homemade Corn Nuts
- Dry Thoroughly: Make sure the hominy is completely dried after soaking. This is key to achieving that irresistible crunch in your homemade corn nuts.
- Watch the Baking Time: Keep a close eye in the final minutes; corn nuts can quickly go from perfect to over-browned.
- Experiment with Oil: Feel free to switch out peanut oil for oils like avocado or canola to find your favorite flavor when making homemade corn nuts.
- Season Generously: Don’t be shy with your seasoning; taste the mixture before adding to ensure it’s packed with flavor.
- Storage Matters: Keep your baked corn nuts in an airtight container at room temperature to maintain their freshness and crunch for up to 2-3 weeks.
Make Ahead Options
Preparing your Healthier Homemade Corn Nuts in advance is an excellent way to save time during busy weeknights! You can soak the 15 ounces of dried hominy up to 24 hours in advance, allowing them to reconstitute fully. After draining, towel-dry the hominy and refrigerate them in an airtight container for up to 3 days before baking. For the seasoning, mix your spices and store them separately, ready to sprinkle on when you’re ready to bake. When it’s time to enjoy your snack, simply drizzle the dried hominy with 2 tablespoons of peanut oil, add the seasoning, and bake as instructed. This prep ensures you have a crunchy and flavorful snack on hand at a moment’s notice!
What to Serve with Healthier Homemade Corn Nuts?
Elevate your snacking experience with delightful pairings that enhance the crunchy joy of these baked treats.
- Creamy Avocado Dip: A smooth and luscious companion that adds a rich flavor contrast, perfect for dipping.
- Fresh Salsa: Zesty and vibrant, this option brings a refreshing burst of flavor that complements the savory corn nuts beautifully.
- Guacamole: This creamy dip, packed with healthy fats, balances the crunch with its smoothness while adding a delightful kick of flavor.
- Hummus: A protein-rich, smooth spread that invites experimentation with flavors, from classic garlic to spicy harissa.
- Cheese Platter: A selection of cheeses introduces diverse textures and flavors; sharp cheddar or creamy brie pairs wonderfully with the corn nuts’ crunch.
- Chili Con Queso: This warm, cheesy dip offers a comforting, savory element that can turn your snacking into a flavorful feast.
- Cold Beer: The lightness of a crisp lager enhances the snack experience, making them the ultimate food pairing for game nights or gatherings.
- Sparkling Water with Lime: Refreshing and palate-cleansing, this drink option is a great way to balance the savory flavors.
- Seasoned Popcorn: A light and crunchy companion, seasoned similarly to the corn nuts, for a delightful snacking duo.
- Dark Chocolate Squares: For a sweet contrast, dark chocolate’s bitterness beautifully complements the savory crunch of corn nuts, creating a balanced munching experience.
How to Store and Freeze Homemade Corn Nuts
Airtight Container: Store your homemade corn nuts in an airtight container at room temperature for up to 2-3 weeks to preserve their crunchiness and flavor.
Avoid Moisture: Keep the container in a cool, dry place away from sunlight to prevent moisture from making your snacks soggy.
Freezer Option: For longer storage, freeze the baked corn nuts in a freezer-safe bag. They can last up to 3 months, just thaw and re-crisp in the oven at 350°F for about 5-10 minutes.
Reheating: If you store them in the fridge, reheat in the oven to restore their crunch, as microwaving may make them chewy instead.
Homemade Corn Nuts Variations
Feel free to get creative with these homemade corn nuts and make them your own delicious creation!
-
Spicy Kick: Add cayenne pepper or chili powder for a fiery twist that’ll make your taste buds dance.
-
Cheesy Flavor: Sprinkle nutritional yeast to mimic a cheesy taste, perfect for those vegan cheese cravings. It adds a delightful umami factor!
-
Sweet & Savory: Mix in a touch of brown sugar and cinnamon for a sweet treat—a unique snack option for your gatherings.
-
Ranch Lovers: Toss in a ranch seasoning mix for a zesty flavor. It’s a fan favorite that pairs well with veggies for a wholesome touch.
-
Herby Delight: Incorporate dried herbs like dill or basil for a fresh flavor. These homemade corn nuts can transform from simple to sensational!
-
Cocoa Twist: Combine cocoa powder with sea salt for a sweet and savory snack. This interesting twist will surprise and delight your guests.
-
Garlic Parmesan: Mix garlic powder with grated Parmesan (for non-vegans) for a savory snack reminiscent of classic garlic bread. Perfect for movie nights!
Don’t forget, these can be enjoyed with other delightful snacks like Homemade Caramel Apple or the rich flavors of Spicy Popcorn Chicken! Which flavor combo will you try first?
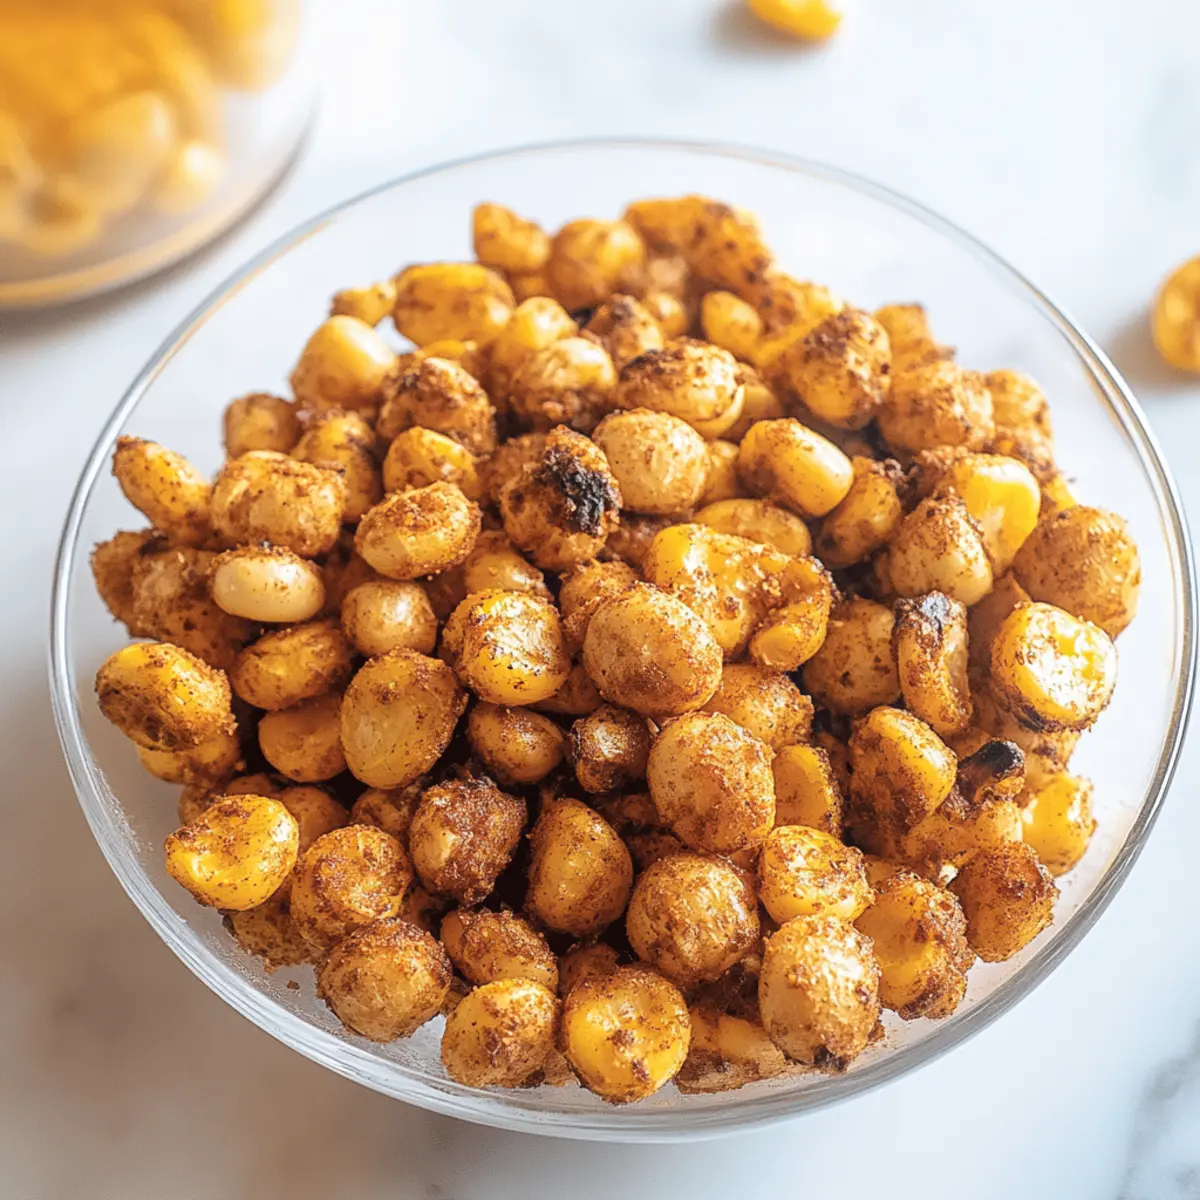
Healthier Homemade Corn Nuts Recipe FAQs
What kind of hominy should I use for this recipe?
Absolutely! For the best results, use dried hominy as it provides the desired texture and crunch for your homemade corn nuts. Avoid using canned hominy, as it will not yield the same crunchy results.
How should I store my homemade corn nuts?
For storing your healthier homemade corn nuts, place them in an airtight container at room temperature. They will stay fresh and crunchy for 2-3 weeks. Just ensure they are kept in a cool, dry place away from sunlight to maintain their ideal texture.
Can I freeze homemade corn nuts?
Yes, you can! To freeze your homemade corn nuts, place them in a freezer-safe bag after they have cooled completely. They will last for up to 3 months. When you’re ready to enjoy them, simply thaw the nuts and re-crisp them in the oven at 350°F for about 5-10 minutes for that crunchy goodness.
What if my corn nuts aren’t crunchy enough after baking?
If your homemade corn nuts aren’t achieving the crunch you want, there are a few things you can try. First, ensure that the hominy was thoroughly dried after soaking, as excess moisture can lead to sogginess. Additionally, consider extending the baking time in 5-minute increments while regularly checking for doneness. Finally, letting them cool completely will help enhance their crunch, so don’t skip that step!
Are homemade corn nuts safe for my pets?
It’s best to avoid giving homemade corn nuts to your pets. While corn itself is not toxic to dogs, the seasonings, especially garlic and salt, can be harmful. Always opt for pet-safe treats instead to keep your furry friends happy and healthy.
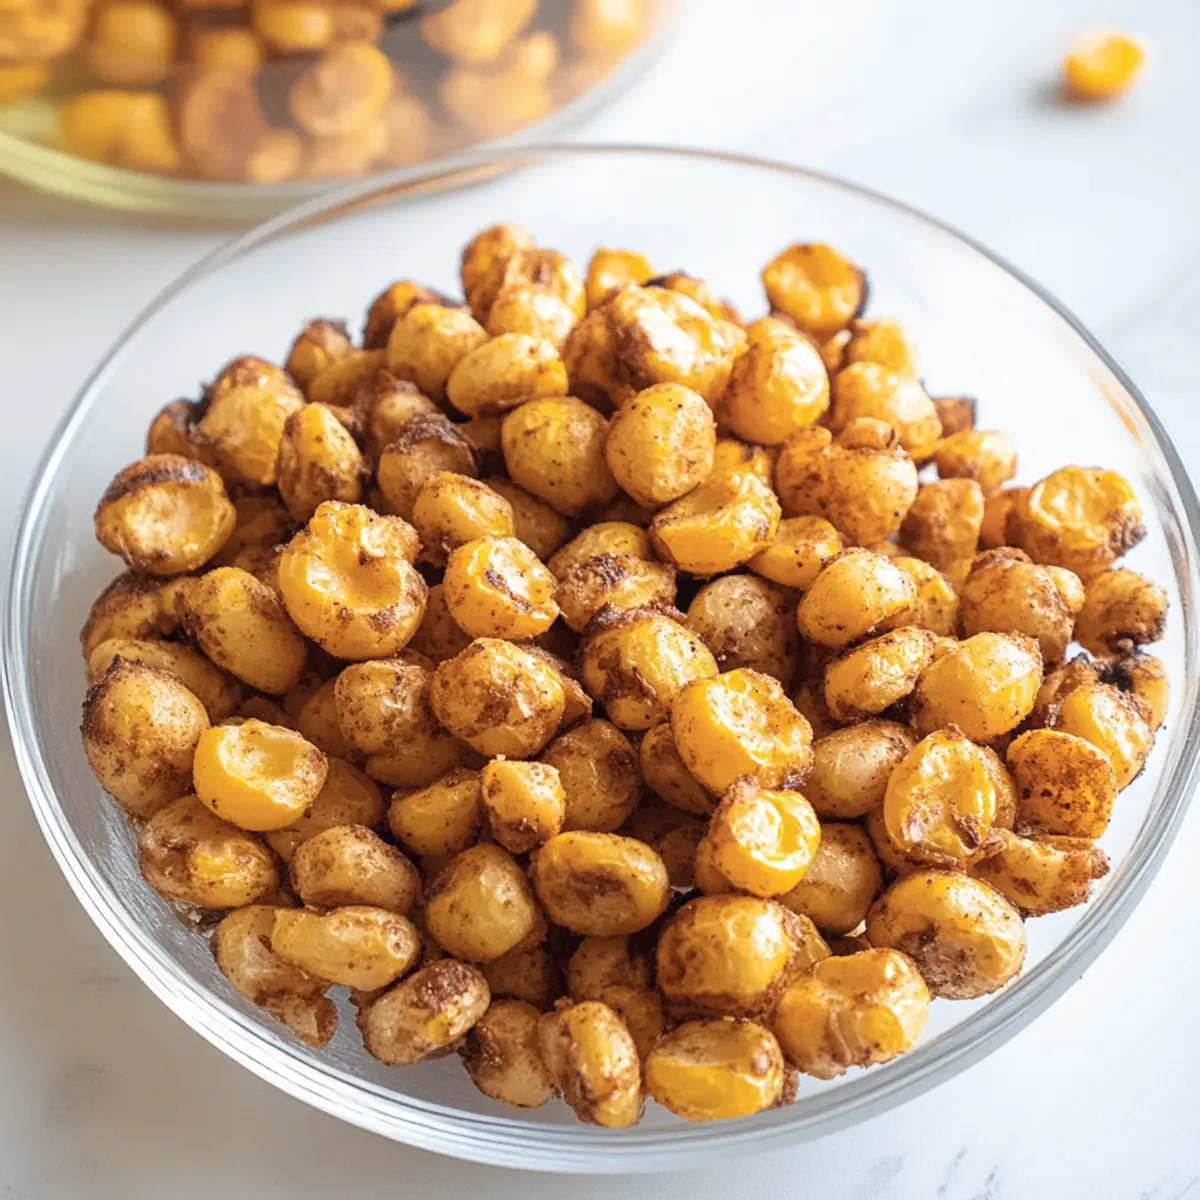
Crispy Homemade Corn Nuts: A Healthier Snack Adventure
Ingredients
Equipment
Method
- Soak the hominy in a large bowl of water for 6 to 10 hours.
- Drain and dry the hominy on paper towels for 1 hour.
- Preheat the oven to 375°F for convection or 400°F for standard baking.
- Prepare the seasoning by mixing salt, garlic powder, paprika, and onion powder in a jar.
- Drizzle the dried hominy with peanut oil and toss to coat evenly.
- Add the seasoning mixture to the oiled hominy and mix thoroughly.
- Spread the seasoned hominy on a parchment-lined baking sheet and bake for 20 minutes, then stir and bake for another 20-25 minutes or until golden and crunchy.
- Cool for at least 15 minutes before serving.